.svg)
.svg)

Mix automation is one of those powerful things that can take your track from ‘good enough’ to amazing.
In my own workflow, I have a golden rule: never leave a mixing session without spending some time exploring automation. Automation can bring movement, interest, and focus to your mix—and it’s relevant in any genre or arrangement. In the tutorial above, I share five mix automation tips that work in a wide variety of contexts. I’ll also break down why they’re important, how to set them up, and some practical examples for inspiration below.
Let’s dive in!
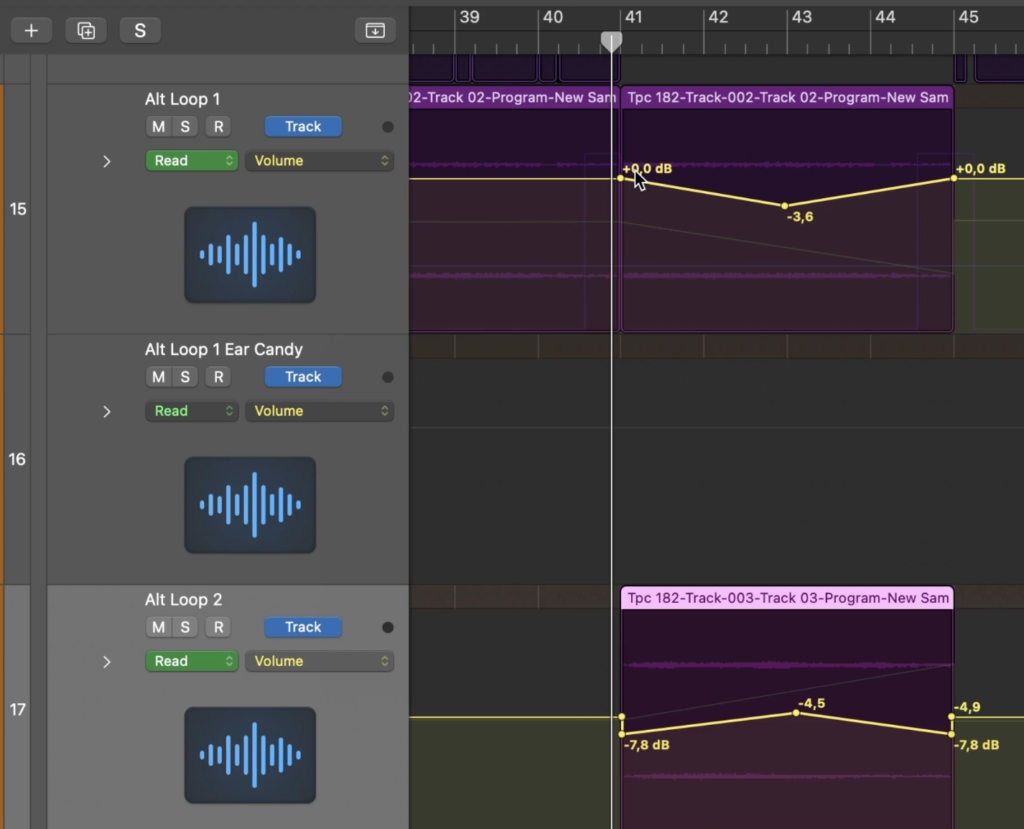
1. Delay automation for ear candy and storytelling
Delay automation is a fantastic way to add texture and transitions to your mix. For example, I often use delay throws on specific words or phrases to create a sense of space and keep listeners engaged.
- Setup: Open your DAW’s automation editor (in Logic Pro, hit “A” to access automation lanes). From there, choose the parameter you want to automate—in this case, the send to a delay plugin.
- Effect: Delay automation helps emphasize certain elements and guides the listener’s attention. For instance, you can throw a delay on the last word of a vocal line to create a smooth transition between sections.
Examples and tips: Delay throws and transitions
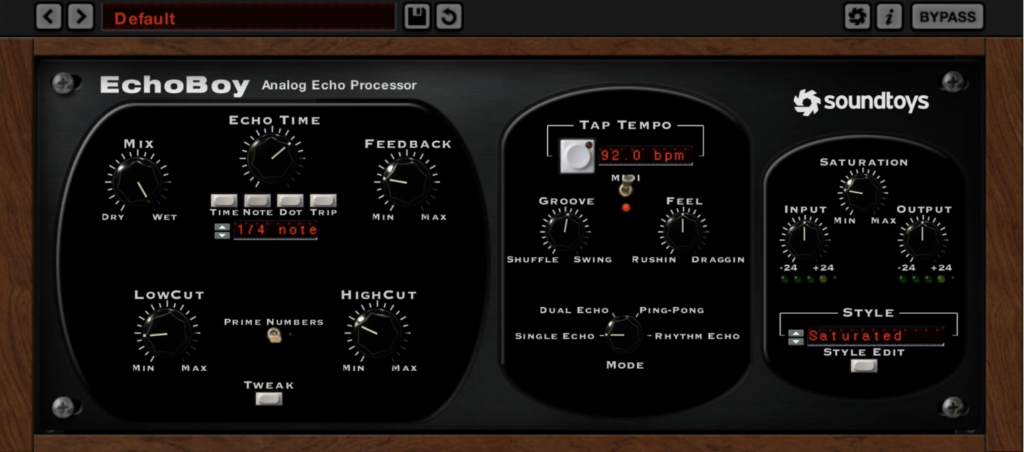
On a hip hop track, I automated a delay throw using Soundtoys’ EchoBoy at a quarter-note setting. This added rhythmic interest to the words I wanted to emphasize.
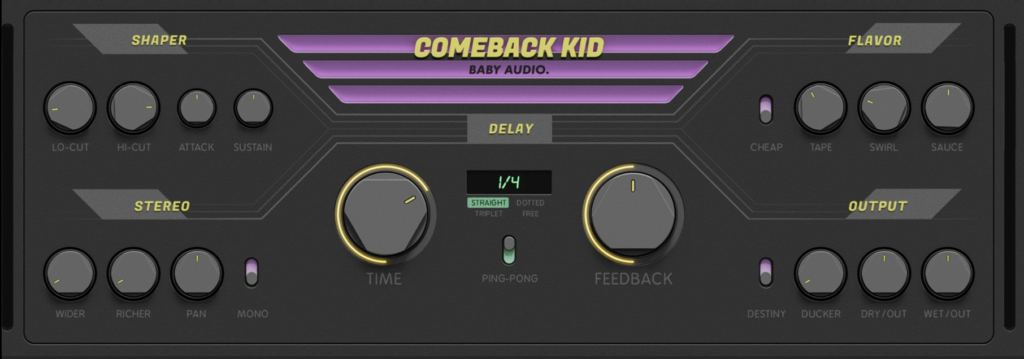
In a different genre, I automated the delay on the lead vocal’s final phrase in the chorus, sending it to BABY Audio’s Comeback Kid with a ping-pong delay. The result was a seamless blend from the chorus back to verse.
Use delay automation to subtly reference themes or motifs in your mix—it’s storytelling through sound. If there’s a unique element in the chorus that isn’t present in the verse, for example, you should definitely try this technique out.
2. Reverb automation for depth and space
Reverb automation allows you to push elements back or pull them forward in the mix without touching the volume fader. It’s perfect for creating depth and dynamics in a song.
- Setup: Open your DAW’s automation editor and automate the reverb send level or tweak parameters like decay time.
- Effect: Think of your mix as a three-dimensional space—volume controls up and down, panning moves side to side, and reverb creates front-to-back depth. Reverb automation lets you sculpt this space effectively.
Examples and tips: Builds and balance
In an acoustic track, I automated the reverb send on a guitar loop, gradually increasing it before the chorus. The added diffusion created a dreamy buildup that set the stage for the next section. Similarly, I automated the reverb on background vocals to subtly shift focus while maintaining a natural sound.
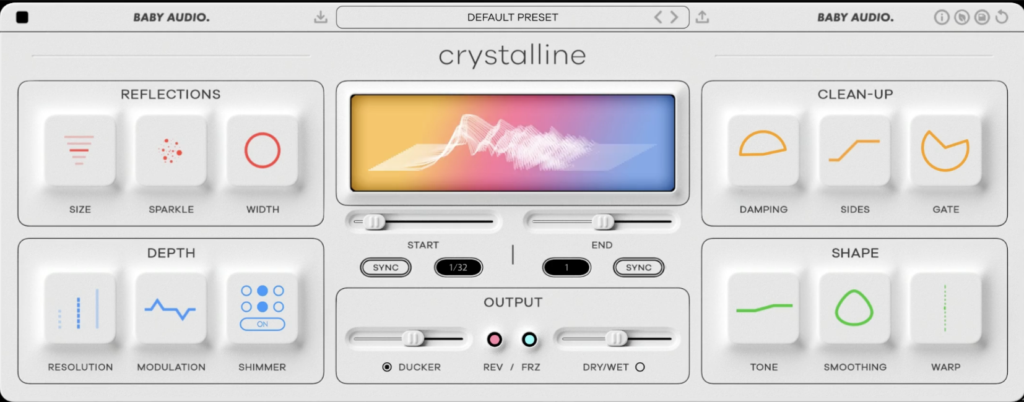
BABY Audio’s Crystalline was perfect for this task; its built-in ducking effect could be used to achieve even more smoothness.
Note that too much reverb can create a muddy mix—to avoid this, use this technique with intention and consider saving it for key moments like transitions. You can easily get away with loads of reverb if it occurs only at certain points during the song.
3. Volume automation for controlling dynamics
Volume automation is a classic technique that never goes out of style. It’s essential for balancing dynamics and ensuring that every element in your mix gets its moment to shine.
- Setup: Open your DAW’s automation editor and automate the volume fader (or better yet, add a separate Gain plugin) to smooth out inconsistencies or add emphasis to specific parts.
- Effect: Unlike compression, volume automation lets you control dynamics without altering the tonal character of your audio or making it pump.
Examples and tips: Adding punch to a chorus
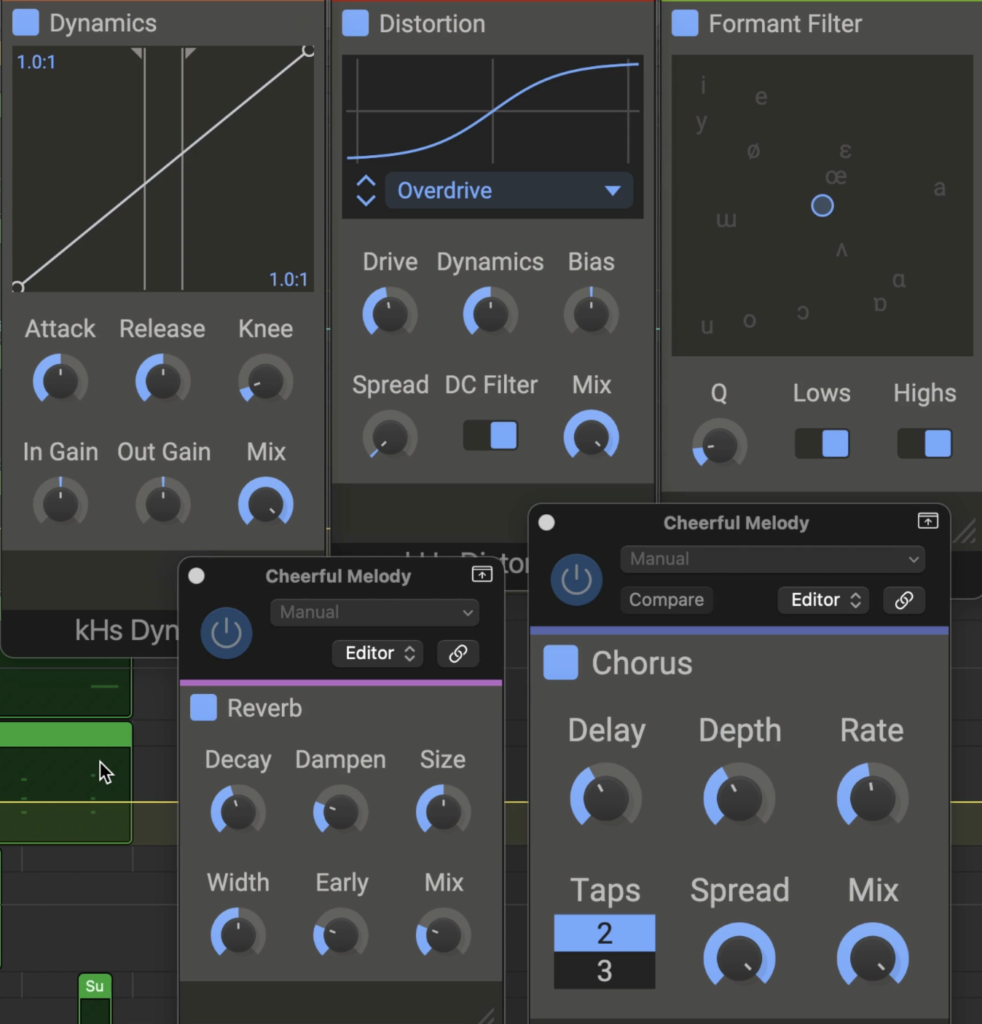
On a vocal track, I used volume automation to bring quieter phrases forward and tame louder ones, ensuring consistent intelligibility. Meanwhile, for a boom bap mix, I automated the gain on the master bus during the chorus for some extra punch; turning everything down ever so slightly before the drop made the chorus hit like a freight train. In the DAW, this workflow looks like this:

You could also do this with the threshold of the limiter on your master for a subtler result. Regardless, when it comes to automating volume, don’t just think about fixing problems—also use it proactively to create drama and highlight emotional peaks in your mix.
4. Plugin parameter automation for unique sound design
Sometimes, automation isn’t just about moving a fader or knob—it’s about unlocking creative possibilities with plugins.
- Setup: Choose a preset on your plugin and tweak it to taste—from there, automate parameters like mix level, distortion, or modulation depth for dynamic effects.
- Effect: Many plugins house multiple effects—reverb, delay, distortion, etc. Automating these parameters together can create complex, evolving textures.
Examples and tips: Workflows and workarounds
One of my go-to tools is BABY Audio’s Transit. On a house track, I used Transit’s noise generator preset to build tension before the drop. Meanwhile, for an acoustic song, I automated a subtle tremolo effect on a guitar tail to add movement without overpowering the mix.

While Transit makes this process easy, you can replicate similar effects by chaining plugins manually—it’s more work but just as effective. For example, Kilohearts has a free bundle of effects that covers the main built-in effects in Transit. However, you don’t get the luxury of controlling them all in one interface.
5. Pair automation for shifting the focus
Last but not least, pair automation involves creating contrast between two elements to shift focus back and forth. It’s a subtle but powerful trick for adding movement and clarity to your mix.
- Setup: Automate parameters like volume, panning, or EQ on two different tracks in opposite directions.
- Effect: By pulling one element forward while pushing another back, you create a dynamic interplay that brings clarity and keeps the listener engaged.
Examples and tips: Highlights and establishing roles
I used pair automation on two string sections, alternating volume and panning to guide the listener’s attention. In another mix, I applied opposite EQ automation to emphasize the low end of one track while softening it on the other.
Pair automation works best when the elements have complementary roles, like call-and-response vocals or rhythm and lead instruments. It’s also great for highlighting an element that’s otherwise tucked back in the mix, like a pad, some overlays, or vocal harmonies.
5 mix automation tips: Conclusion
Mix automation is about more than just technical adjustments—it’s a way to tell a story, build emotion, and keep your listeners hooked. Whether you’re adding delay throws, tweaking reverb, or experimenting with plugins, these tips can elevate any mix in any genre.
Which of these techniques are you most excited to try? Do you have a go-to mix automation move that I didn’t cover? Share your thoughts in the comments section of the video—I’d love to hear your perspective.
Try plugins including Crystalline, Transit, and more for free, and then rent-to-own them until they’re yours:
May 13, 2025