.svg)
.svg)


This blog post is part of a series on Mixing with Neutron 2 Standard. If you missed a tutorial, click on one of the topics below to catch up:
- Mixing vocals
- Mixing drums & bass
- Mixing synths
Neutron 3 Advanced, the latest version of iZotope’s mixing suite, offers even more powerful features — check out the guide here.
The drums and the bass of a track form its foundation, its backbone. If you can get the drum and bass elements in a mix to work together, you’re halfway there in getting a mix that sounds professional.
Here are some tips for using Neutron 2 to process your drums and bass.
One thing to note: from here on out, we’re going to use the shorthand Neutron 2 to refer to the Standard version of the plugin, not the advanced version of the plugin.
Mixing drums with Neutron 2

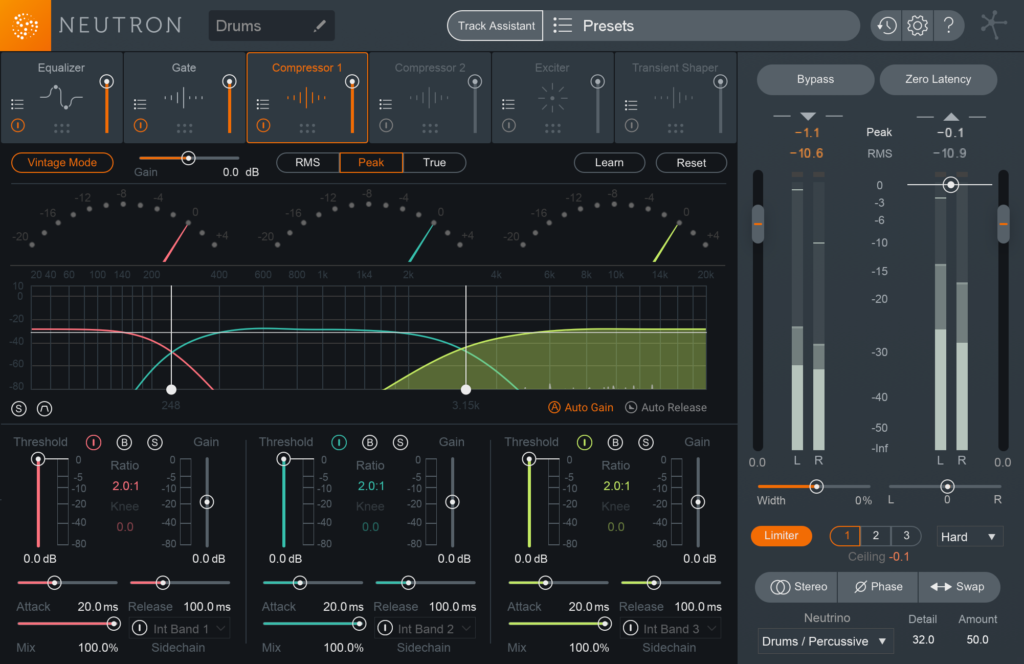
Whenever mixing with Neutron 2, I recommend using the Track Assistant to get you started with initial processor settings. It’s an extremely useful tool for getting to a good starting point for your mix. Once the Track Assistant has worked its magic, you can dive in to work yours.
1. Kick drum
- Use the Exciter to give the low end of the kick drum that extra oomph.
- You can also use the Exciter to give an 808 kick drum some needed detail at the top end so that it can stick out in mixes.
- Use multiband compression after the Exciter to make sure the low end is in control.
2. Snare drum
- To give your snare a bit more edge and bite, try using the Exciter in retro mode and driving around 2-6Khz.
- The transient shaper is great for all drum instruments, but it can really help bring a dead sounding snare to life. I recommend just using a single band for transient shaping the snare to get that punchy-thick sound.
- Similarly, if you think that a snare in your track has too much punch, you can use the transient shaper to reduce the attack of these samples.
3. Toms
- Acoustic toms often suffer from microphone bleed. To rectify that, insert the Neutron 2 gate and adjust the threshold accordingly to only open when the tom hits. This can clean up the sound of the toms significantly.
4. Overheads
- Using the EQ module, you can apply a gentle high-pass filter to clean up the low end of overheads.
- Using a shelf band, you can apply some high shelf from around 5Khz to add some smooth sizzle to bring out the qualities of cymbal hits in the overhead mics.
5. Drum buss
- Neutron 2 can work wonders on a drum buss.
- One of my favorite tricks is to activate the vintage mode compressor to “glue” all the drum elements together.
- In vintage mode, set the compressor detector type to RMS and adjust each band so that the gain reduction for each band is no more than -5dB. This will glue everything nicely giving you a pretty fat drum sound.
- You can also put a transient shaper across the drum buss to help with giving your overall drum kit that extra punch.
Neutron 2 on bass
There are a lot of things you can do with Neutron 2 on a bass track, but in this piece I’m going to single out one extremely useful tool when working with bass and drum tracks together.
Neutron 2’s EQ masking feature

Have you had trouble getting the bass and kick drum to sit well together? Often both instruments will be fighting for space in a mix. This phenomenon — when two instruments have similar spectral content in certain frequencies and cover each other up — is called “frequency masking”.
We can easily see if there are masking frequencies between the kick and bass by loading an instance of Neutron 2 in both the kick and bass track and using the masking tool in Neutron 2’s EQ module.
Let’s go through the steps:
- Open the instance of Neutron 2 on the kick track and navigate to the EQ module.
- Turn on masking.
- Now select Bass (or whatever you named your bass track) and you should see the bass EQ curve appear at the bottom of the kick drum EQ curve.
- You have full control of the bass EQ curve and any changes made to the curve will also apply to the Neutron 2 instance on the bass plugin. Isn’t that cool?
- Now press play on your DAW and slowly increase the sensitivity slider. Neutron 2 will show red bars at the top of the EQ curves if there are masking frequencies.
- Once the masking frequencies are identified, you can choose to either cut the particular masking frequency on either the bass or kick EQ.
- You will start to see that the red bars will disappear once you cut those masking frequencies
The masking EQ feature is an excellent tool to let your kick and bass play nice. Be mindful that there wouldn’t be 100% zero masking frequencies. But a careful and considered reduction in masking frequencies will definitely increase clarity in your mix.
October 6, 2017

