Compression can play many roles in mastering, from adding punch and fullness to increasing the overall loudness of a track.
This post is the fourth article in our introductory guide to mastering. If you’ve missed an entry, click on any topic below to catch up:
- What is mastering?
- Signal flow & metering
- EQ
- Compression
- Limiting
- Preparation
In this entry, let’s take a look at compression.
What is compression?
There are plenty of articles out there on compression that discuss what it is and what it isn’t. That said, in this article we’re going to specifically focus on compression within the context of mastering and how we can use it to enhance our D.I.Y. masters.
What does a compressor do?
A compressor reduces dynamic range. More specifically, it reduces the difference between the loudest and softest parts of your mix, resulting in a track with less dynamics and movement. The trade-off here is that, with a lower dynamic range and tamed peaks, you can push the mix louder than if it were uncompressed.
This matters in mastering. Compression can do many things like add punchiness, increase detail, and make things sound fuller, but in mastering a compressor is primarily used to increase loudness.
Although mastering engineers use limiters to make mixes louder, solely relying on a limiter to do all of the legwork will produce unwanted effects such as pumping and distortion. Splitting the work between a compressor and limiter yields a more natural result.
Does the mix need compression?
About 80% of today’s mixes come in so hot and slammed that a compressor isn’t required. Use your ears when you receive a mix — if you find that the mix itself is already pretty compressed, adding compression at the mastering stage probably won’t help it much.
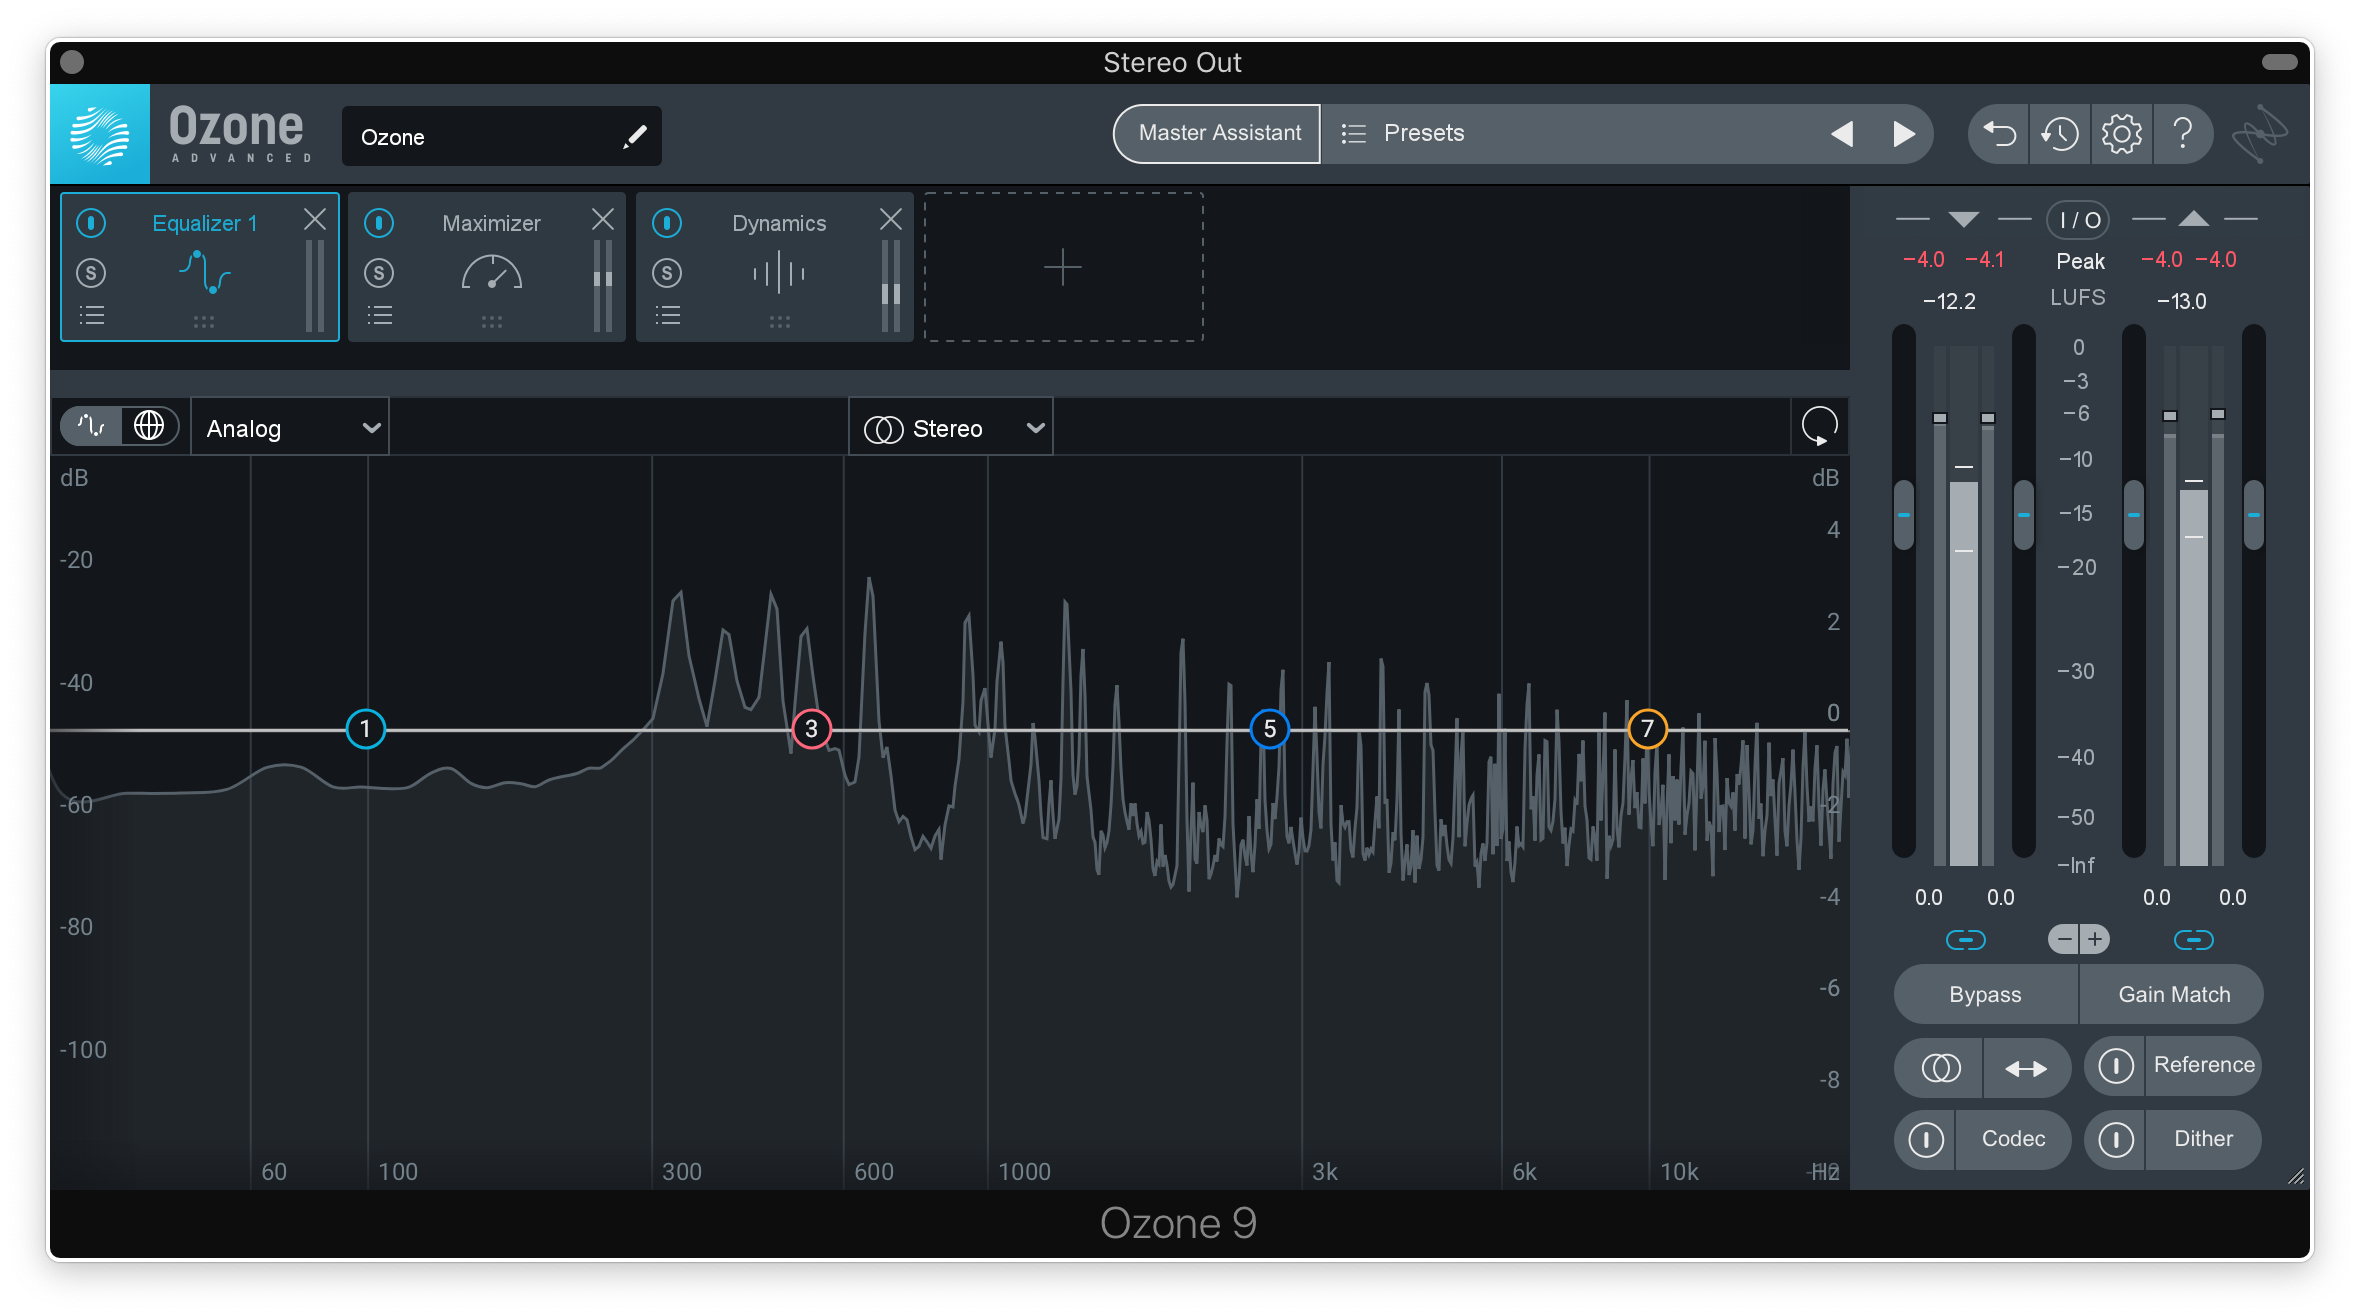
Using effective metering will help you identify the dynamic range of your master. As mentioned previously, PSP’s TripleMeter is a great tool for measuring VU, specifically. Ozone 9‘s built-in meters are also great for looking at other important units such as LUFS and True Peak.

How much compression is enough?
In truth, mastering engineers hardly use any compression. Even if they do, it’s at low ratios and high thresholds. Here are some general guidelines if you want to use compression while mastering:
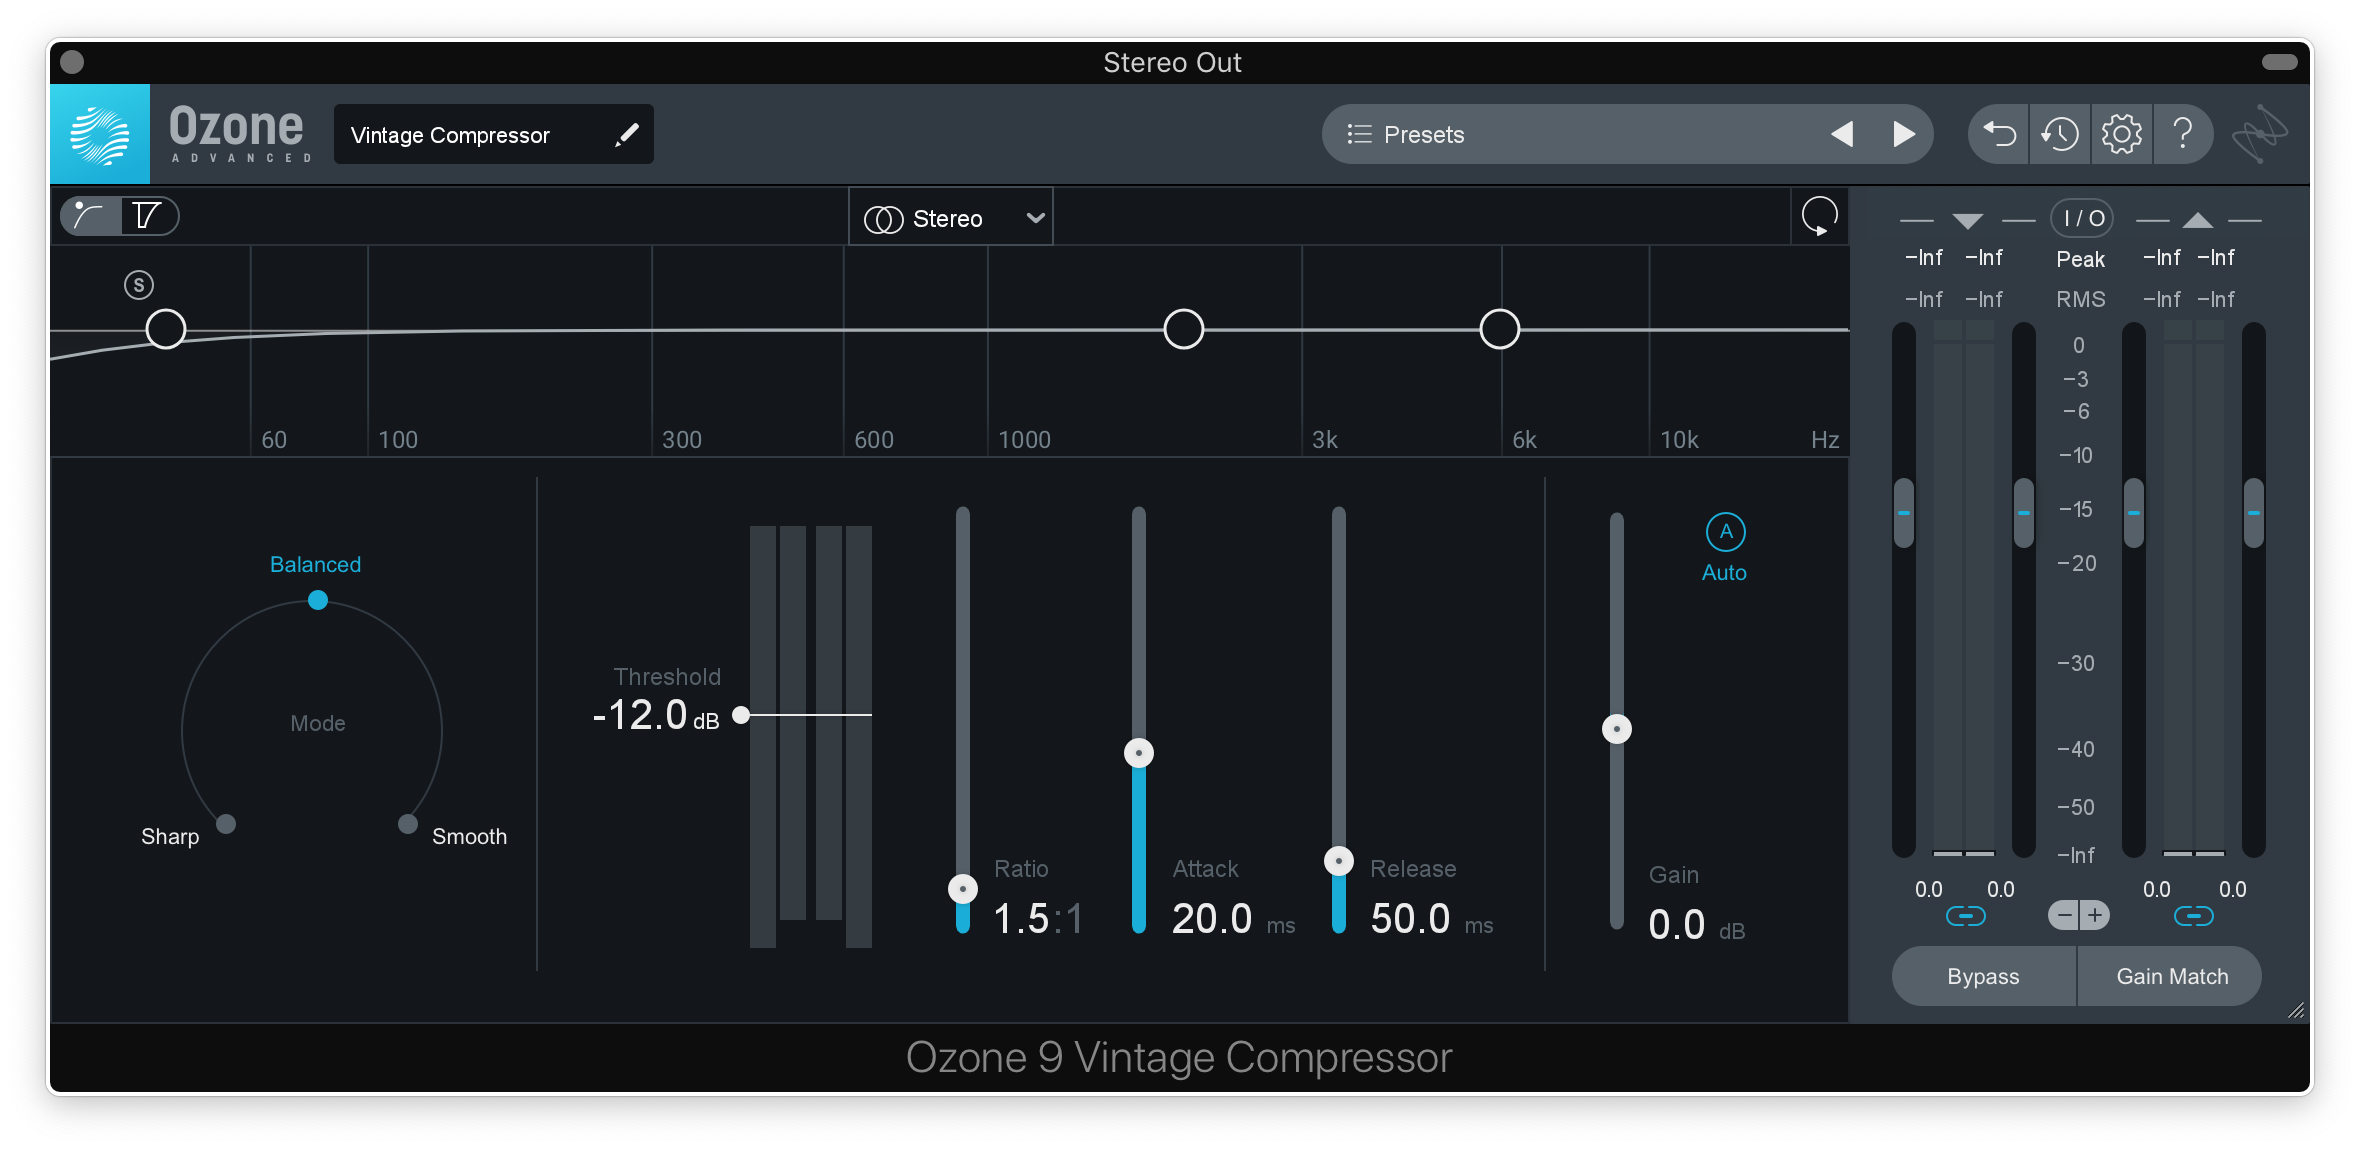
- Start your ratio at 1.25:1 or 1.5:1. Going past a ratio of more than 2:1 is not recommended.
- Set your threshold pretty high so that you’re getting 2 dB of gain reduction at most.
- Use your ears; if you apply compression and don’t like how it affects your master, don’t hesitate to take it out.
- Keep asking yourself after every move: “Am I making the music sound better?”
Multi-band compression
Mutli-band compressors, commonly found on mastering chains, divide the frequency spectrum into multiple bands and offer individualized compression settings for each. Below, let’s identify multi-band compression’s pros and cons.
The pros:
- The flexibility to treat isolated areas of the frequency spectrum
- Different areas of the frequency spectrum can call for different needs. For example, bass frequencies are longer in wavelength, and having a separate band to process the low end without affecting the rest of the frequencies can be ideal in some scenarios.
- The ability to use different settings across different bands
- With a multi-band compressor, you can set different attack, release, and threshold settings for the lows, low mids, high mids, and highs.
The cons:
- Loss in fidelity
- For a multi-band compressor to work, it needs to use crossover filters to separate your audio into different bands. Whenever you run audio through a filter, you lose a little bit of fidelity. It inevitably adds a little bit of ringing, noise, and distortion.
- The dangers of over-processing
- With mastering, the number-one rule is to avoid over-processing. Over-processing with a multi-band compressor can easily skew the frequency and phase relationships of your master. You should only use a multi-band compressor if you have a specific purpose and know what you’re doing.
Summing it up
In summary, compression can be a useful tool if your ears tell you that the mix needs it. That said, you should use compression in moderation; try not to over-process, and keep the gain reduction to no more than 2 dB.
That’s it for this entry — in the next post, let’s talk about limiting.
Explore royalty-free one-shots, loops, FX, MIDI, and presets from leading artists, producers, and sound designers:
December 25, 2019

.svg)
.svg)


