.svg)
.svg)


Limiting is the step in mastering where you get your mixes up to commercial loudness to compete with the other masters out there.
This post is the fifth article in our introductory guide to mastering. If you’ve missed an entry, click on any topic below to catch up:
In this entry, let’s explore limiting.
Limiting is the last step in your mastering signal flow. It’s here where you get your mixes up to commercial loudness to compete with the other masters out there. Here are a couple of tips to get you started with limiting.
Target levels

In part two of our mastering series, we talked about the importance of setting target levels by using VU meters. This is an essential step to help guide you towards reaching the loudness you’d like to achieve.
Here’s a quick refresher of the different target levels needed for the different genres:
- Classical: 0 VU = -18 dBFS
- Jazz: 0 VU = -10 dBFS
- Pop: 0 VU = -8 dBFS
- Aggressive pop / hip hop: = -7 dBFS
When you’re limiting and getting your mix to a target level, note that if your VU meter is hitting around 0 VU, you’re more-or-less hitting the desired loudness. If you go beyond 0 VU and into the red, you’re pushing the loudness of your master and making it less dynamic.
Setting up the limiter
Every limiter has almost identical controls such as input gain, an output ceiling, attack, release, and gain reduction, and it’s worth going through how we can apply these in a practical fashion. For the purposes of this post, I’ll be using one of my favorite mastering-grade limiters, PSP’s Xenon.
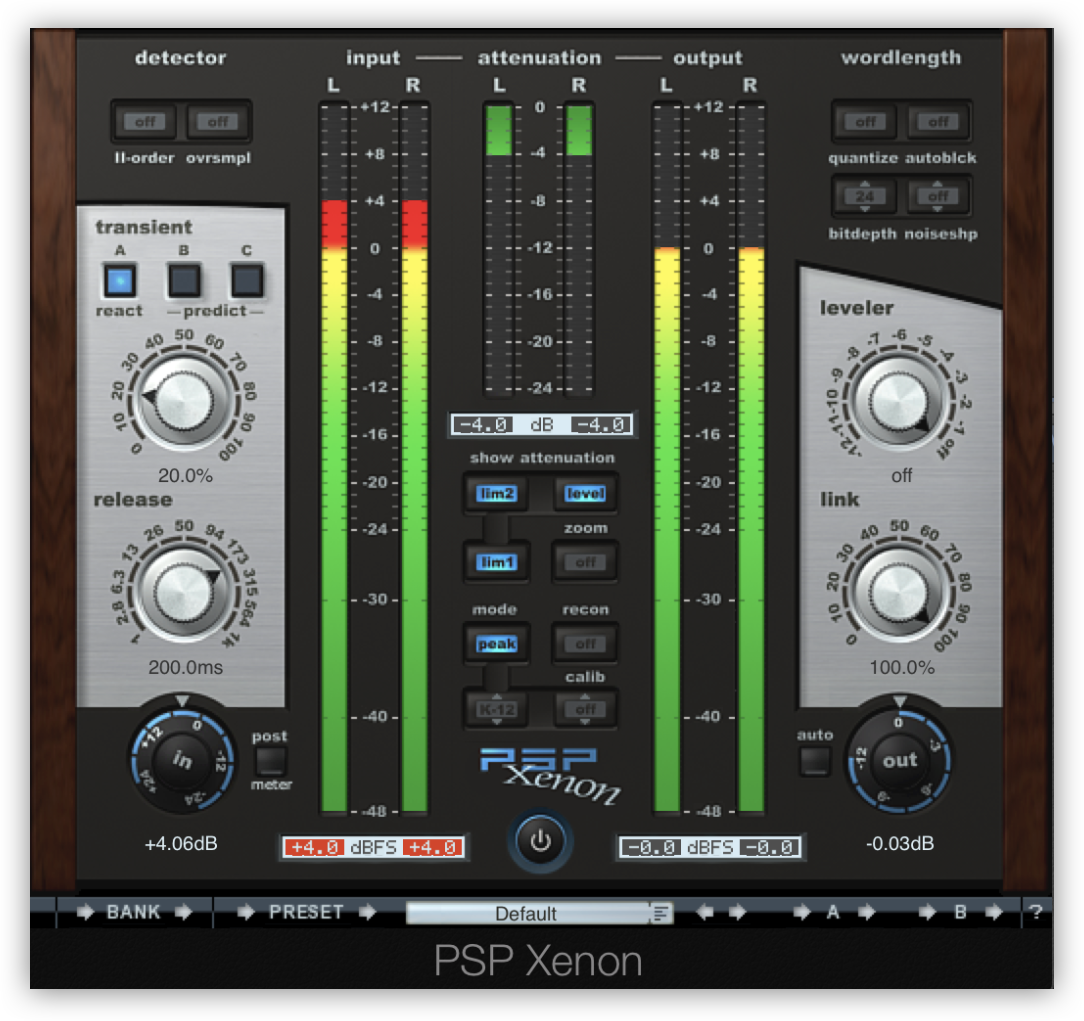
1. Input and output ceiling
The input gain is the amount of gain that you’re feeding into your limiter. The more gain, the more gain reduction, and the louder your master will be. To start off, slowly increase the input gain of your limiter until you reach your target level. You might need about 4 – 7 dB of gain reduction to achieve this.
The output ceiling is the limit that your audio signal doesn’t cross. In practice, you want this level to be below 0 dBFS to prevent any digital clipping. Before you start tweaking any settings, I recommend that you set the output gain limit to somewhere between -0.2 dBFS and -0.02 dBFS.
2. Attack and release
The attack and release parameters determine how quickly limiting is applied to the input signal and how quickly it returns to an uncompressed state.
Limiters generally tend to have fast attacks — try to set your attack time to be as short as possible, without loosing impact. The release time can be a little trickier. A release that’s too long will cause a loss in level and pumping, while one that’s too short will cause distortion artifacts. If your limiter has an auto-release setting, consider using it so that the limiter will be able to compute the best release time from moment-to-moment.
3. Link control
The link control setting on your limiter determines if the plugin limits the left and right channels equally or independently.
When the channels are completely linked (100%), the limiter preserves the solidity of the bass and the left / right balance of the mix. When the channels are unlinked (0%), your master will sound wider and louder, but it thins the bass and changes the stereo balance.
A good compromise would be to set the link control to 50%. However, if a mix has a lot of interplay and nuanced differences between the two channels, you may just want to leave the link control to 100%.
4. Gain reduction
To reach your target level, you’ll find that you typically need at least 3 dB of gain reduction. The more gain reduction you have, the more you’ll hear the artifacts of your limiter. In a good master, you don’t want to hear the limiter working; therefore, ideally the gain reduction limit you have on the limiter should be no more than 2.5 dB. But how do you keep the gain reduction down while achieving commercially competitive levels? The answer is using your limiter in conjunction with a clipper.
The clipper
Though the Loudness Wars are on the decline thanks to streaming, many clients still want their masters loud, and a degree of loudness is still expected in the commercial market. Professional mastering engineers often use a clipper to add extra gain to their master. As its name suggests, a clipper ‘clips’ the mix to add apparent loudness to the master. Kazrog’s KClip is a popular option that can deliver some pretty great results.
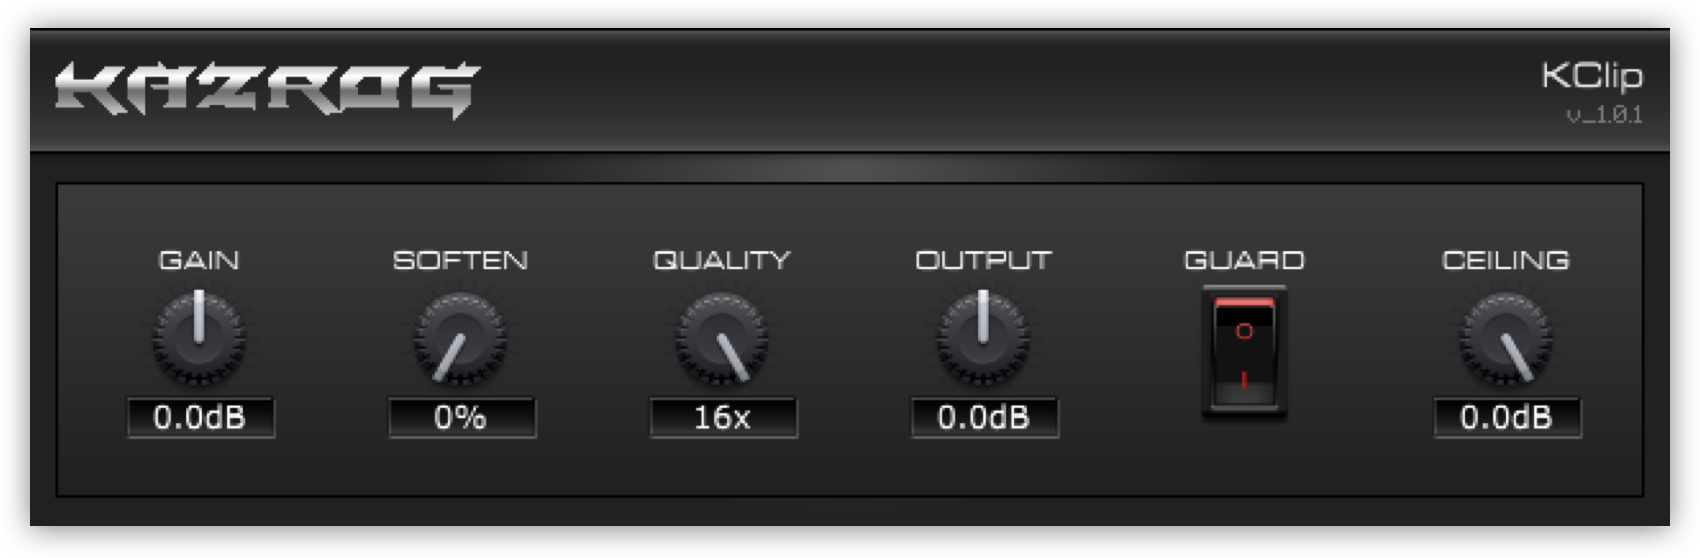
Here’s how to use a clipper:
- Push the input gain of your limiter until you achieve your target level.
- Take note of the amount of gain at the input stage (for example, 8 dB).
- Now, load up the clipper before your limiter and split the difference between the two.
- You now should have 4 dB of gain on the clipper and 4 dB of input gain on the limiter; this allows you to have less gain reduction on your limiter, while still achieving the same loudness as before.
This guide should give you a good starting point to start limiting — as we discussed with compression, just remember avoid over-processing.
In the next and final entry, let’s take a look how to prepare your master to be sent out to labels / distributors / digital content providers.
Explore royalty-free one-shots, loops, FX, MIDI, and presets from leading artists, producers, and sound designers:
December 26, 2019