.svg)
.svg)

Following the launch of the Splice integration with Pro Tools, we’ve been taking some time to thoroughly dive into some of the most important topics related to AVID’s flagship DAW.
Like working with any other digital audio workstation, it’s not only essential to learn how to use it, but how to use it efficiently. Whereas shortcuts can help you while you work, templates can help you before you start working.
Pro Tools templates are the secret to faster sessions, cleaner mixes, and more consistent results. They help maintain a producer’s creative flow and keep technical details out of the way of the music.
And with a solid foundation of well-designed templates, notably for different use cases, you’ll achieve a consistency across your projects that’s very useful down the line. They give your madness a method, including if you need to go back and find or update a project after it’s been released.
Think of it this way: If you’ve finally found that vocal chain for the vocalists you work with, why set it up manually for each project? If you know what software instruments you always use when sketching out a new song idea, a few minutes of preparation can have them ready for you each time you go inspiration hunting.
Therefore, today, we’ll focus on Pro Tools templates: the best ones out there for you, how to access them in the DAW, and how to edit or create new templates yourself.
Must-have Pro Tools templates for music production
The templates you rely on will depend on the volume of your projects—for example, if you’re only producing for your own project vs. producing for multiple artists. In the case of the latter, you might be dealing with a wider range of personalities, preferences, and styles, all calling for different production methods.
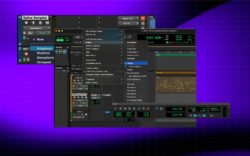
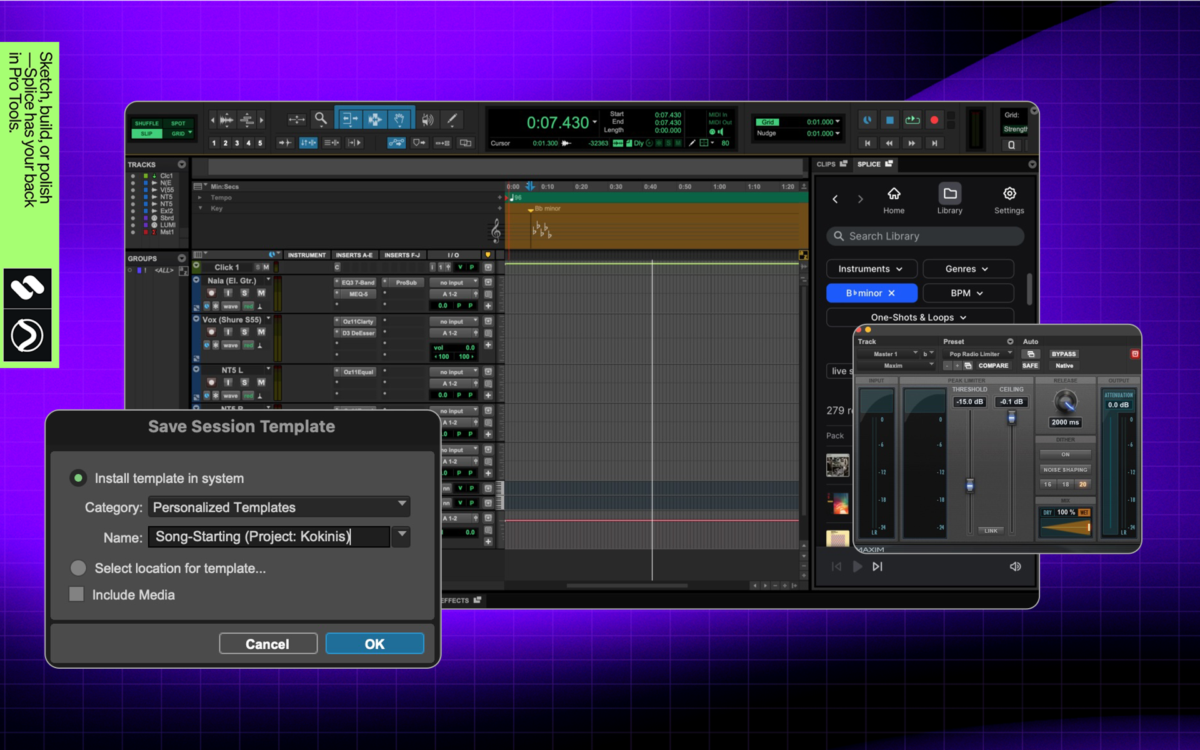
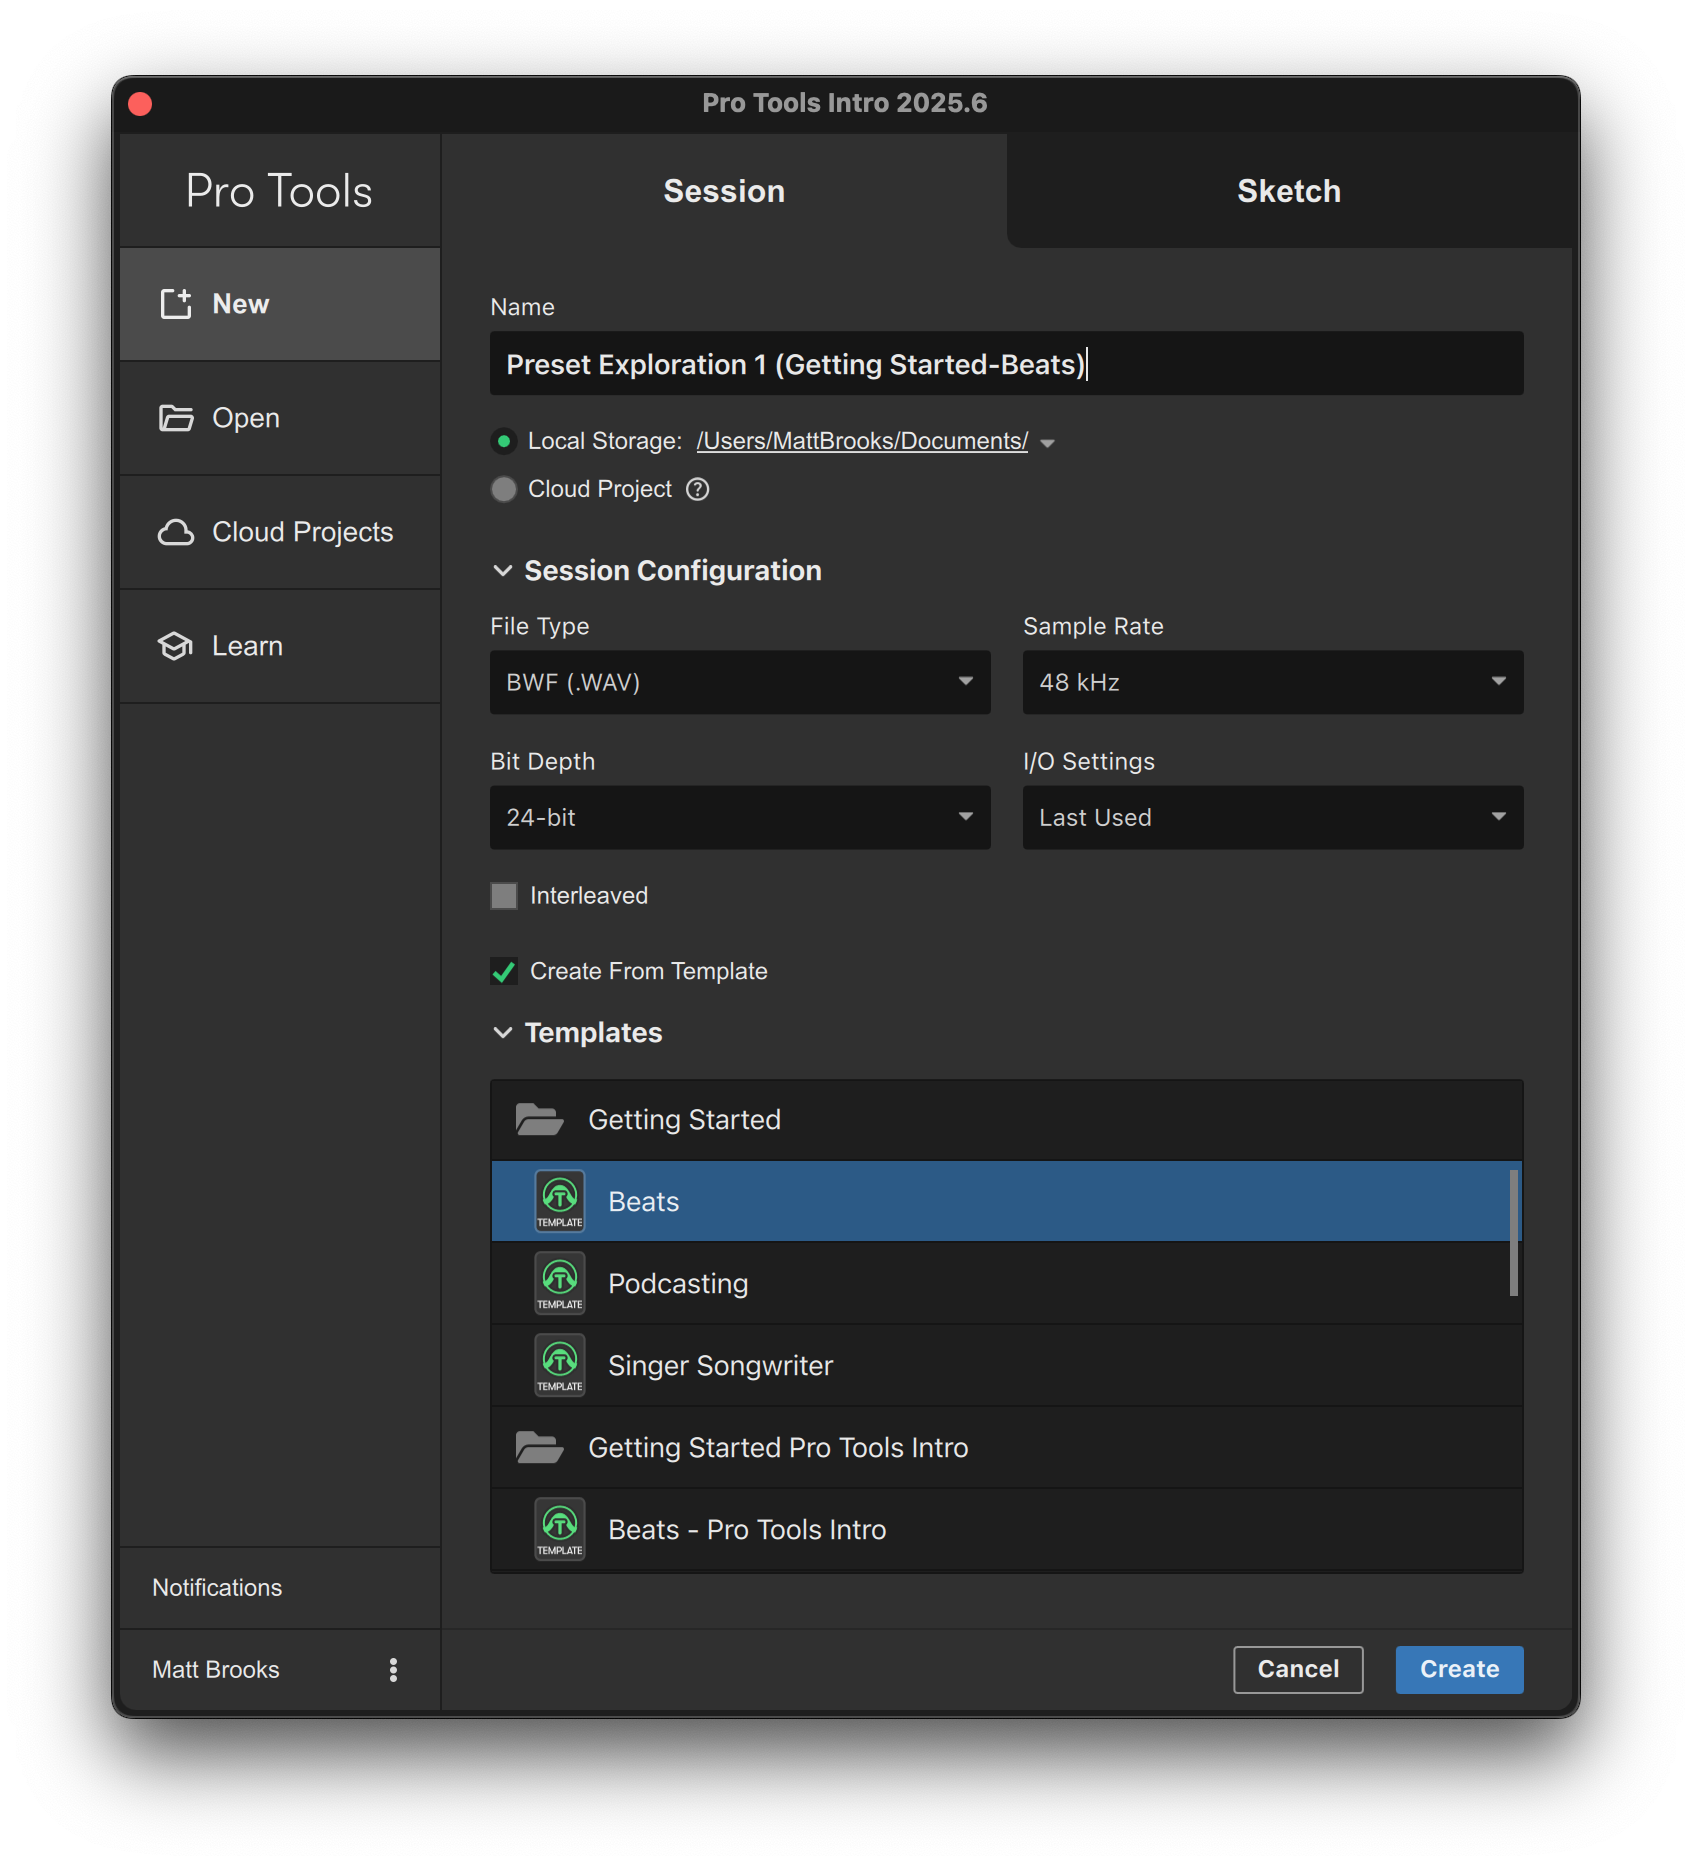
Before you create a new template or find one from another producer, be sure to check under New → Templates on the Pro Tools startup window. There, you might find some stock templates for getting started, and depending on the plan you’ve selected, some templates by top producers or for specific uses like post-production.
Now, let’s break down Pro Tools templates by a few common use cases.
Recording templates for quick setup
We begin where you begin—with recording, the first step of music production. Recording templates in Pro Tools can eliminate setup delays so you can start capturing your ideas immediately. Every speed bump is a risk of losing an idea or disrupting your creative flow, so setting up a template to start your new projects on the right foot is incredibly valuable.
Open up a new project in Pro Tools, but don’t select an existing template. I would suggest starting with:
1. A set number of tracks for each of your most common instruments, as well as a click and master, all color coded and clearly labeled. For myself, it looks something like this:
2. The specific I/O, MIDI, and monitor settings for your devices. This step might indicate that you need two templates—for example, if you interchange between different audio interfaces, or if you have more MIDI controllers than can be plugged in at once.
3. Plugins for each track. These include basics like a tuner for your guitar and your go-to EQ for vocals. There are some great stock plugins within Pro Tools that you can choose from, or you can supplement those options with your own favorites. This can also be where you load up your favorite presets for virtual instruments.
4. Aux buses for reverb and delay sends. Depending on your approach, you might also set up all of your metering and go-to mastering plugin(s) on the master track (see the next section for why you might or might not do this).
You might end up with just one template for your own use. Or, you might instead have multiple templates for each artist you work with, so that during a long day, you can easily pull up a new project for the unique needs of each artist without exerting too much energy on the admin.
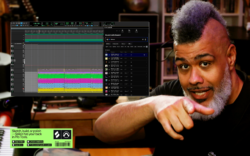
For a ready-made Pro Tools template from one of the pros, Cato Zane has you covered:
Mixing templates to streamline the process
Let’s first make this clear: If your production methods are minimal enough, your recording and mixing templates don’t need to be separate. If you tend to use a lot of plugins for both of these processes, however, setting them up as distinct templates is wise to save RAM and keep your session moving smoothly. If you’re not sure, you could always try them together and only separate if you’re encountering issues.
With that said, if and when you need a separate template for mixing in Pro Tools, your focus here is no longer on recording. Do you have a track for your Ableton Move that you didn’t use? Scrap it and free up operating power. Set up buses for your various instruments and effects, as well as all you’ll need for mastering.
Many engineers also keep multiple templates tailored to specific genres—for instance, a tight, punchy pop mix template vs. a roomy acoustic one, a more basic approach vs. an experimental one, etc. You can see how some producers will have one template to start and nothing else, whereas others might have dozens. With intention behind each Pro Tools template, you can set yourself up with a ready-made foundation that preserves both speed and sonic identity.
Mastering templates for professional results
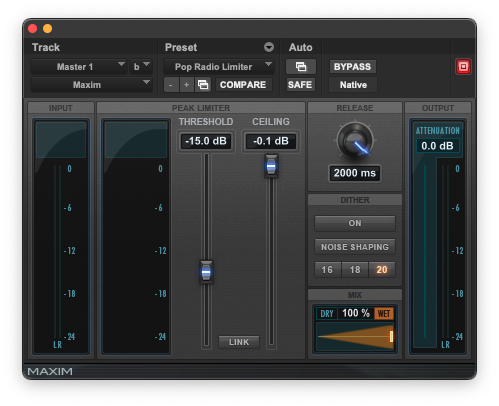
Continuing down the same logic as before, you can further break out your templates by setting up one for the mastering phase as well. Dedicating a template to this phase in Pro Tools ensures your final polish is both efficient and repeatable, preserving your signature sound. Here, in addition to Pro Tools’ solid stock plugins like Maxim, you might consider a plugin like iZotope’s Ozone, which is available for rent-to-own.
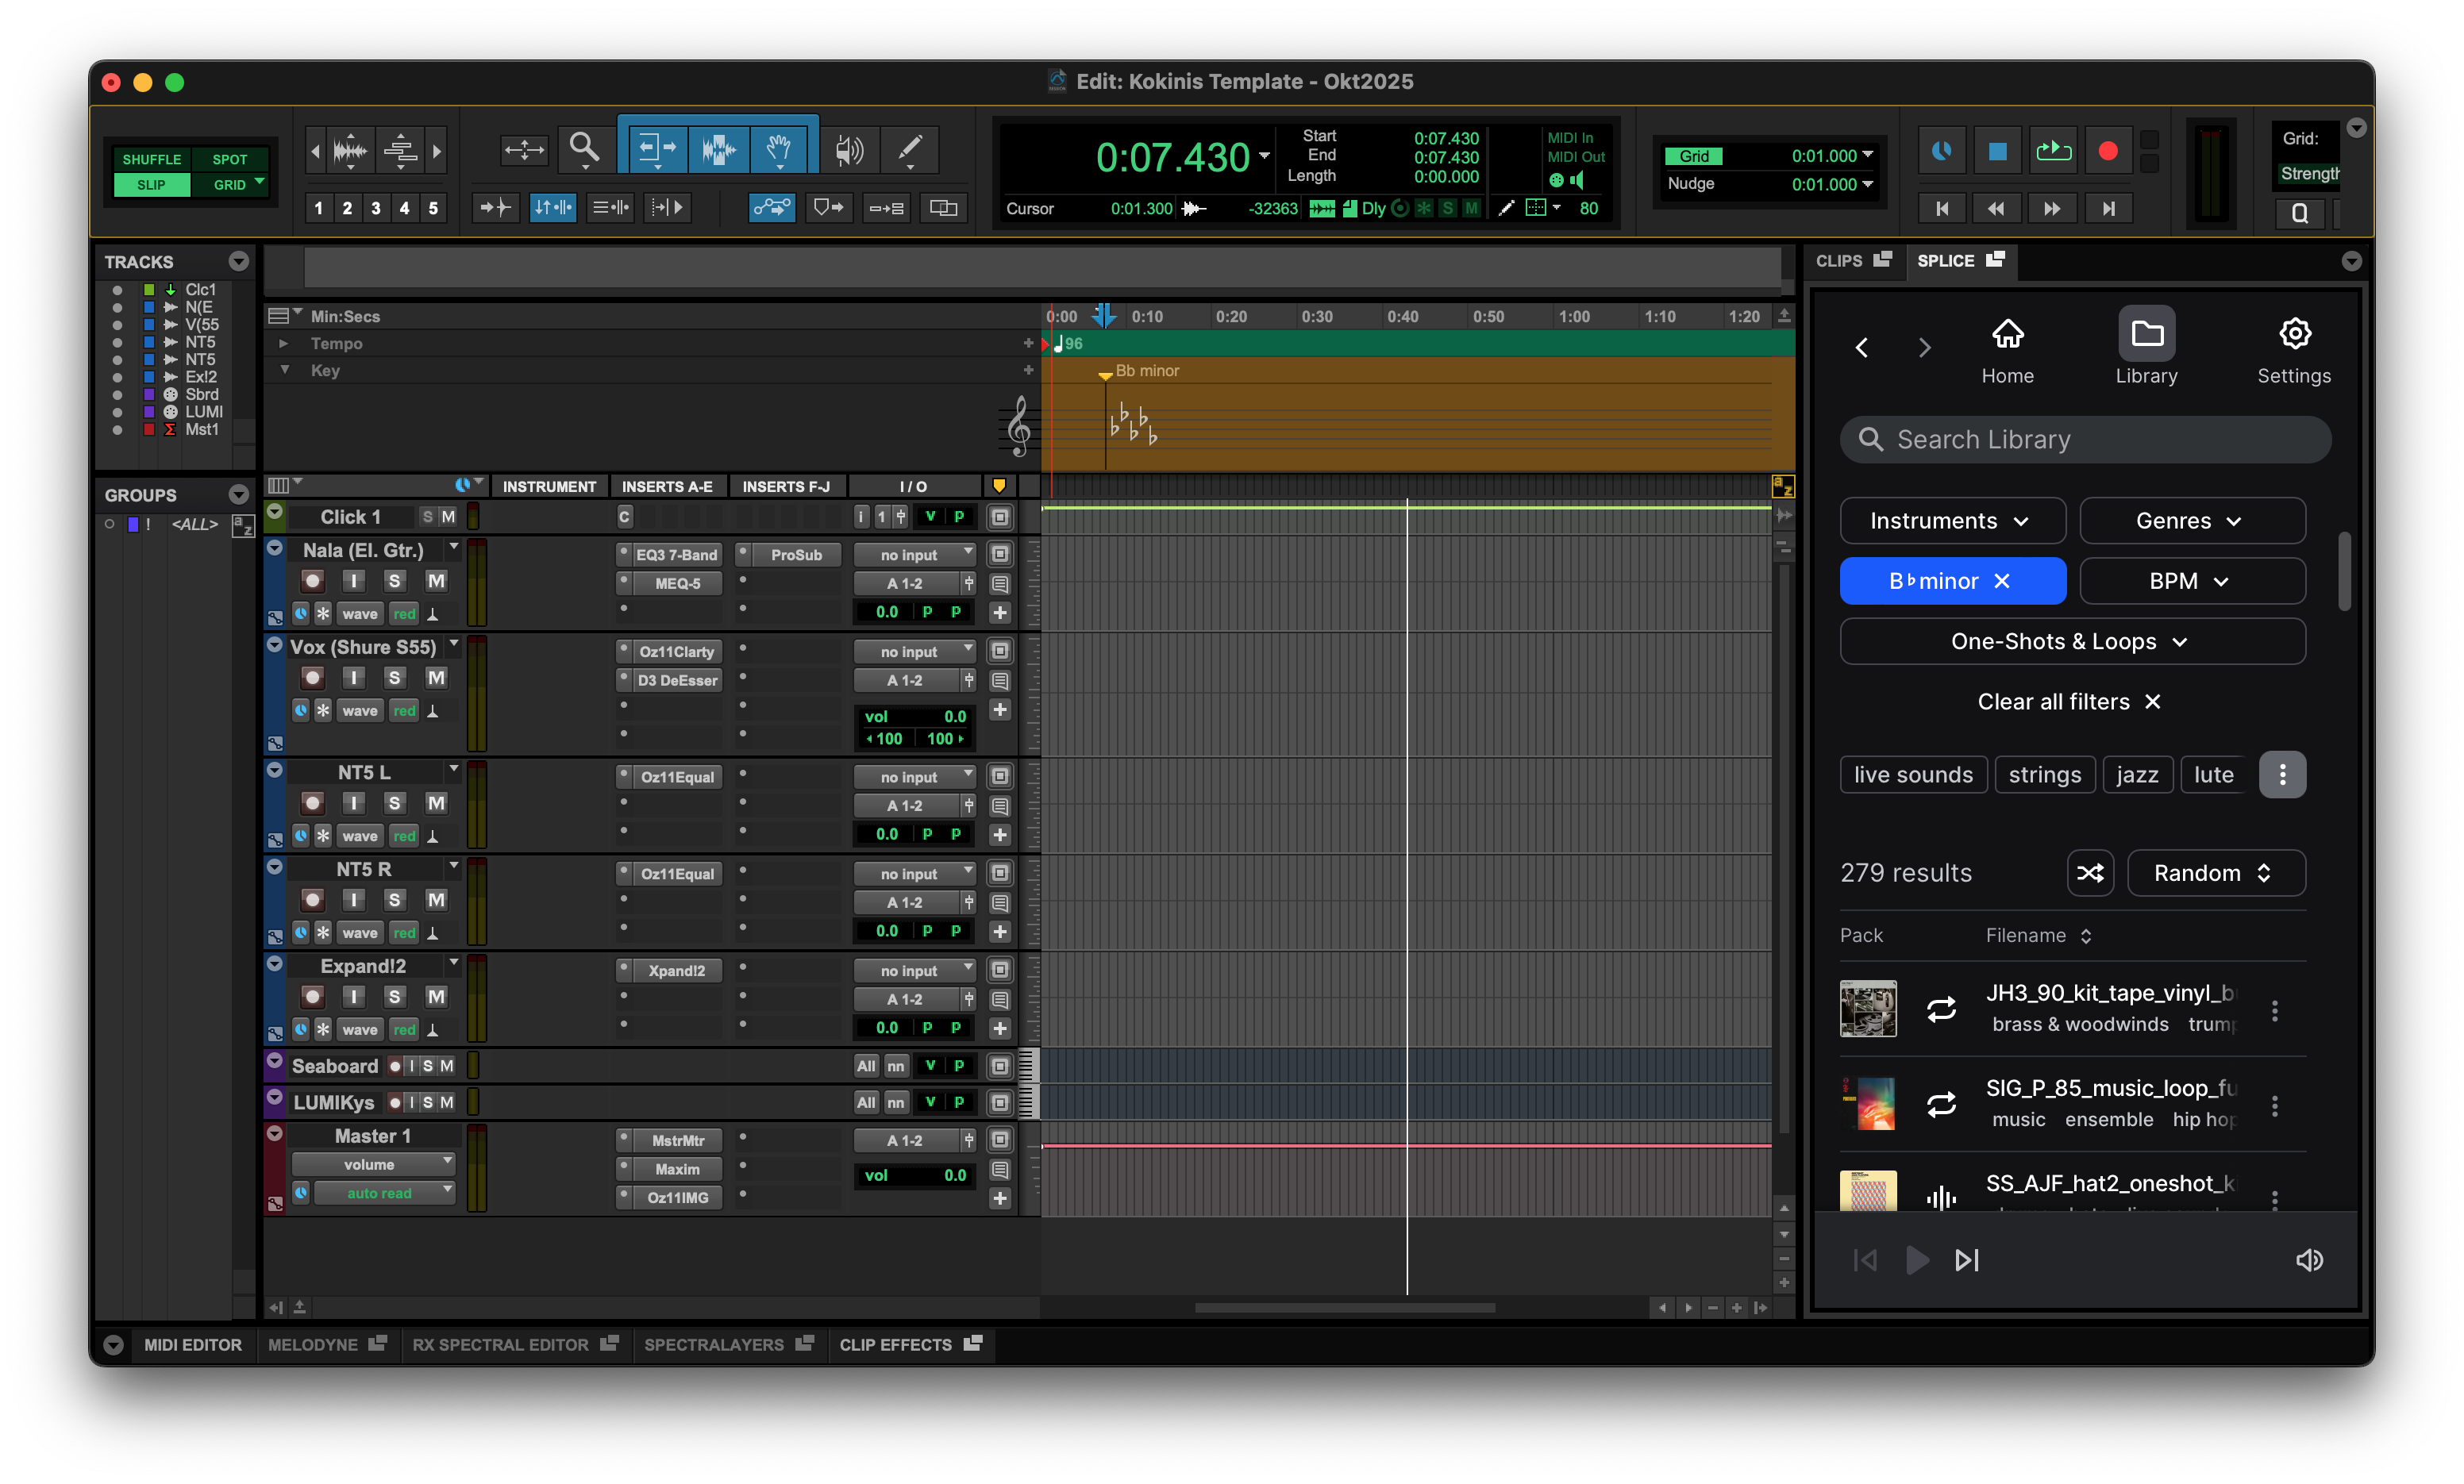
Pro Tools templates for film scoring and sound design
Film scoring and sound design sessions can involve hundreds of tracks and intricate routing setups. Pro Tools is one of the absolute best DAWs for this type of work given how it’s designed to house sessions for the pros of the pros. Let’s lay out what makes a solid template for each of these use cases.
Templates for film scoring
Differing from commercial music, these templates will be working with video in mind. This might change the basic settings during initial setup (such as 48 kHz instead of 44.1 kHz) in addition to how you approach the tracks.
Your vocal tracks, for example, might only be for dialogue, or a combination of dialogue and more musical delivery. You’re also likely to have sound effects to take into account in addition to your music that all of these sounds will nestle into.
Film scoring is about bringing the listener into a story and world, with extra pressure as it’s to be paired to a visual by default. For other types of music production, the listener might only see a visual if the song is used in sync or in your music video.
If you’re scoring films, you’re likely very set in the virtual instruments and plugins you use. Set these up how they make sense for your brain, and remember that with so many tracks to consider, you’ll want to be very intentional around color coding, markers, ordering and grouping.
Templates for sound design
Sound design is also about world-building through sound, and for sound designers, flexibility and experimentation are a key part of the process. Whereas a film score template might be focused on effectively replicating an entire orchestra within the DAW, a sound design template should facilitate creating a universe of complex musical and not-necessarily-musical sounds. Any foley elements and other one-shots should be easy to find, playback, or map to your MIDI device.
Pro Tools templates for vocal chains and sessions
Vocal sessions often demand quick setup and consistency across takes. One of the quickest ways to frustrate your artist is to ask for them to wait when they’re ready for another take. Here, you want backup tracks that are ready to be activated, as well as multiple options with different pre-prepared plugin patches.
By having your go-to vocal chain ready and also preparing alternatives, you can ensure your ability to capture the magic whenever that perfect vocal delivery comes out.
A typical vocal chain template in Pro Tools might include:
- EQ III for high-pass filtering and tonal balance
- Dyn3 Compressor for controlled dynamics
- De-Esser to reduce sibilance
- D-Verb for depth and resonance as you need
In the case of all of these, you might have a preferred third-party alternative, free or purchased previously. You might also have a different vocal chain by use case. What are the qualities of the voice that you want to lift, highlight, or temper? How do you approach a lead differently than a backing vocal, or a group of vocalists singing together against a soloist? Consider these and any other scenarios you might encounter and shape your vocal chains accordingly.
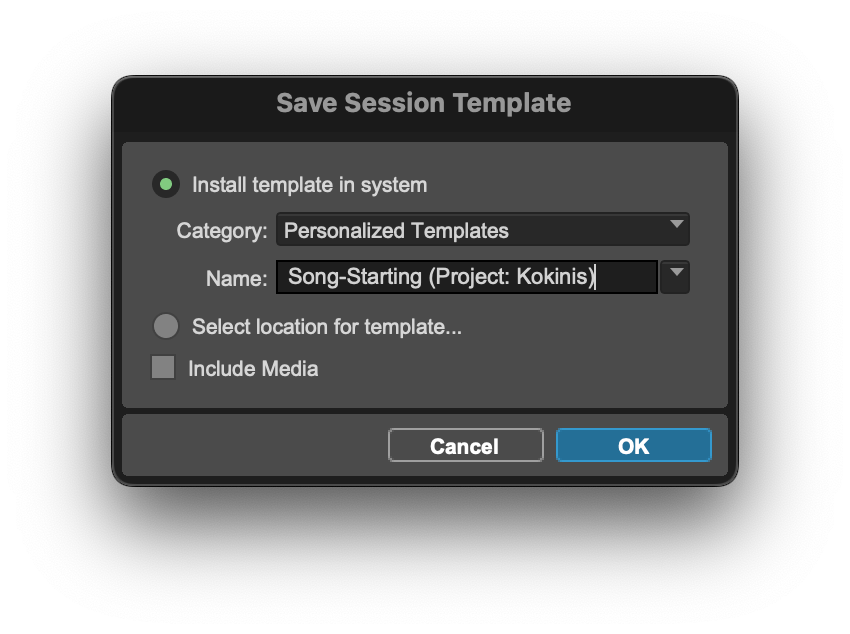
Get building now to save time and effort later
While we’ve offered a wide range of tips today, take all of this with a grain of salt, as the most effective Pro Tools templates are going to be the ones tailored to your unique workflow. We can only set the stage for what you might consider, including this final takeaway: Start with just a few simple setups. Test and refine them, and if you’re working with other artists, ask for their feedback or input.
Over time, your template library will reflect not just your technical preferences, but also your creative style, and before you know it, you’ll be providing your own template to fans as Cato Zane did with us.
Discover, build, and create with Splice—right inside Pro Tools:
November 17, 2025