.svg)
.svg)

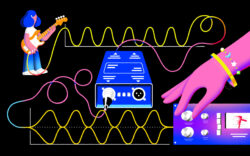
Illustration: Jordan Moss
What is a patchbay?
Simply put, a patchbay is a central hub that connects any sound source in your studio to anything that can listen to the sound.
In a DAW like FL Studio or Ableton Live, these connections are made automatically. When you insert a synth on a channel, it automatically routes the synth to the output so that you can hear it. If you put an EQ and reverb after the synth, the routing changes automatically so that the synth (the sound source) goes into each effect in the order you’ve inserted them.
But, imagine if that synth, EQ, and reverb were physical units in your studio—the only way to connect them would be to plug the output of the synth into the input of the EQ, and then connect the output of the EQ into the input of the reverb. Finally, you would plug the output of the reverb into your mixer or recording interface.
As you might’ve gathered, this can be very time-consuming if you ever want to change how things are routed to each other. Switching the reverb and EQ or adding any other effect to the chain would require unplugging everything and re-connecting in the desired order.
This is where the patchbay comes in. In this guide, we’ll explore how a patchbay works, what they look like, and common configurations you’ll want to know about. Feel free to use the table of contents below to navigate to a specific section.
What you’ll learn:
- What is a patchbay?
- How a patchbay works
- What a patchbay looks like
- Patchbay configurations
- Conclusion
How a patchbay works
The most confusing thing about patchbays is understanding the input / output convention. Synths and mics output signal but connect to “inputs” on a patchbay and become “outputs” on the other end, but this obscures the fact that no connections are exclusively inputs or outputs, they’re just that: connections. Technically, any of them could be inputs or outputs!
So instead, let’s establish some general terms to help explain the patching system:
- Sound source: Anything that carries sound. This might be a sound generator (ex. synths, drum machines, etc.), sound transformer (ex. microphones, preamps, effects, etc.), or simply a sound carrier (ex. the line out of an audio interface). Basically, anything that sends sound through audio cables can be considered a sound source.
- Inputs: Anything that can receive sound through an input. This can be a channel on a mixer, audio interface, effects, or even speakers. In the context of patchbays, effects that process sounds are also sound sources, although they don’t generate sound on their own. For example, a reverb unit takes the input from a sound source and then becomes a sound source itself, so it must have both an input and output. However, the input for an interface or mixer can be thought of as only an input since it doesn’t process or change the sound as an effects unit would. These types of input are often the final destination for the sound.
- Connections (jacks): Any of the places you can plug a thing in. Again, a patchbay only knows how to connect one thing to another. So, inputs and outputs are determined by the source and destination.
What a patchbay looks like
With that established, let’s examine the two sides of a patchbay.
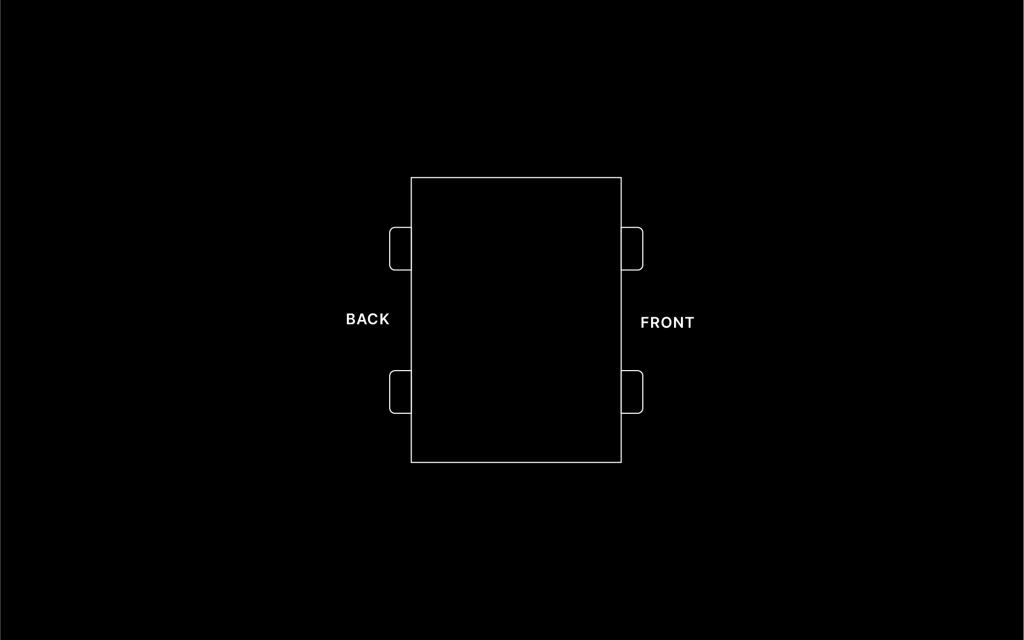
The back of the patchbay
A patchbay will normally consist of two rows with connection points on the back. The standard use is to permanently connect any sound source to the top row on the back of the patchbay.
Then, every input for effects and audio interface channels can be permanently connected to the bottom row in the back.
Now, how do we connect everything together? This is where we move to the front of the patchbay.
The front of the patchbay

The same two rows of connections are also available on the front. Since the output of our sound source is connected to the top row on the back of the patchbay, this means the output of the sound is connected directly to the same connection on the front.
By plugging a cable into the top row of the patchbay, we’re simply extending the connection from the sound source. From here, you could plug it directly into anything you want—and the beauty of the patchbay is that all of our potential inputs are here as well.
So what does a patchbay do in practice?
Since we connected all of our inputs for our audio interface and external effects to the bottom row on the back of the patchbay, plugging any signal into the bottom row of the front connects us directly to this input. This means that we can freely route any of our sound sources to any of our inputs from the front panel and change them within seconds by re-routing patch cables.
We’re also able to route a sound source through several effects with ease. We just need to repeat these steps until we arrive at our final input:
Sound source (top) → FX 1 input (bottom) → FX 1 output (top) → FX 2 input (bottom) → FX 2 output (top) → audio interface input 1 (bottom)
To summarize, the top row of our patchbay is an extension of all our sound sources (synths, drum machines, microphones, etc.), and the bottom row is a central location to connect to any of our inputs (audio interface, mixer, reverb, compressor, etc.). Instead of re-connecting cables from the various outputs and inputs at their source, we have one hub to make all of the connections. Just make sure you label the connections for ease of use!
Patchbay configurations
Now, if we had to manually connect everything in the patchbay, we might end up with a spidery mess of cables and lose some of the advantages. Luckily, patchbays offer different configurations to make things even easier.
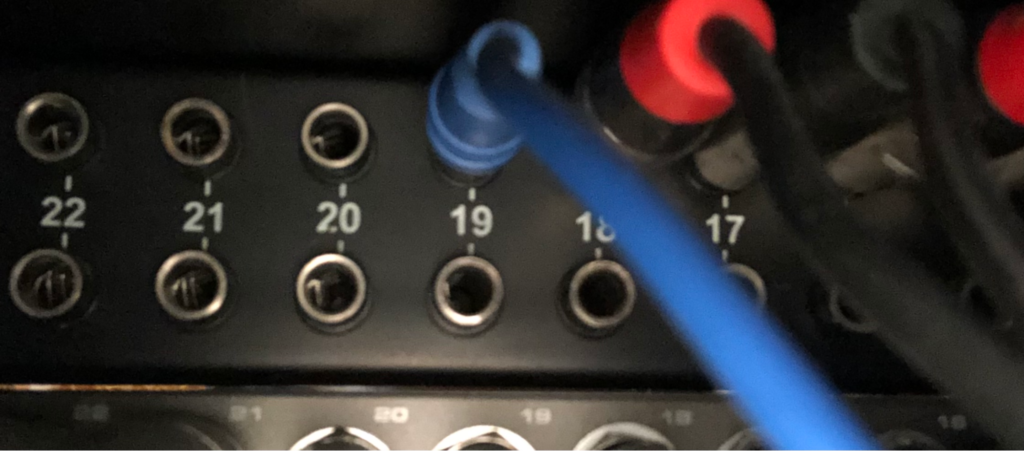
Typically, each pair of vertical connections will have a switch to set their configuration—let’s take a closer look at the most common types.
Full-normal
Whatever sound source is connected to the top on the back of the patchbay will automatically connect to the rear connection directly below it when there’s nothing connected in the front. This means that if we have our favorite synth connected to the first top jack on the rear and the jack directly below it is connected to channel 1 on our interface, our synth will be routed to channel 1 of our interface without us having to make any connections!
This allows us to keep a default routing intact with zero cables. However, we can “break” the connection by plugging into the corresponding top jack on the front of the patchbay. This will remove the signal from the lower jack and allow you to re-route it.

Half-normal
This configuration behaves in the same way as full-normal until you make a connection to the top front jack. Instead of removing the signal from the jack below, half-normal allows the signal to flow to both connections.
This is great if you want to send a copy of a signal to an effect and want both a dry signal and a separate, fully affected signal as well.

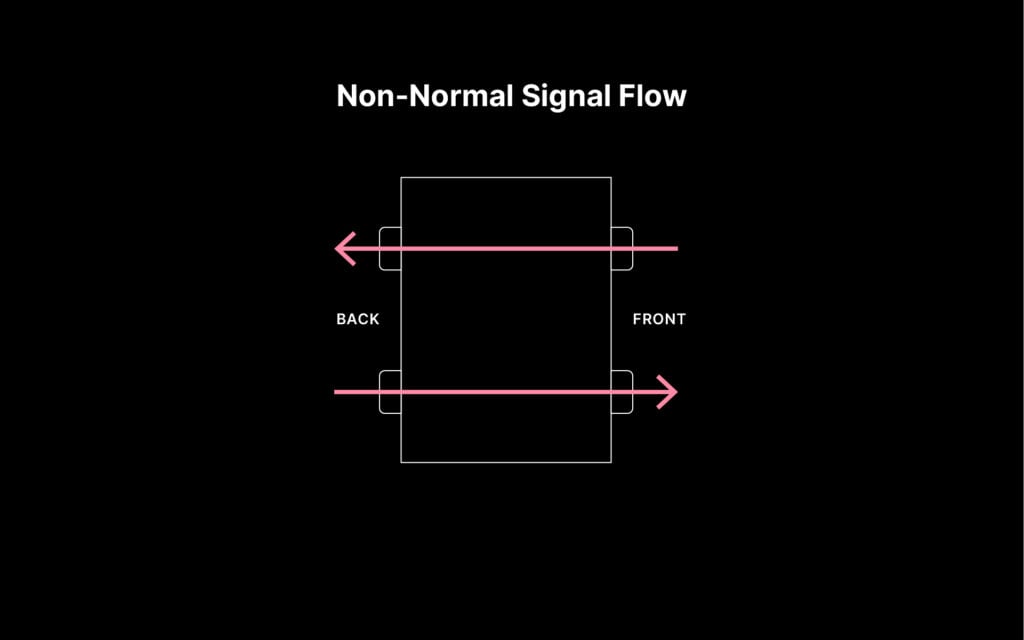
Non-normal (Thru)
Last but not least, in this configuration, none of the connections are routed to each other until you insert a cable into the front panel.
Conclusion
So, when are you ready for a patchbay? If you find yourself constantly re-connecting gear, or even worse, avoiding changing the routing even when it would be more useful, it’s time to look into one!
Having a patchbay can help make your studio more practical, flexible, and configurable. You might even find yourself being more creative with a new, patch-oriented workflow. In my studio, all of the outputs on my audio interface are also connected to my patchbay. This allows me to route my plugins or pre-recorded audio tracks to external gear with minimal effort.
Do you have any questions about patchbays? What topics would you like to see us cover next? Start a conversation with us and an ever-growing community of other music creators via the Splice Discord.
Explore royalty-free one-shots, loops, FX, MIDI, and presets from leading artists, producers, and sound designers:
July 20, 2026