.svg)
.svg)

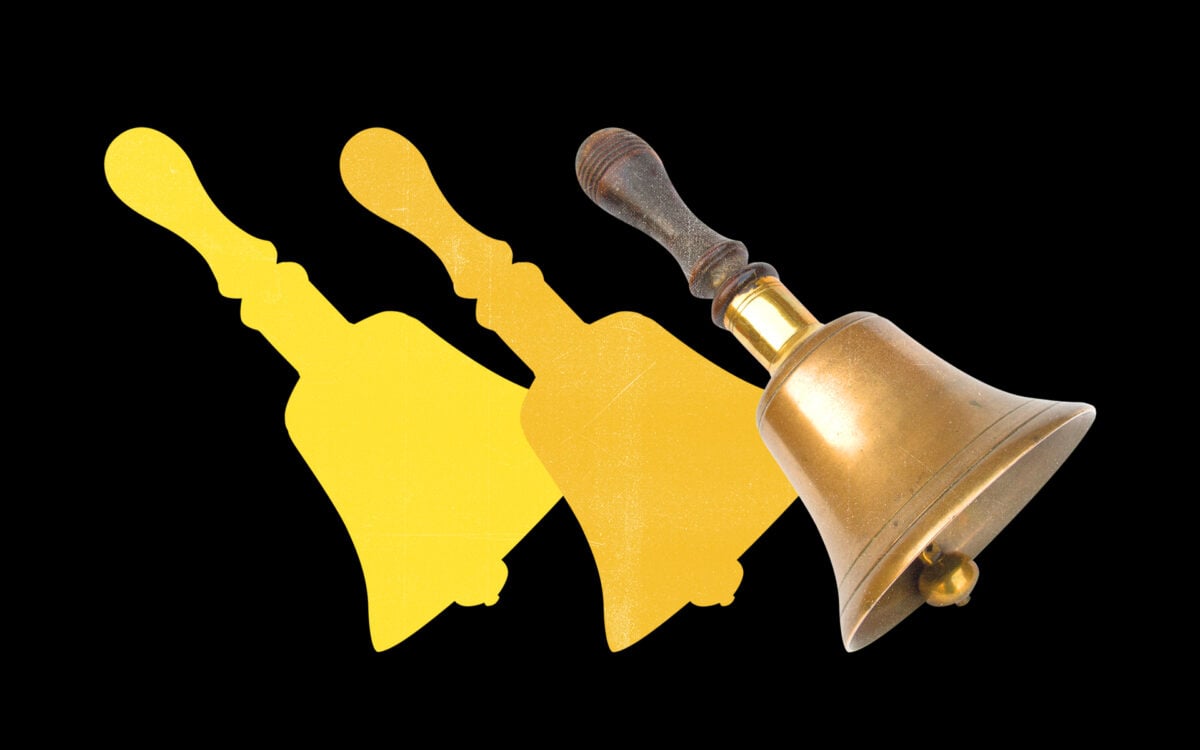
Bells have been a part of musical and spiritual life for more than five thousand years.
Despite their rich history and beautiful sound, metallic bells are scarcely found in modern orchestrated and electronic music. This is somewhat surprising, as bells are capable of producing a broad range of appealing timbres that can be incorporated into music in a variety of ways. In this article, we’ll be exploring the different ways bells can enhance a track, and the how you can record them in your home studio.
Voice to verse—anywhere. With the addition of Splice Mic, you can instantly test and record ideas, explore genres, and unlock new creative possibilities, all from the Splice mobile app.
The versatility of the bell
Bells and metallic percussion can vary greatly in size, shape, sound, and application. Larger bells like church bells produce deeper, more sonorous tones with a long decay, while smaller bells have a higher, “ting”-ier quality. In orchestration, their utility is only limited to the composer’s imagination. They can be used to carry melodies, provide hits and accents, or act as background elements to provide atmosphere and spaciousness. Given their extensive history in religious and spiritual ceremony, bells can also give a reverent and elevated tone to a piece.
The sound of different types of bells
Take a listen to the samples below for some examples of the different uses and sounds possible.
Bells as melody:
Bells as accompaniment and countermelody:
Bells as hits and accents:
Bells as ambience and atmosphere:
In addition to their versatility, the other nice thing about bells is that they can be very accessible and affordable. This is a plus for any producers working out of a smaller studio with a limited budget. Cheaper bells can still have a very nice timbre and quality. Plus, they can be pitched down in the DAW to create the sound of a much lower and deeper bell with surprisingly good results.
How to record bells
Now, let’s look at some of the best ways to record bells yourself. This article will focus on single mic setups in order to keep things simple and cater to producers who may not have access to extensive studios and gear. For these examples, we’ll be recording an antique Tibetan temple bell with a diameter of two inches.
Mic choice and placement
I’m a big fan of the ‘work with what you’ve got’ approach to making music. The lack of fancy mics and gear need not prohibit you from getting a good recording from your bells. Small diaphragm condensers are the most popular choice for bells and other metallic instruments such as cymbals and vibraphones. This is because small diaphragm condensers tend to have a good transient response—given the brightness of smaller bells and the sharpness of their transients, you can see how this would be a natural choice. However, large diaphragm condensers and dynamic microphones can also be used effectively if applied strategically.
In regards to mic placement, close miking is good if you’re looking to get a nice, clean sample. How close you want to be will depend on your microphone and the size and timbre of your bell. The potential danger of miking too close is that your transients can become too strong and punchy. If you’re looking for a sound that’s more open and atmospheric, that’s where miking from a distance becomes the natural choice, as it’ll provide a natural reverb and spaciousness to the recording. That said, one concern with this is that if you’re recording a quieter bell, far miking will increase your signal-to-noise ratio.
You can generally do well angling the mic parallel to the floor, towards the lower half of the bell’s body. This is the configuration we’ll be using for most of the examples below. That said, angling the mic upwards towards the inside of the bell is also a good option if you’re trying to highlight the lower frequencies.
Let’s take a listen to examples of different mics and techniques below and see how they compare against each other.
Using a small diaphragm condenser microphone
Here’s a small diaphragm condenser mic level with the floor, positioned two inches away:
A nice, clean sound with a pleasant and natural transient
By comparison, here’s the mic level with the floor, one foot away:
It still retains an okay transient, but with slightly less body and texture in the sustain
Now, here’s the mic level with the floor, five feet away:
Room tone and the noise floor are more apparent, but it could still work as a softer, subtler element in a mix
Finally, here’s the mic angled up towards the inside of the bell, three inches away:
A nice sound similar to the first example, but with a slightly stronger fundamental that gives it a fuller and deeper sustain
Using a large diaphragm condenser microphone
Here’s a large diaphragm condenser mic level with the floor, positioned two inches away:
A nice sustain, but with an attack that’s a bit too punchy and unpleasant to the ear without processing
By comparison, here’s the mic level with the floor, one foot away:
The distance attenuates the attack quite a bit, but it’s still a bit sharper than the small diaphragm counterpart
Using a dynamic microphone
Here’s a dynamic mic level with the floor, positioned two inches away:
Like with the large diaphragm condenser, this positioning has an attack that’s a bit too punchy and ‘thud’-ey, with less texture and definition in the sustain
By comparison, here’s the mic level with the floor, one foot away:
It still has a strong attack but isn’t as ‘thud’-ey, with an overall thinner and roomier sound
How to process bells in the DAW
As with almost any sound, a little bit of processing will likely be necessary to fit your bells into a mix. Given their sharp and strong transients, untreated bell sounds risk being a bit too harsh on the ears.
Compression
This is where compression can save the day. Use a compressor with a short attack to tame those strong transients. Keep the release short as well if you’re looking to leave the sustain unaffected and retain a drawn-out tail. If you have a transient modifier plugin or hardware device, this can be used in lieu of compression to achieve the same effect.
If you’re recording more of a bell ‘performance’ with multiple hits in succession rather than one single strike, compression becomes even more important. Transient levels can vary widely from one hit to the next; using compression will even these out, giving more consistency to the dynamics.
EQ
EQ may also be needed to fit your bells into the mix. The good news is that a higher bell sound will likely cut through your mix quite well as-is, so EQing may not be necessary. That said, if your bell is sounding a bit too harsh or shrill, simply roll off your higher frequencies.
For lower or pitched-down bell sounds, you’re typically at more risk for muddying up your mix. Depending on what other elements you have going on, you may have to carve out some of the frequencies on either your bell track or the surrounding tracks in the mix fighting for the same part of the frequency spectrum.
Hopefully, this article has encouraged you to start using bell sounds in your tracks and given you some techniques to get started. As always, don’t be afraid to experiment, explore, and discover your own applications and possibilities!
Find more versatile bell sounds in Sonic Collective’s Contemporary Minimalism: Keys & Bells sample pack:
December 26, 2023

