.svg)
.svg)

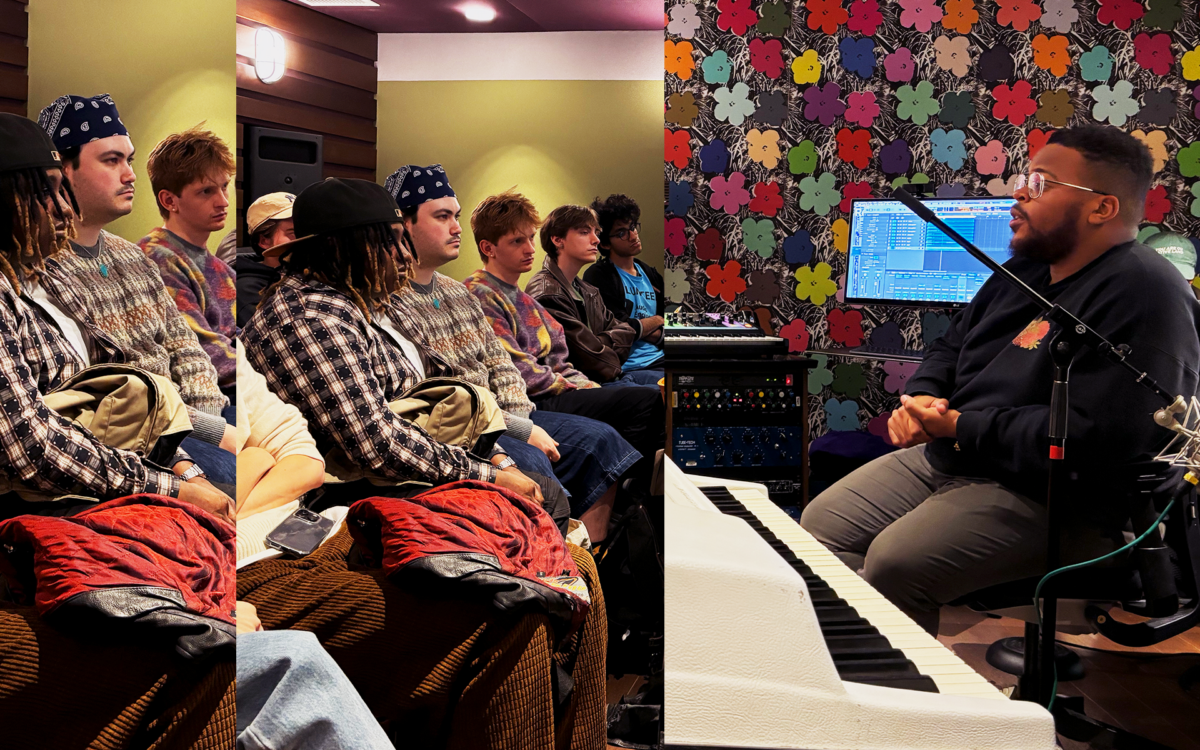
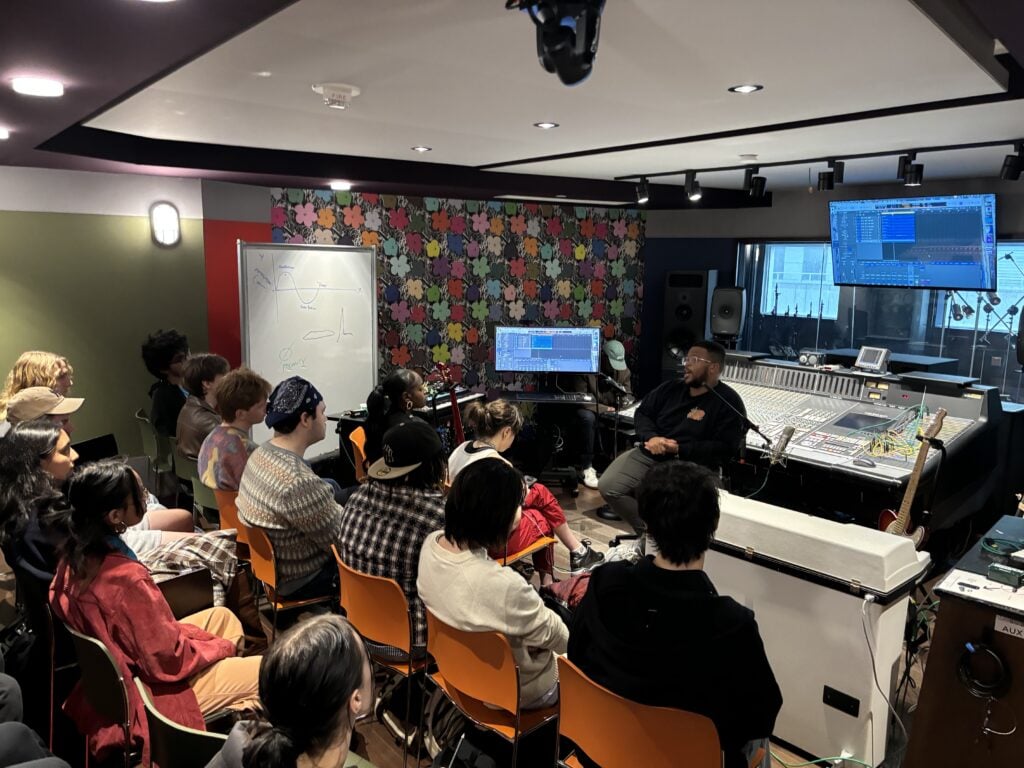
The Splice team recently visited the Clive Davis Institute of Recorded Music and had the opportunity to share a bit about the magic that happens behind the curtain.
There, 2x GRAMMY-nominated music producer and Splice’s Senior Content Producer John Smythe spent a few hours with the students in the control room, breaking down the process for how he creates a perfect sample. Below, we summarize the insights Smythe shared with the students, from ideation to completion.
1. Capture inspiration as it strikes
The process for making a great sample begins before Smythe opens his DAW or sets foot into a studio. “I usually start with a voice memo on my phone,” he says. “I often do this quickly on my guitar in one take whenever ideas come, to capture a general idea of the chord progression, bassline, harmony, and rhythm. It requires a bit of creative vision and skills on an instrument, but having some ideas handy in your voice memos can cut down time fiddling around on the guitar or piano in the studio.”
“I even like to speak on the voice memo, providing context for my future self coming back to the idea. Sometimes, I play it a second time around, singling out just the melody in case it wasn’t clear when it was coupled with the guitar chords.”
2. Establish a foundation
Once he identifies an idea he wants to track, Smythe typically starts with the bass. “The bass outlines and gives structure to the rhythm and harmonic structure of the sample,” he shares. “For slower tempos, I usually record at double the tempo to get a subdivision on the metronome (75 BPM = 150 BPM, 60 BPM = 120 BPM, and so on). Once it’s tracked, make sure it loops nicely.”
3. Build around your strengths
Now it’s time to build on the established foundation. Here, Smythe encourages musicians to play into their unique strengths. “After laying down the foundation with the bass, I’ll usually go for guitars, since they’re my strength,” he says. “I’ll do a track outlining the chord progression, and a separate track to add some character and inflections. Sometimes, one track can highlight both the chord progression and the fancier inflections. Then, I’ll lay down another guitar track to play the melody.”
Check out the guide below for more tips from Smythe on capturing high-quality recordings of live instruments:
“On combo amps / guitar cabs, I like to use an MD 421 with a tube mic preamp,” Smythe tells us. “I like to describe tube preamps as a soft, malleable cushion for the sometimes harsh midrange of guitars. Because solid state preamps translate the transients of a signal in a truer, punchier way than their tube counterparts, I find that guitar cab mics into a 1073 feels like the guitar is hitting a cold wall, with no forgiveness for the transients and harshness in the midrange. However, with a tube preamp, it feels like the guitar tone hits a soft wall—almost like a wall of bubble gum—that smears the transients and smooths over the midrange.”
4. Fill out the sample
With the bass, chord progression, and melody in place, we can fill out the arrangement of our sample with additional timbres. “I often lay down electric piano to fill out the sound of a loop,” Smythe says. “I also highlight the melody with a synth sound or the same electric piano. Keys aren’t my strength, but using them as a tool to fill out the space in a composition while relying on the guitars to do the heavy lifting for movement always helps me achieve a nice result.”
“The same thing goes with synths—sometimes I’ll write a melody with my Moog Matriarch because it’s such a fantastic instrument, but it’s easier for me to write a melody on guitar. Playing a melody I wrote on guitar with a synthesizer is one of my favorite parts of my process.”
5. Add audio effects
Last but not least, we can add the finishing touches to our sample via audio effects that take it from being a great idea to a great sample. “I often add in my favorite master bus chain—usually a UAD ATR-102 and a DBX 160 VU to follow, for saturation and pumpy compression,” Smythe tells us. “These are the only two kinds of plugins you truly need for your mix / master bus.”
“That said, a tape plugin can help add some wow and flutter if you want to give a retro vibe to your sample, and compression can glue it all together in a vintage way. Make sure to mix with enough headroom for these effects, so you’re not over-compressing or over-saturating your mix.”
Even if you don’t have premium third-party effects suites at your disposal, the built-in plugins in your DAW and free options can go an incredibly long way.
Splice INSTRUMENT is a virtual instrument plugin that puts world-class sounds at your fingertips. Download it for free and start making music with hundreds of pro-quality presets—plus new, exclusive Free Drops every month to keep your ideas flowing.
Go forth and create your own samples
And there you have it! Hopefully these tips gave you some ideas for how you can make your own loops that rival those crafted by the likes of Smythe’s sample label, Soul Surplus.
“It was incredible to see our students fully engaged during the Splice session, diving into the art of creating sample packs,” the Clive Davis Institute’s Anna Solasz shares. “They were captivated by the creative process John Smythe shared, and it’s inspiring to see them continuing to grow and experiment with Splice as a tool for their artistry… The room had a magical, collaborative energy, and the students have continued to use Splice in their projects.”
Do you have any questions or tips of your own on how to make high-quality samples? What other topics would you like to see us cover next? Start a conversation with us and an ever-growing community of music creators via the Splice Discord.
Ready to bring these ideas to your classroom?
Explore our educational resources, including free lesson ideas and our Magic Link program to get your students started:
January 10, 2025