.svg)
.svg)


In case you missed them, on Facebook or Twitter we’re offering a roundup of some of our latest Splice tips using Ableton Live for mixing and mastering. These tips are aimed to inspire creativity and get you up and running quickly with simple techniques using a variety of Ableton Live devices.
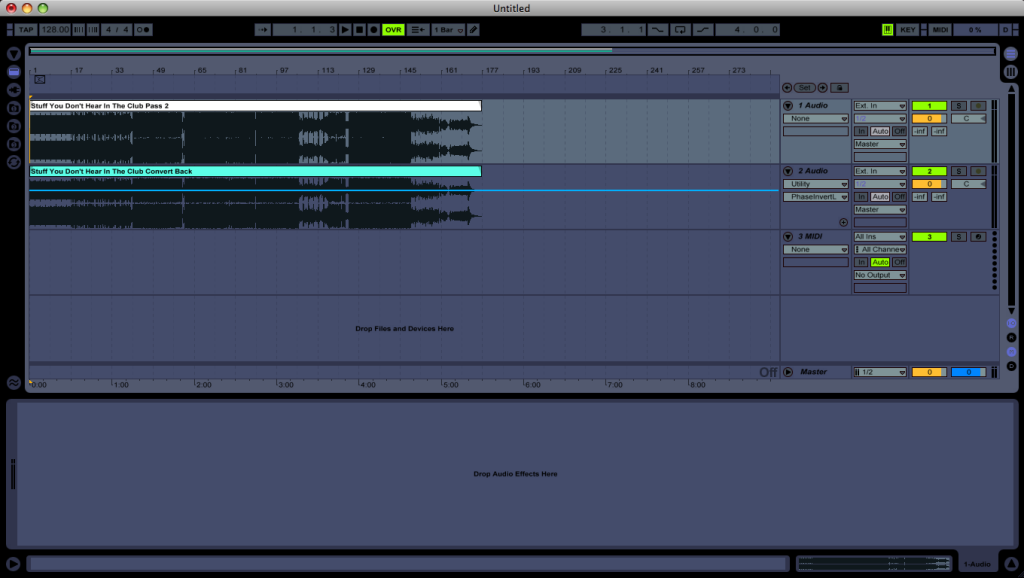
01 Reference tracks with an external source to get a great mix
- Make a new audio channel
- Set the output of the channel to ‘External Out’
- Drag your reference track into the new channel
- Keymap the channel’s ‘Solo’ button to quickly switch between your mix and the reference track.

02 Use a Notch EQ to create space in your mix
- Apply a notch type EQ curve (on EQ8 or Autofilter) on instruments with unwanted frequency content. Or use it to free specific frequency range for another instrument.
- For example, a lot of mud in the mix occurs around 200Hz. Try notching that range on non-bass instruments for clean results.
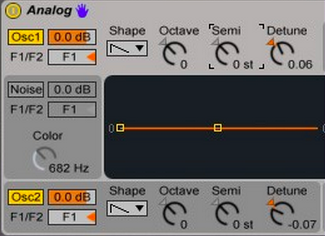
03 Widening your sound
When designing a sound, try slightly detuning your oscillators in opposite directions with a small amount of detuning (.01 to 0.15).
This will create a wider sound that is not just the sum of two waves.

04 Mixdown Impulse Drum Pads on Individual Tracks with Ableton Live
- Add and Impulse device to a MIDI track with a selection of chosen sounds.
- Next, make an audio track by going to Live’s In/Out routing section and arm the audio track or select Monitor In.
- In the Audio From tab of the audio channel select Impulse.
- In the menu bar below, there will be a list of individual Impulse sounds to choose from. Make more audio channels to route sounds as needed.

05 Thicken Your Sound Using the Chorus Effect in Ableton Live
Adding chorus is a basic and effective way to widen the stereo image or thicken a sound.
- Apply the Chorus effect on to your instrument of choice (a vocal or synth pad for example).
- Set the Delay 1 time all the way to 20ms (drag arrow up).
- Set the Modulation amount to 1.95ms and rate to 1.89 Hz (approx. values)
- Set the Highpass to around 100 Hz and start to increase the Dry/Wet signal value up to about 50-70%
August 29, 2014