Illustration: Jay Schaul
In this tutorial series, we walk through building some handy synth presets so you can hit the ground running with circle2 within minutes.
Start with an oscillator
Step 1

- Choose “Analog” for the first oscillator.
- Make sure the wave shape is set to a sine wave.
Note: This will form the fundamental pitch of the snare drum (the drum tone without the snare strainer).
Step 2

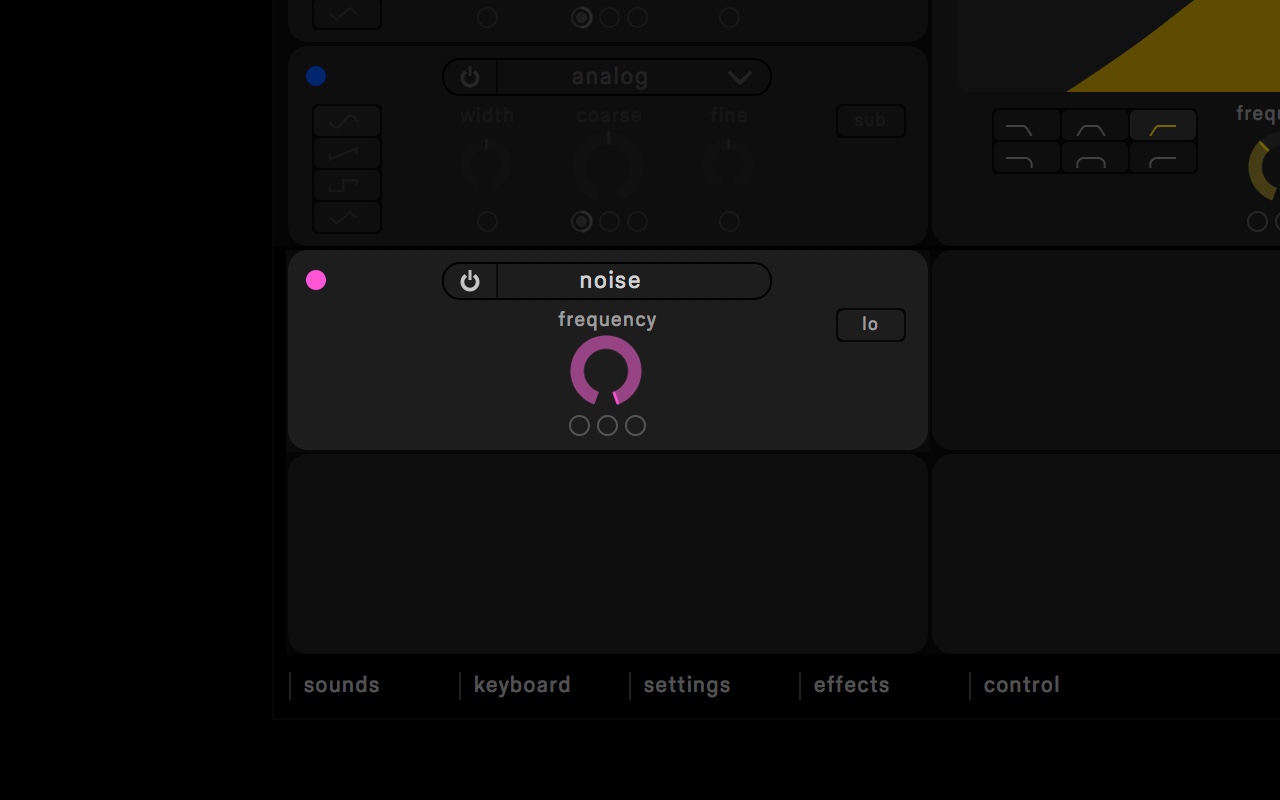
- Turn on the “Noise” generator.
- Bring the frequency all the way up to 13290hz.
Note: This is to create the “bottom” snare sound – the sound of the snare drum strainers resonating with the bottom snare skin.
Sculpt the Source
Step 3

- Head over to the green envelope to the top right of the synth.
- Adjust the Sustain to 0 seconds
- Adjust the Decay to 0.135 seconds
- Adjust the Release to 0.03 seconds
Note: Shaping the envelope as such is crucial to create a short percussive type of sound. Use a similar envelope shape for pluck sounds.
Dial in some effects
Step 4

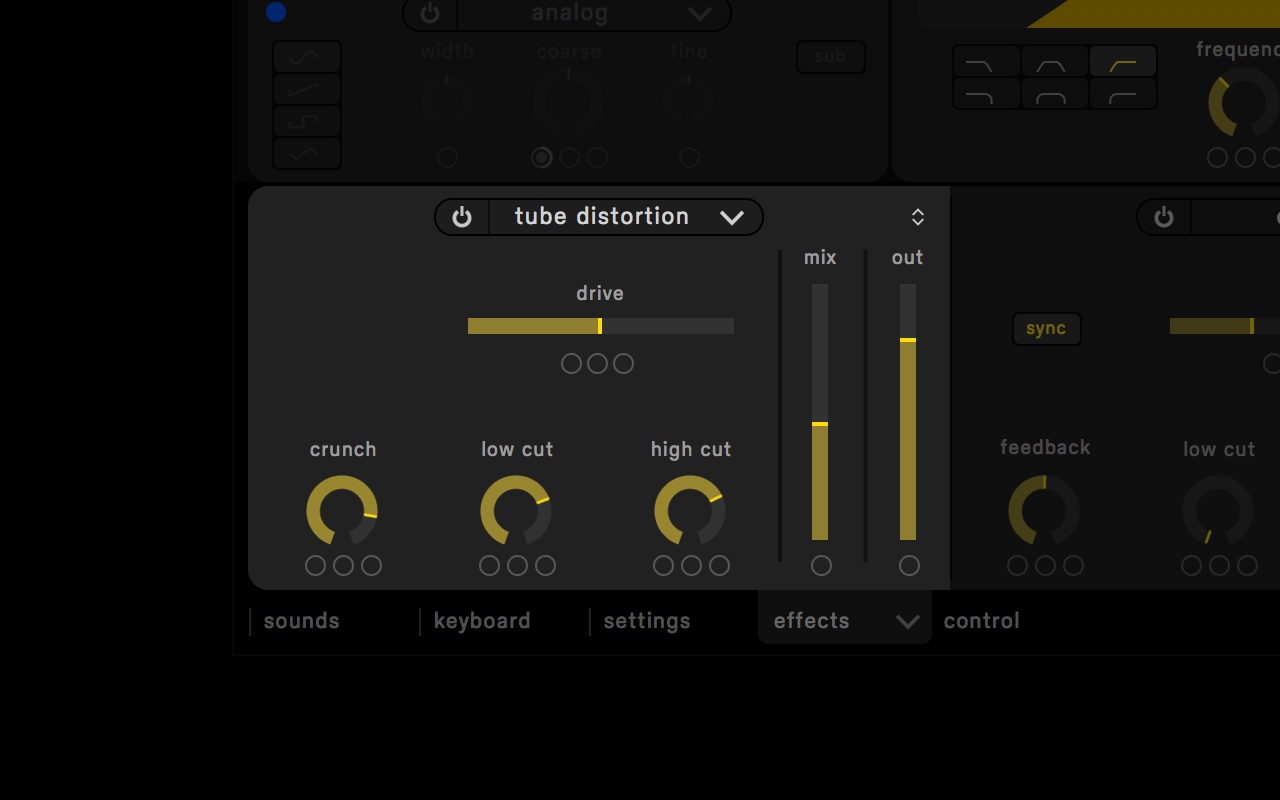
- Activate “Tube Distortion” from the bottom “Effects” tab.
- Adjust the Crunch parameter to about 8.0
- Adjust the Drive slider to about 8.0
- Adjust the Low Cut parameter to about 1250hz
- Adjust the Out fader to around 75%
Step 5

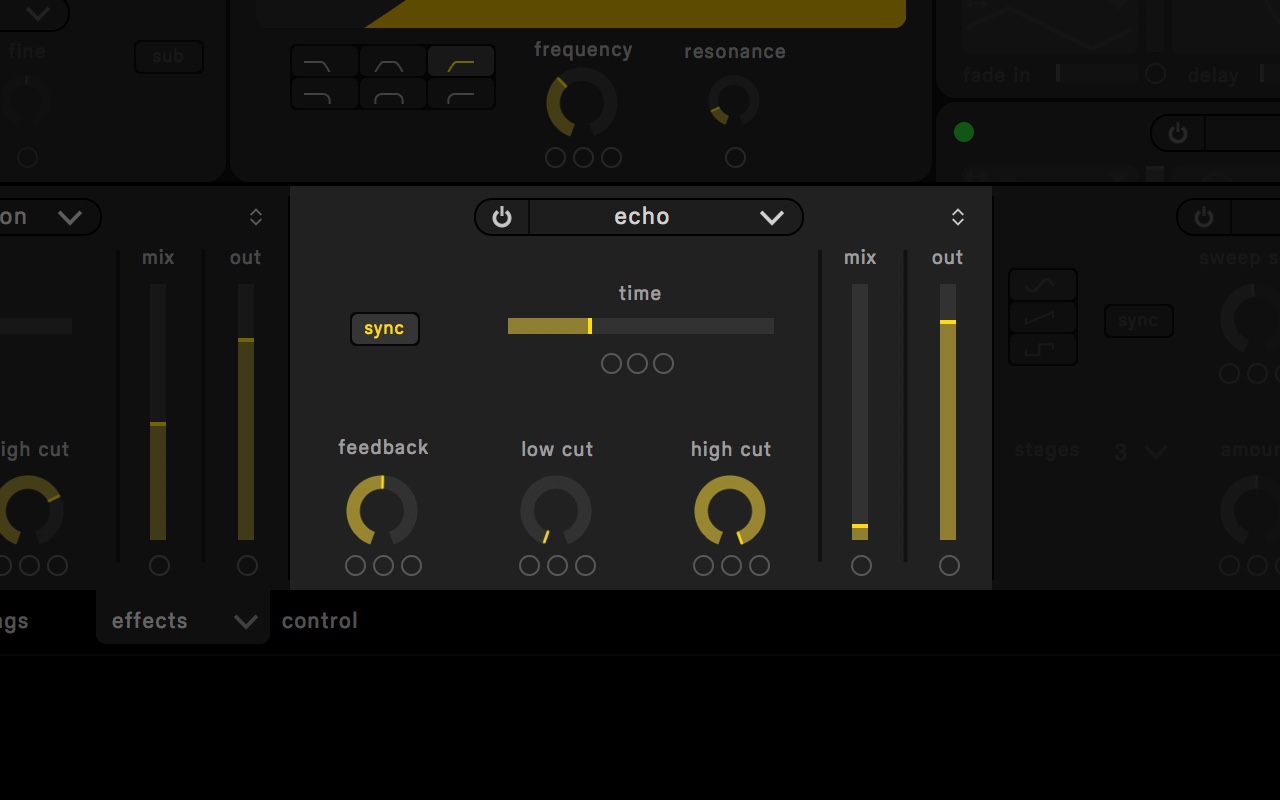
- Activate “Echo” from the second effects slot.
- Adjust the Mix slider to about 7%
- Adjust the Out slider to about 80%
- Turn on Sync
- Slide down the Time to bpm/4
Note: Using the sync to match the project’s BPM and bringing the mix value down will help create “ghost” notes.
Step 6

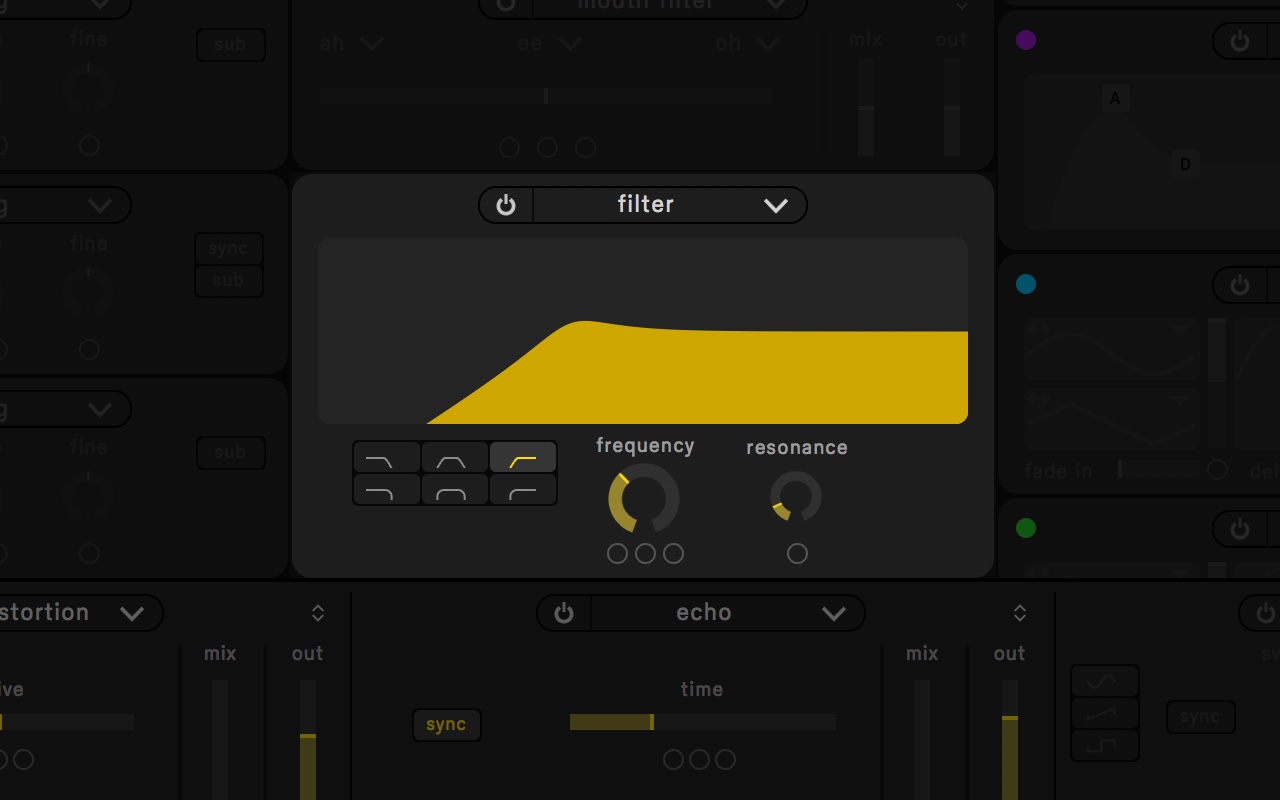
- Navigate to the “Filter” module.
- Switch the filter to highpass
- Adjust the frequency to about 84hz
- Adjust the resonance to 0.55
Note: By selecting a high pass filter we can cut out the noise oscillator’s low end which sounds harsh. Modulating the frequency of the snare can yield for some interesting effects.
You’re now one step closer to mastering circle2. Keep building your skill set with our other Circle2 tutorials.
November 30, 2017

.svg)
.svg)

