.svg)
.svg)


Arturia is a digital audio software company that develops top-notch music software and hardware for musicians at all levels.
While many may know them for their software emulations of analog instruments, the capabilities of their original synthesizer Pigments 3 cannot be understated either. In this article, we highlight some of the most notable features in this latest iteration of Pigments, and overview some of the other essential components you’ll want to be aware of to get the most out of the synth.
Overview
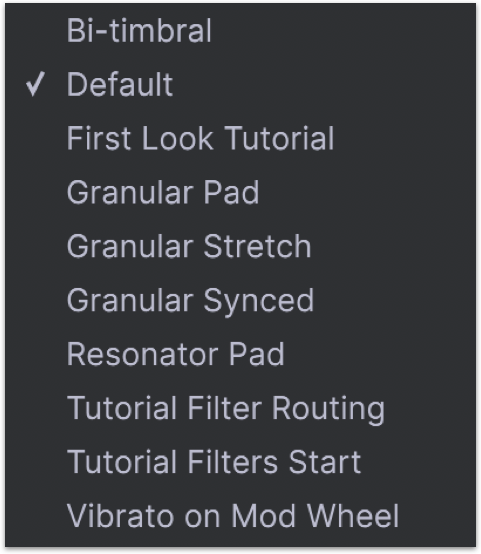
If you don’t have much interest in sound design, Pigments 3 features a wide selection of expertly-crafted presets that you can rely on to instantly get some great sounds. However, if you’re looking to understand the nuts-and-bolts of the synth, these presets might feel a little overwhelming at first, since many of them feature a ton of complex settings and moving parts. If you want to get a clear understanding of what each parameter is doing, the “Default” preset might be a good starting point, which you can find by going to ALL TYPES → Template → Default.
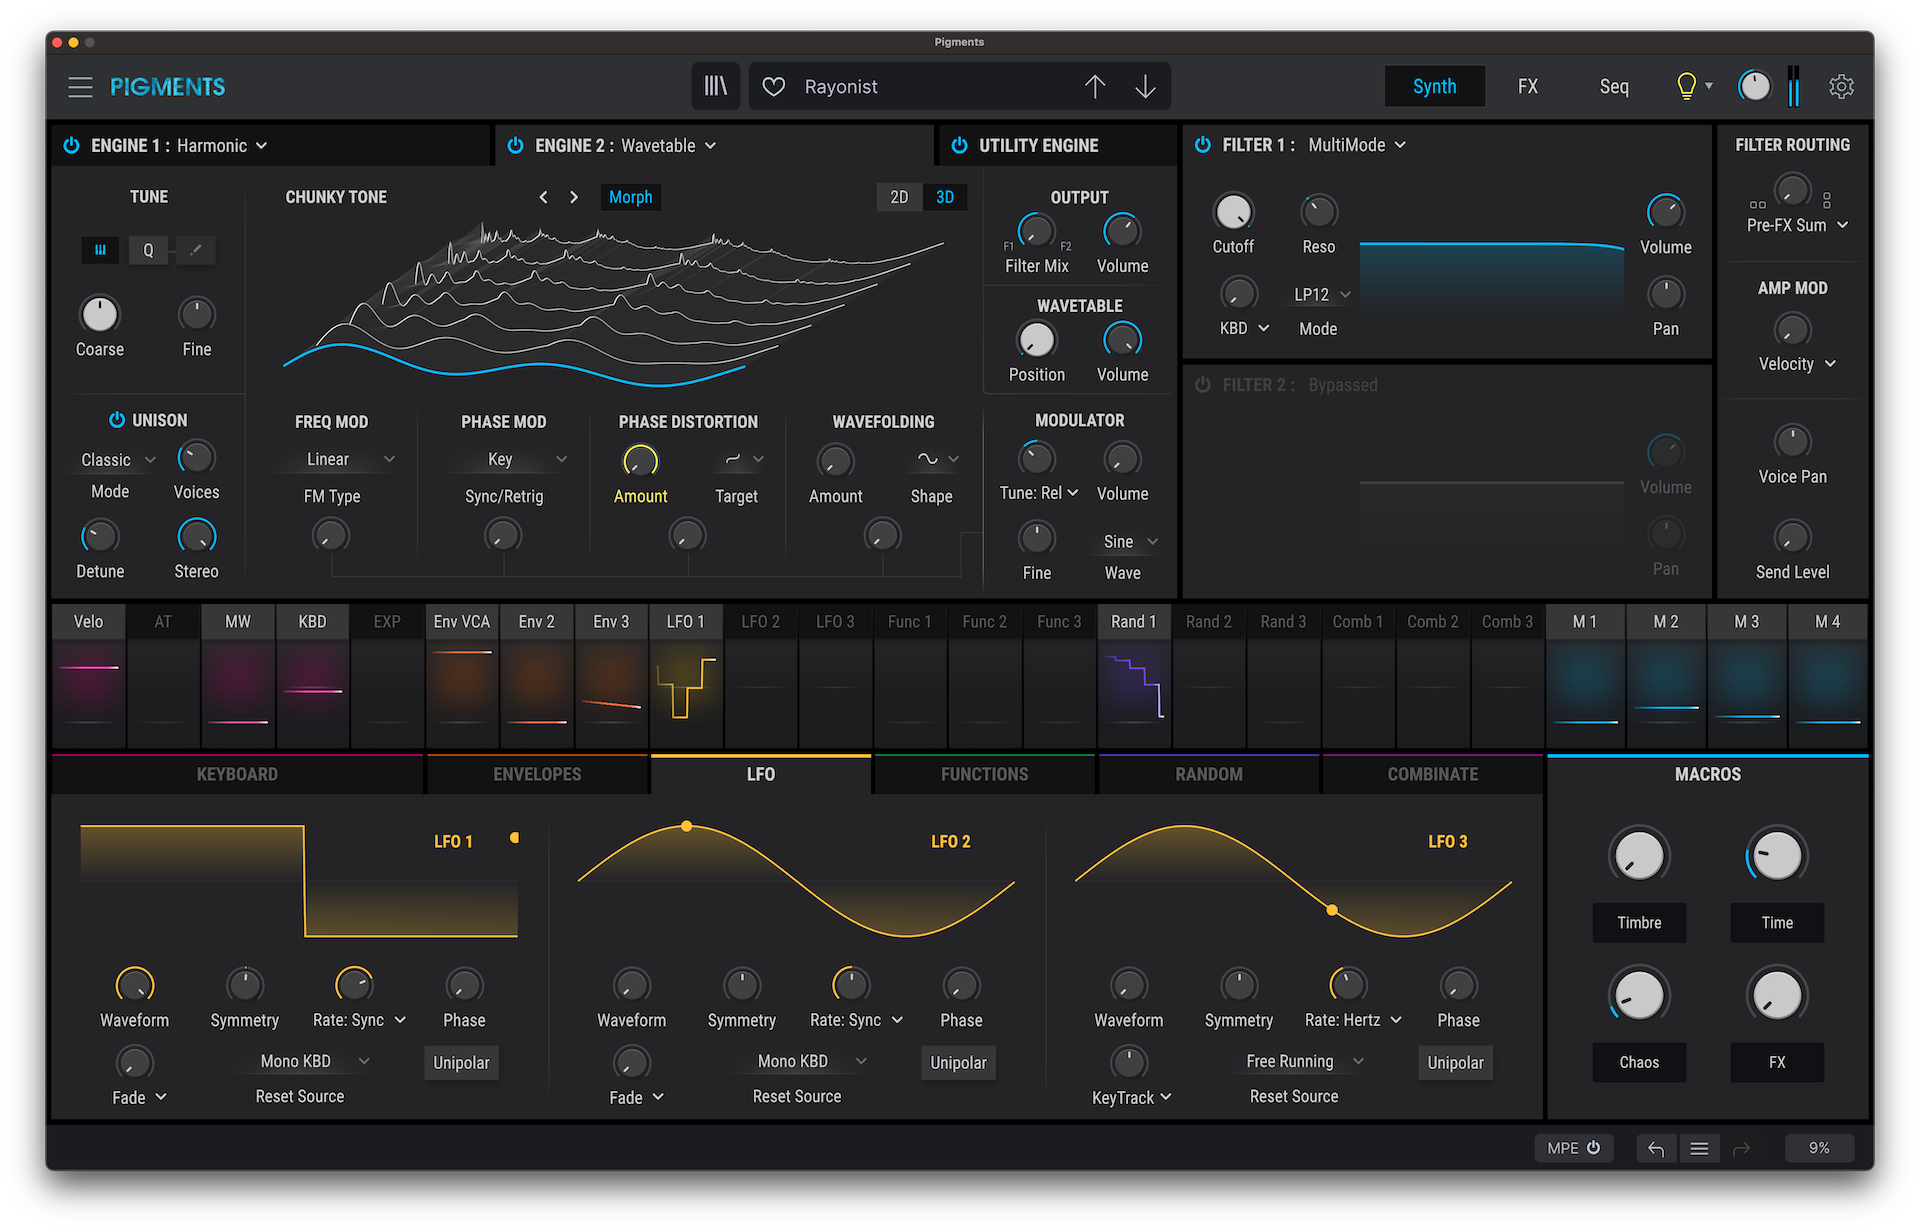
This preset starts you off with the simplest of all sounds—a sine wave. To design a sound from scratch (or to edit a more complex preset), there are three main tabs that you’ll need to be aware of: Synth, FX, and Seq. Let’s take a look at each in more detail.
The Synth tab

This tab is where you’ll be doing what often lies at the core of sound design: synthesis. Pigments 3 gives you access to a wide variety of approaches to synthesis, spanning Analog, Wavetable, Sample, and Harmonic engines. Furthermore, the plugin lets you merge these into your own cohesive sound by offering two synthesis engines, labeled ENGINE 1 and ENGINE 2 (the new UTILITY engine also provides even more support and versatility here, offering a sub-oscillator and up to two noise sample layers).
In the “Default” preset, only ENGINE 1 will be turned on. Activate ENGINE 2, and you’ll hear that the wavetable-generated sine wave is now blended with an engine that uses a simple grand piano sample. That in itself might not sound particularly revolutionary, but there are a host of parameters you can manipulate in each engine to get some more nuanced and intricate timbres.
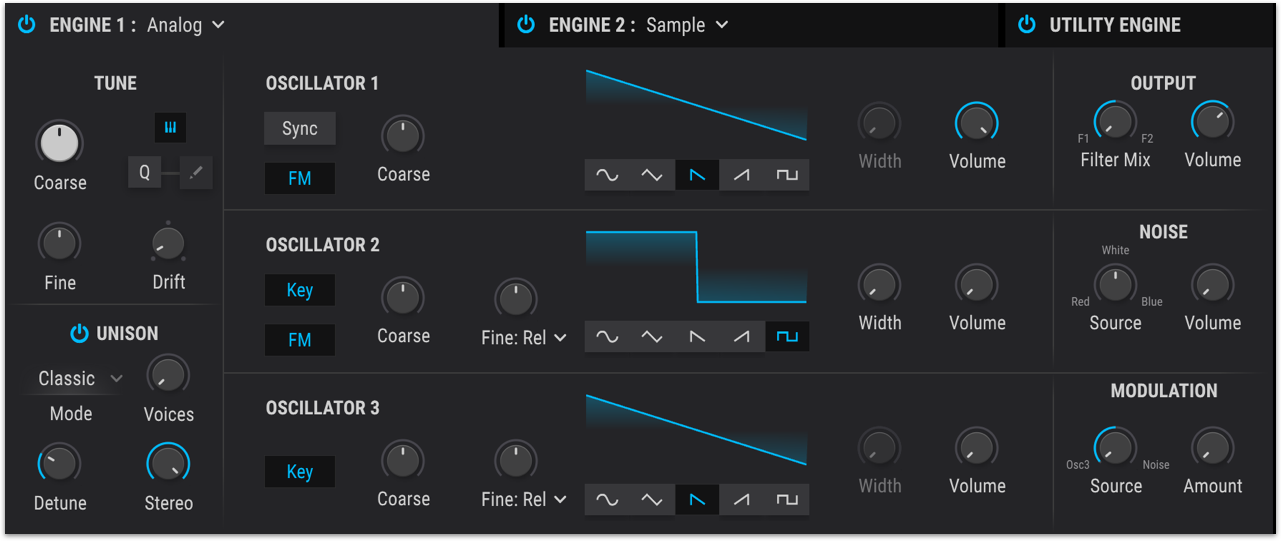
The Analog engine
In the Analog engine, you can use a variety of simple waveforms across three oscillators, add different types of noise (including red, white, and blue), and modulate the signal via either OSC 3, the noise generator, or something in between. Concoct a perfect blend by using the Volume knobs on the OUTPUT section of the engines.
The Wavetable engine
You can customize the wavetable synth by either importing your own wavetable or working off of one of the many available presets (which span everything from “Throaty Additive” to “Didgeridoo”). You can also adjust parameters such as frequency modulation, phase distortion, wavefolding, and more to fine tune your sound.

The Sample engine
This engine gives you access to sample manipulation right within Pigments 3. You can choose from an array of built-in samples, or import your own.
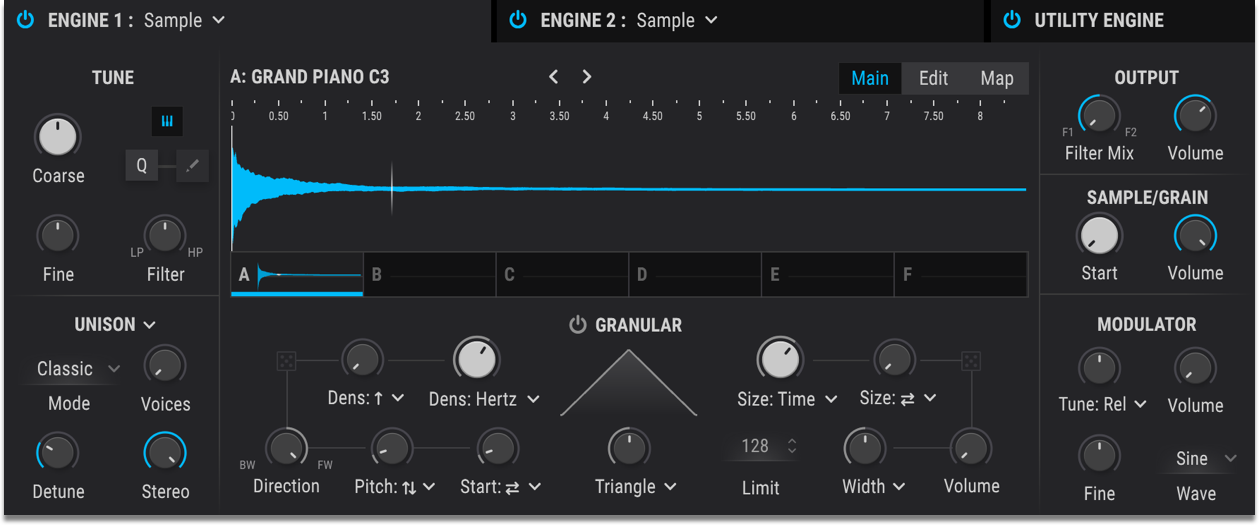
One of the standout features in this mode is the Granular feature, which lets you isolate a small section of your sample and use it for granular synthesis, introducing a whole world of timbral possibilities.
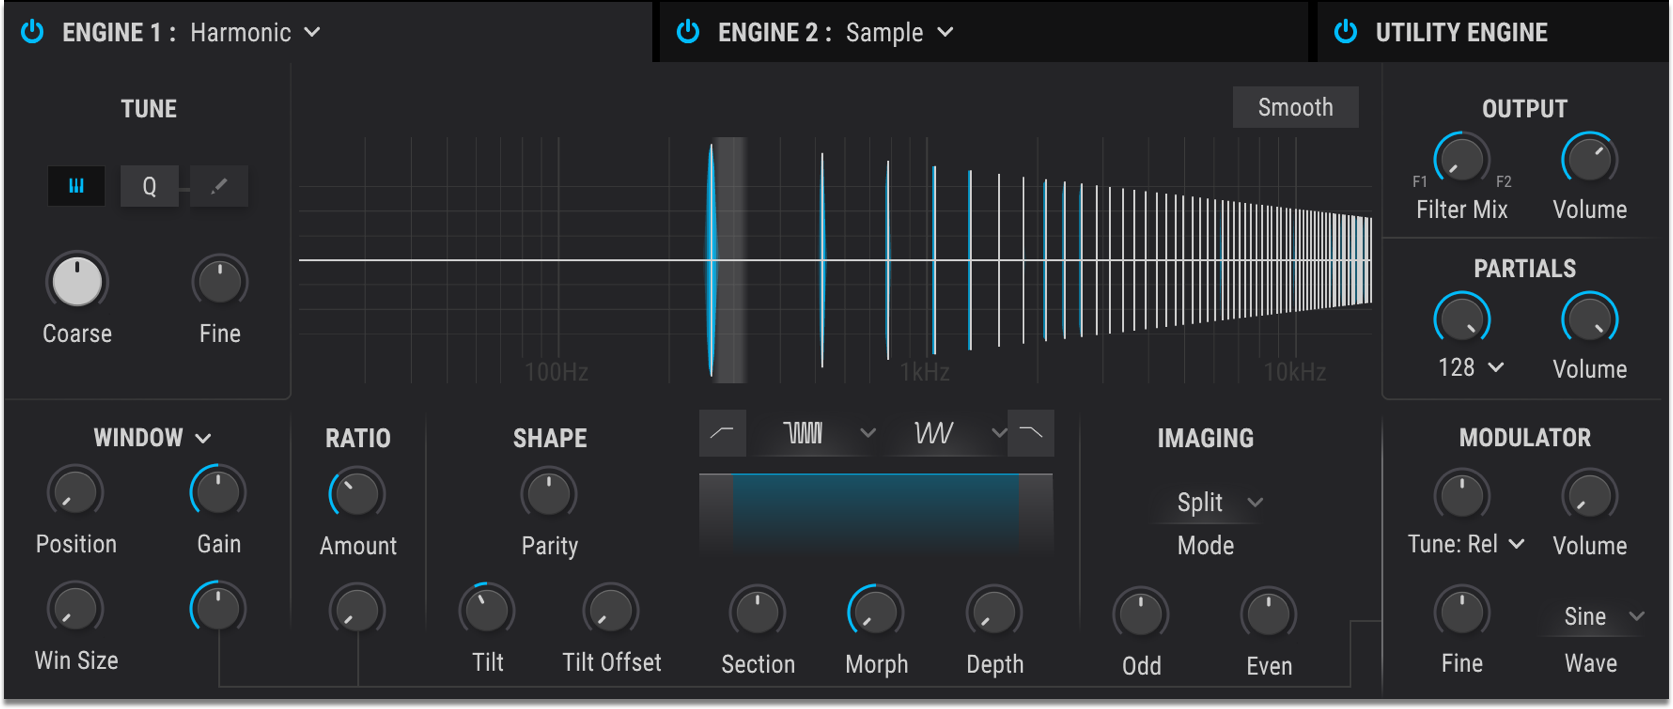
The Harmonic engine
Last but not least is the Harmonic engine, a brand new addition to Pigments 3. This engine boasts detailed additive synthesis with up to 512 partials, dual format filters, odd and even harmonic customization, and various ways to modulate partials. This engine can be used to achieve sounds that are both unmistakably electronic and full of life.
Modulation
Once you’ve gotten acquainted with the engines, you can design a dynamic, evolving sound with Pigments 3 by modulating essentially any parameter in any way you can imagine. The synth offers two main methods for modulation.
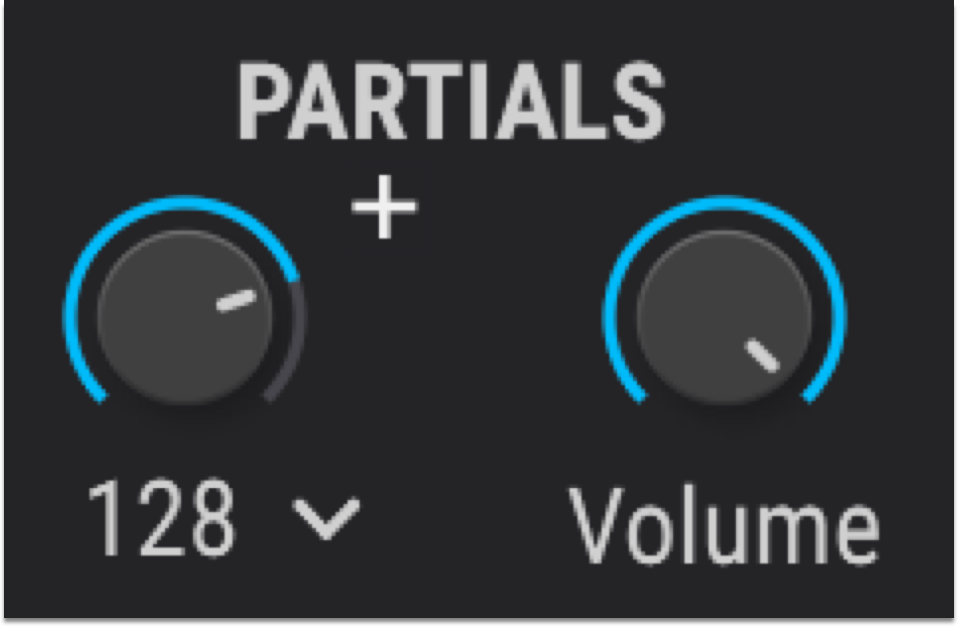
The first method is to hover over any parameter’s rotary knob and hit the plus sign that appears:
Then, dial in any amount of a wide array of possible modulation sources, ranging LFOs and envelopes to binary waveforms and macros, via this horizontal bar:

You’ll begin to see the the knob you selected move in sync with any modulation source(s) you dialed in. Furthermore, you can edit any of the modulation sources to get your knobs moving just right.
The second method is to start with the modulation source and work towards the parameters that you want to modulate. To do this, click on any modulation source from the same horizontal menu we looked at earlier. From there, click on any parameters you wish to modulate, and you’ll see them get highlighted in the same color as the source. Then, simply drag along the selected rotary knob(s) to create a custom contour. This method is particularly useful if you want to efficiently target a bunch of parameters with a single modulation source. By hovering over any source afterwards, you can easily view all the parameters that it’s modulating.
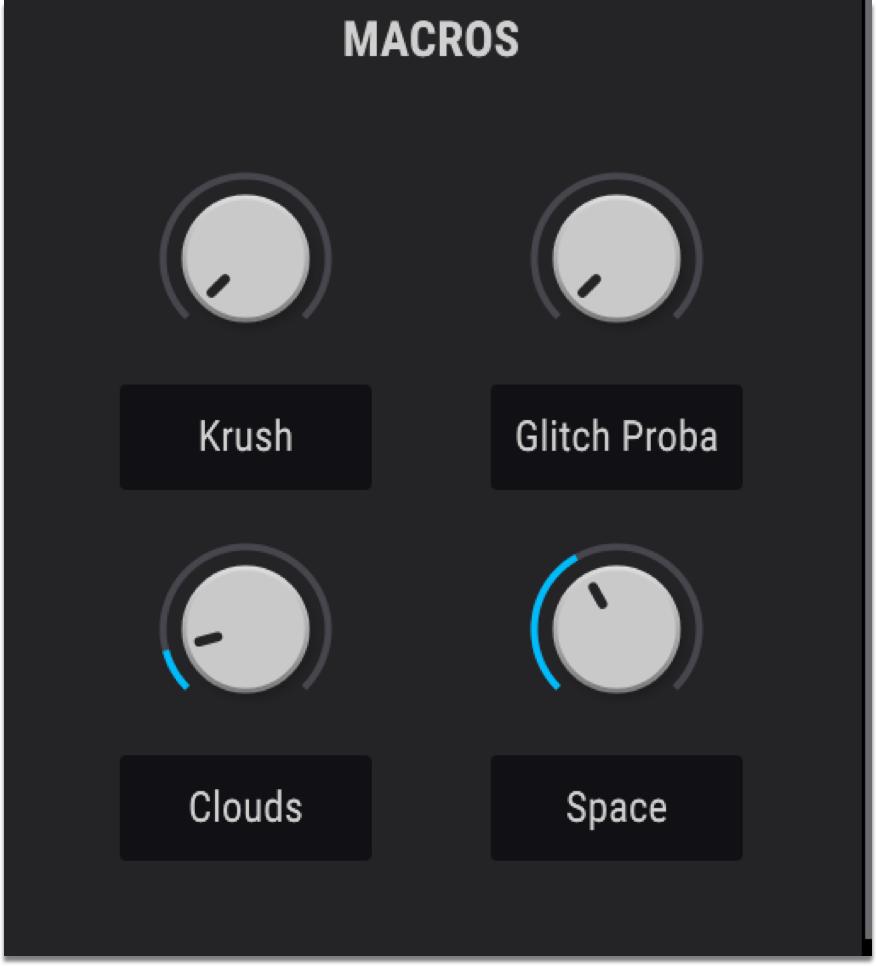
Pro tip: The four macro controls can be used to accomplish a similar goal, allowing you to group and modulate multiple parameters with a single knob. They’re great for creating dramatic effects, and you can rename them to help you remember their function—you’ll see macros heavily used across many presets.
The FX tab

Once you’ve designed your sound, you can sweeten it with the many effects available in this tab. There are two FX chains (in addition to a dedicated auxiliary chain), and each can load up to three of the following effects:

Pigments 3 introduces a number of new effects to the mix, including a multi-band compressor, the classic-sounding BL-20 Flanger, and the Chorus JUN-6.
Pro tip: A cool trick that’s worth trying out is modulating the Send and Dry / Wet knobs. Depending on the modulation source you use, this can allow you to have your effects beat energetically, fade in as a note sustains, etc.
The Seq tab
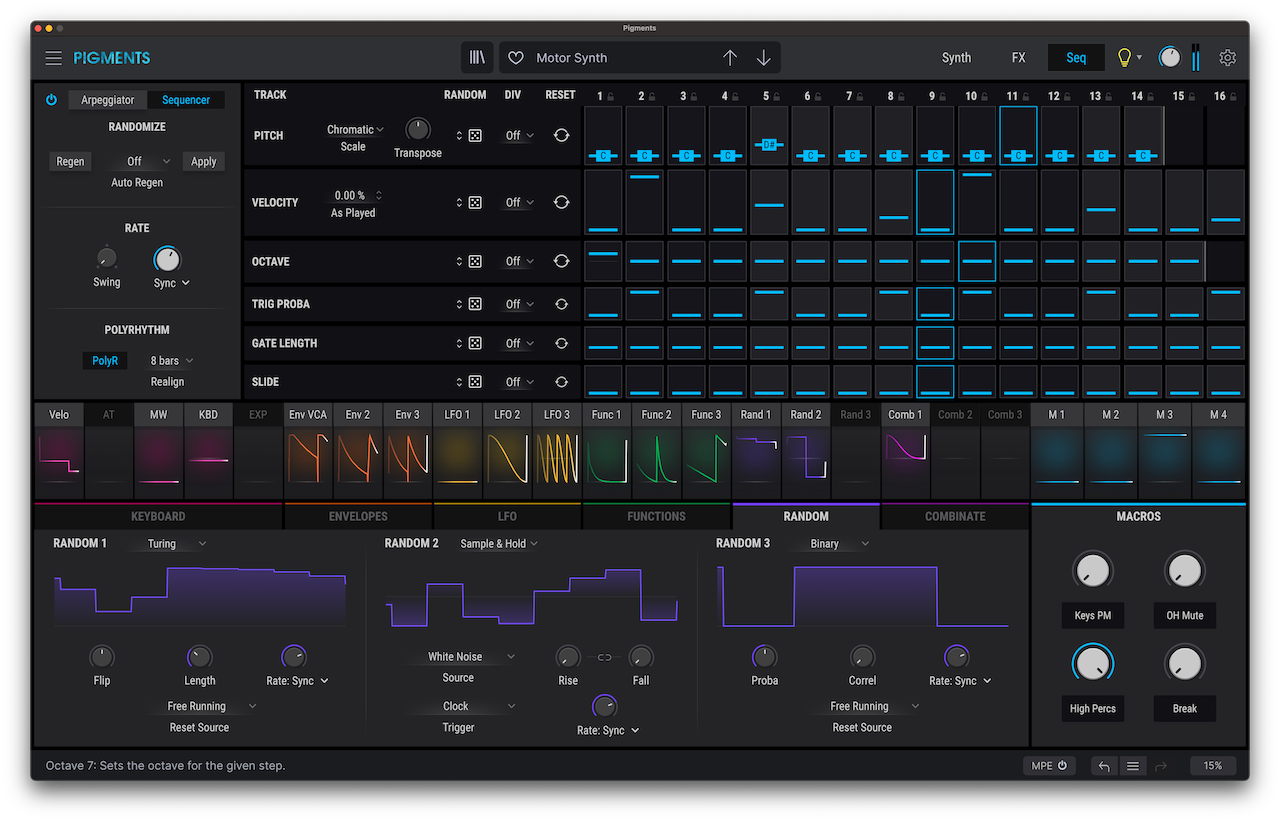
The third and final tab is the Seq tab, which features a sequencer that allows you to create pulsating arpeggios and sequences. It syncs to the tempo you set in your DAW by default, but it can also be set to run at its own speed via the RATE section.
The sequencer has individual lanes for Pitch, Octave, Velocity, Trigger Probability, Gate Length, and Slide. While many of these are customary across most sequencers, Trigger Probability in particular is a pretty unique feature that allows you to randomize the chances of certain step values being activated. This parameter helps make your pattern a little more variable and a little less predictable.
The POLYRHYTHM section is another useful tool for adding fluctuations and complexity to your pattern. By activating the PolyR button, you’ll be able to set a different step size for each individual line by dragging the gray vertical bars.
Go paint some sonic colors
Though we’ve now explored a handful of the key features in Pigments 3, believe it or not, we’ve only scratched the surface; the synth contains so many sections and parameters that it would be almost impossible to go through them all. Fortunately, its layout and workflow are highly intuitive once you get the hang of them, so you won’t be worrying about any features that aren’t relevant to your creative aims in any given moment.
Hopefully this feature guide helps you get started with Arturia’s Pigments 3. If you have a question, leave it in the comments below.
Try Pigments 3 for free, and then Rent-to-Own the synth for $9.99/mo until you own it outright:
April 21, 2021