.svg)
.svg)


We’ve arrived to the last step in the mastering process: preparation.
This is the sixth entry in our introductory guide to mastering. If you’ve missed an entry, click on any topic below to catch up:
- What is mastering?
- Signal flow & metering
- EQ
- Compression
- Limiting
- Preparation
Let’s wrap things up by discussing a crucial yet often overlooked topic: preparation.
Part of a mastering engineer’s job is to successfully deliver masters in the deliverable format(s) requested by the client. Depending on where and how the music is going to be consumed, there are several file formats and delivery methods that you’ll need to be aware of. Let’s go through some of the most common formats and how you can assemble them for your client.
1. Online stores and streaming services (Spotify, iTunes Music, etc.)

File format: .wav
Bit depth: 16-bit
Sample rate: 44.1 kHz
Preparing files for online music stores and streaming services is pretty straightforward. All you need to do is make sure your files meet the specified format. Here’s the steps I’d recommend you follow:
- Trim each song’s start and end points so that when you press play, it starts right where it’s supposed to start and ends where it’s supposed to end.
- If you’re running a higher sample rate and bit depth than what’s specified (you should definitely be running at least the same bit depth), you’ll need to convert and dither your files accordingly. Most DAWs have built-in converters that handle this for you, but if you’d like to take it further, I recommend using a dedicated program to do it for you.
- Another crucial piece of info you’ll need to keep in mind is making sure that there are no bitstream overs on your master. Most, if not all, streaming stores convert your music to either AAC or mp3 format, and you want to make sure your master doesn’t clip after it goes through the encoding. To ensure this doesn’t happen, you can use tools such as Sonnox’s Codec Toolbox and Ozone 9 Advanced‘s Codec Preview feature.
- Lastly, as a mastering engineer, you may be required to submit ISRC codes / metadata (artist information, album titles, track titles, etc.) to an aggregator. There’s no easy way to do this but to type it out and triple check to make sure that there are no mistakes.
- If you’re helping an indie artist out (or yourself), aggregators such as TuneCore and CD Baby often offer you the ability to get ISRC codes for your tracks.
2. Mastered for iTunes (MFiT)
![]()
File format: .wav
Bit depth: 24-bit
Sample rate: 44.1 kHz – 192 kHz (depending on the project)
You can read all about the Mastered for iTunes format here, but if you don’t want to read a ten-page document on a file delivery format, we’ve summarized what it is and what you need to do to meet its specifications:
- Mastered for iTunes requires that you submit a master with the highest resolution possible. That said, if you’re running a 44.1 kHz / 24-bit project, don’t up-sample your masters to a higher sample rate, as it doesn’t make any difference in any way.
- An important step with formatting for Mastered for iTunes is ensuring that there are no bitstream overs with Apple’s AAC encoder. Apple will reject your master if there are overs. Thus, it would be good idea to use a tool to help you identify any overs in advance.
- Mastered for iTunes also recommends about 1 dBFS of headroom on your masters. Therefore, when you’re submitting files for Mastered for iTunes, you might want to re-bounce your masters to accommodate this specification.
3. Audio CD (DDP image)
File format: .wav
Bit depth: 16-bit
Sample rate: 44.1 kHz
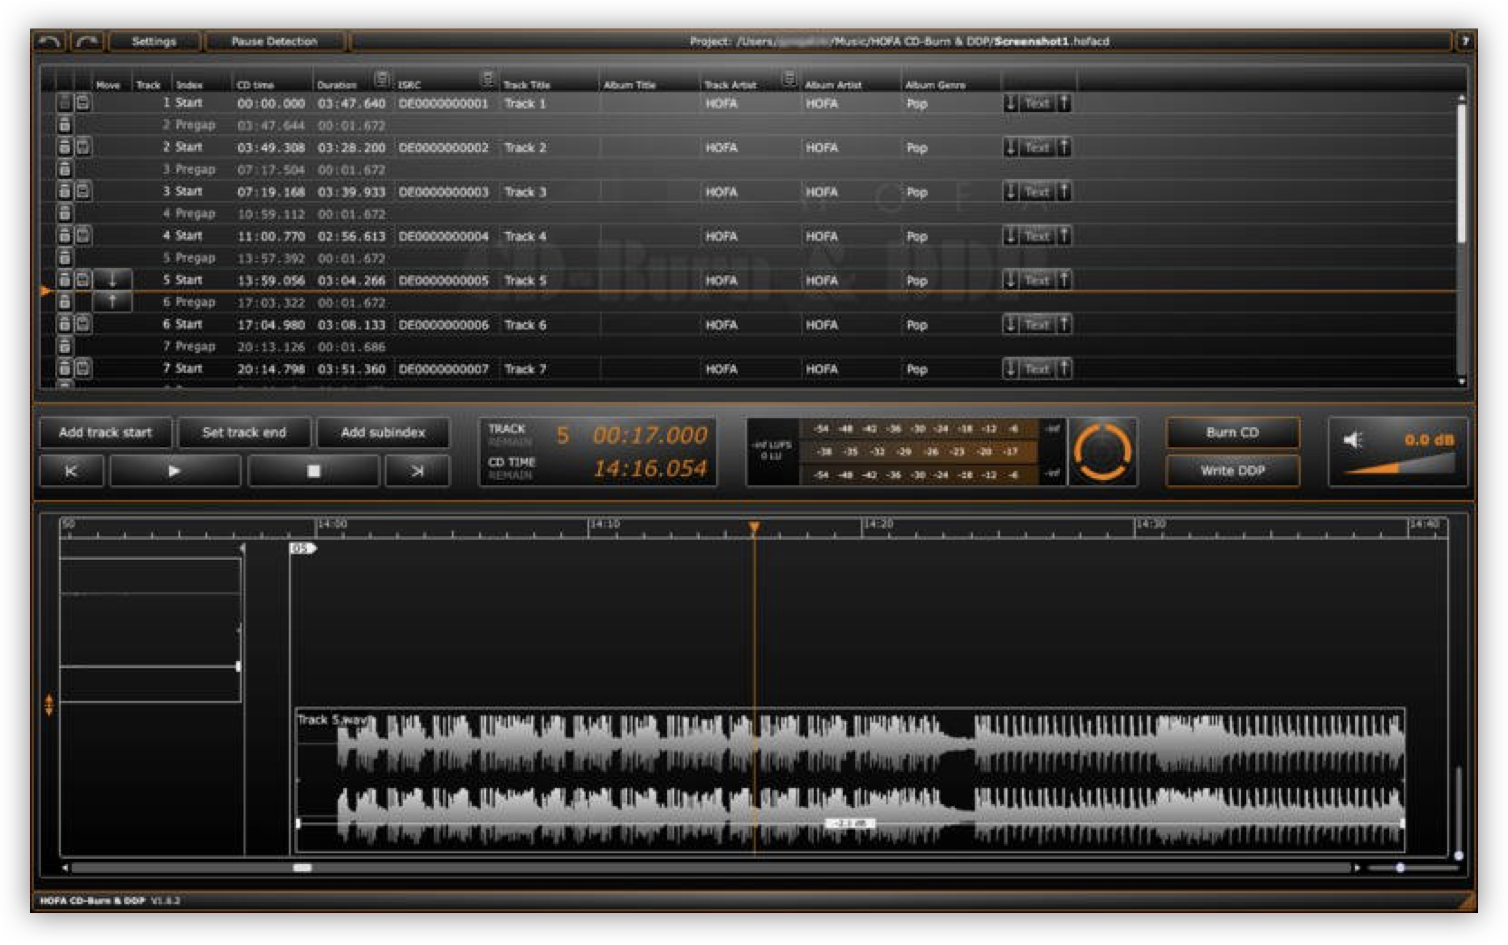
If you’re submitting masters to be replicated as audio CDs, the pressing plant would most likely want a DDP (Disc Description Protocol) image.
A DDP image is made up of data that holds all of your audio tracks, metadata, CD text, and ISRC codes. In order to make a DDP image, you would use a DDP authoring software. One of the best ones I know is by HOFA called the HOFA CD-Burn & DDP. It’s a simple and straightforward burning software that allows you to easily make DDP images in minutes. All you have to do is line up your tracks, make sure you trim the starts and ends, and enter all the necessary metadata for your track.
The preparation process is a meticulous one. Make sure you triple check your masters before you submit them to an aggregator, label, or client. Mistakes usually aren’t forgiven in the industry.
This blog post concludes our six-part guide on mastering. If you have any questions or feedback, leave them in the comments below.
December 27, 2019


