Illustration: Axel Kinnear
Whether this is your first time on Sounds or you’re a long-time subscriber, what’s clear is that there are lots of ways to get to that one magical sample.
We’ve gathered some valuable tips and tricks to help you get more comfortable with how Splice Sounds works and kick your creative process into high gear.
Hot hot hotkeys
Before doing any browsing, you have got to know about the keyboard shortcuts. Use the up↑ and down↓ arrow keys to quickly audition samples, and any of the Spacebar/Return/back← keys to replay a sample. You can also Shift-click when clicking the small checkboxes to the right of each sample (next to the artwork thumbnail) to select multiple samples at once. And while it’s not a keyboard shortcut, you can quickly adjust the volume of the Sounds website or the Splice app to match your DAW or system output by clicking the speaker icon on the top right of the window.
Make tags work for you
One of the most unique parts of the Splice Sounds experience is the ability to filter by parameters like key, tempo, duration, genre, and instrument. We’ve put a lot of effort into describing each and every sound with descriptive tags that can be used to narrow down your search. Tags are your friend, but some of them can be open to interpretation. Here’s a rundown of a few you might not have known existed:
- Filter by grooves if you’re looking for full drum loops consisting of kicks, snares, hats, and more. Adjust the tempo and drop these right into your project.
- What do you call that rising synth note before a big drop, or that sinking note right afterwards? These pitched buildup effects actually go by many names – uplifters, downshifters, dives, rises, etc. – but we’ve condensed them into two main categories for you: risers and downers.
- Imagine only hearing the high frequency bits of a rhythm – that’s an example of tops. These patterns usually only contain elements like hi hats, shakers, tambourines, and claps. They’re perfect for layering on top of an existing kick-snare pattern, or for filling out an intro sequence or an interlude.
Sorting your search
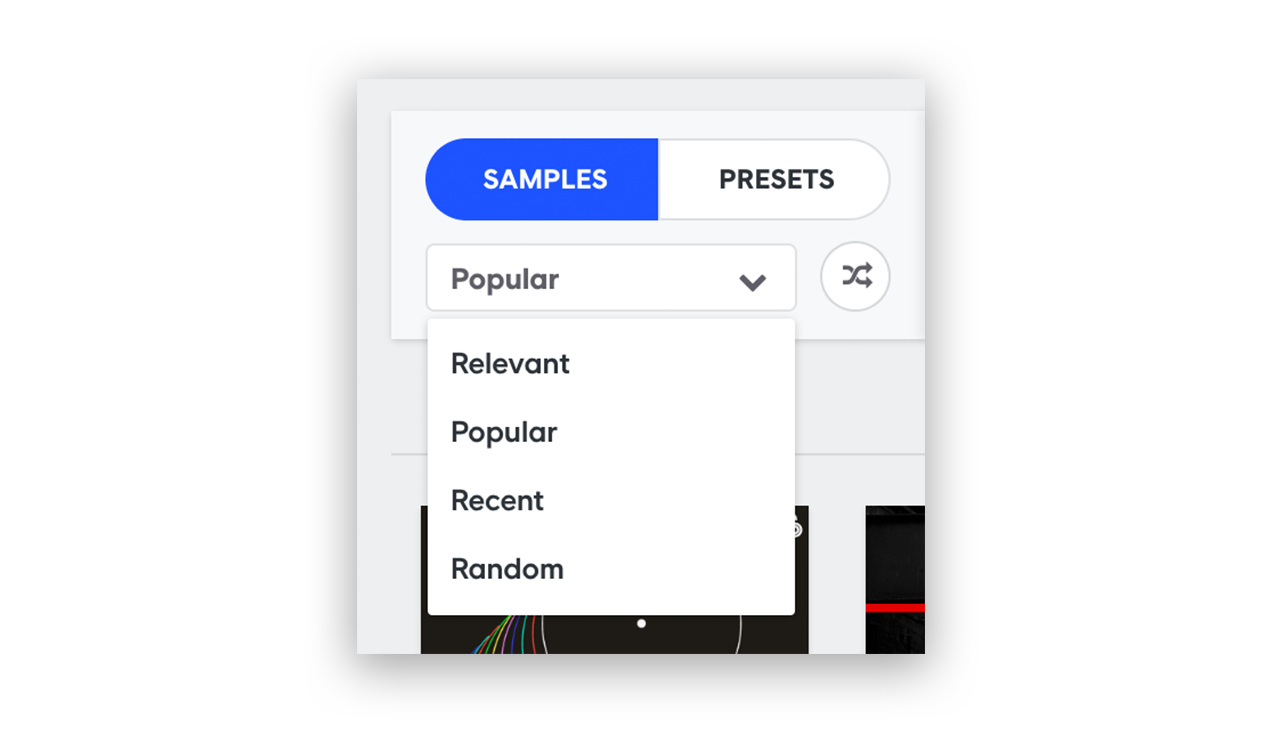
Whether you’re doing a text search or selecting tags (or both), Splice Sounds offers four distinct ways to organize your results. Just click the dropdown menu found right underneath the Samples/Presets selector near the top left of the page and sort to your heart’s content.

Relevant will return the closest matches for your current search. For a text search, we’ll look for the term you specified in sample filenames, pack titles, and even pack descriptions. Popular will take results that match your search and sort them based on how popular those sounds have been among our users. Recent is a great way to explore the newest sounds to hit the catalog, and Random can be great if you’re just looking for something new. Each of these options caters to different workflows, so explore each one and see what works best for you.
Where are my sounds?
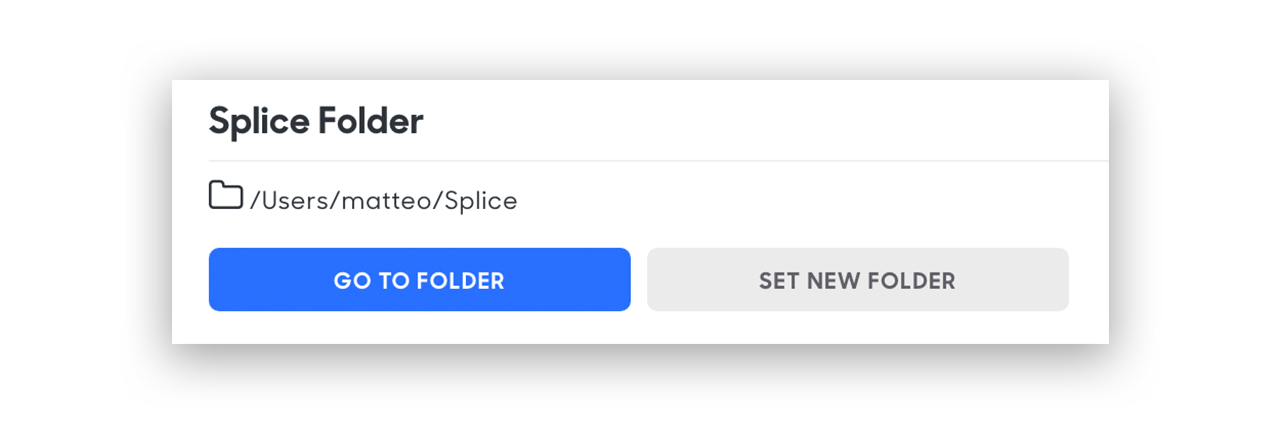
The Splice app makes it incredibly easy to access, sort, and drop downloaded sounds straight into your DAW. But do you ever wonder where all of these samples actually live on your computer? To find out the hard drive location of your sounds, simply go into your Splice preferences (the gear icon in the top right corner of the app) and click “Go To Folder.” This will bring you to your main Splice folder as well as the sounds folder, which contains every sound you’ve synced to your current machine using the app. Knowing the location of the sounds folder can make it easier to drop large selections of samples into a project all at once, or add the folder to your DAW’s built-in file browser.

If you’ve downloaded presets before, you may notice that they don’t appear in the sounds folder or in the app. That’s because preset files aren’t currently managed or downloaded through the desktop app – instead, head over to your system’s main Downloads folder to access them.
These are just a few ways to really make Splice Sounds work for you, from searching and browsing to organization and curation (you can also check out our Help Center) – be sure to check back on this post for more Sounds-related tips.
September 21, 2018

.svg)
.svg)


