
Studio One users can now take advantage of Splice Studio’s free session backup, version control, and collaboration features.
Today, we’re thrilled to announce that we’ve launched a beta release for Studio One support.
With Splice Studio, you won’t have to deplete precious hard drive space on your session backups, struggle to return to a previous version, or tediously pass sessions back and forth via email ever again – and best of all, it’s entirely free. If you’ve never used Studio, this blog post will help you set everything up so you can be on your way towards unlimited backup and collaboration in minutes.
Don’t have Studio One? You can now get your hands on the powerful DAW for just $16.99/mo.
1. Signing up for a Splice account
First things first: if you don’t have a Splice account, you’ll have to sign up for one. You can do so here – all you need is a unique username and password.

2. Downloading the desktop app
Next, you need to download the Splice desktop app, which will be what allows your local Studio One sessions to sync with your online Splice account. Click on your profile icon on the top right of splice.com and navigate to “Install” (or simply click here), and the most up-to-date installer will start downloading automatically.
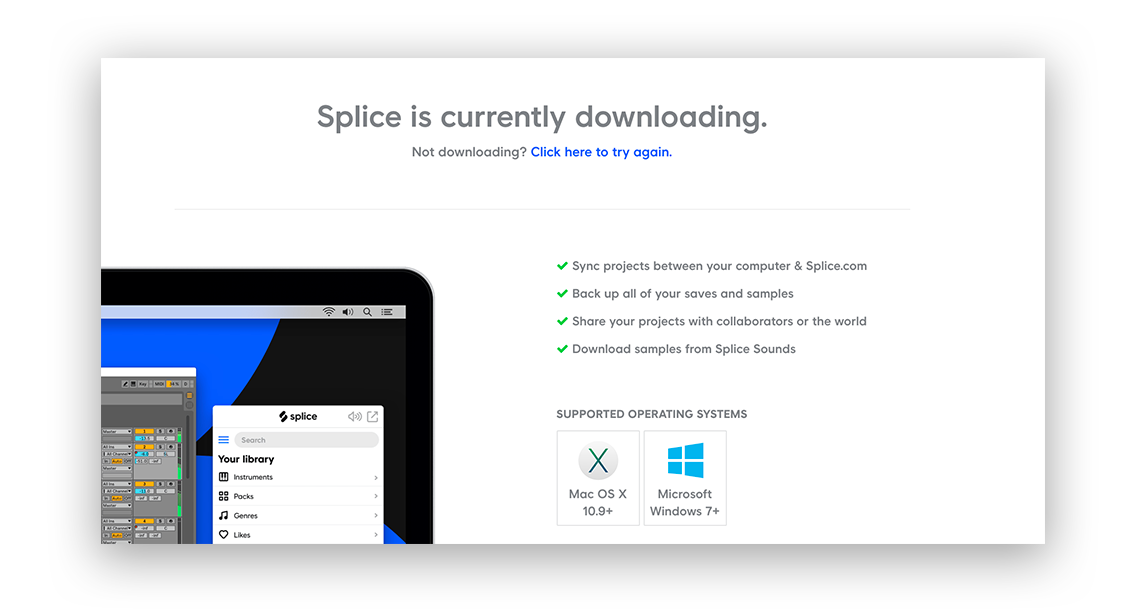
Open up the downloaded .dmg / .exe file and follow the directions to complete the installation process. That’s all there is to it – Splice will now run in the background and automatically back up your saved files and keep versions synced with collaborators.
3. Creating a backup
There are two options for how Splice syncs your Studio One projects, which you can view by hitting the gear icon on the top right of the desktop app:
- The first (and default) option is to sync projects using the Splice folder. After installing the app, a Splice folder and shortcut are automatically created. Save a Studio One session into the Splice folder and the app will automatically sync it with every subsequent save – it’s that easy. You can also drag and drop projects you’ve made elsewhere into your Splice Folder to sync them.
- If you change your preference to “Sync from anywhere,” Splice will ask if you want to keep a project synced with the cloud when you save a project anywhere on your computer or external drive.

4. Viewing a backup on Splice
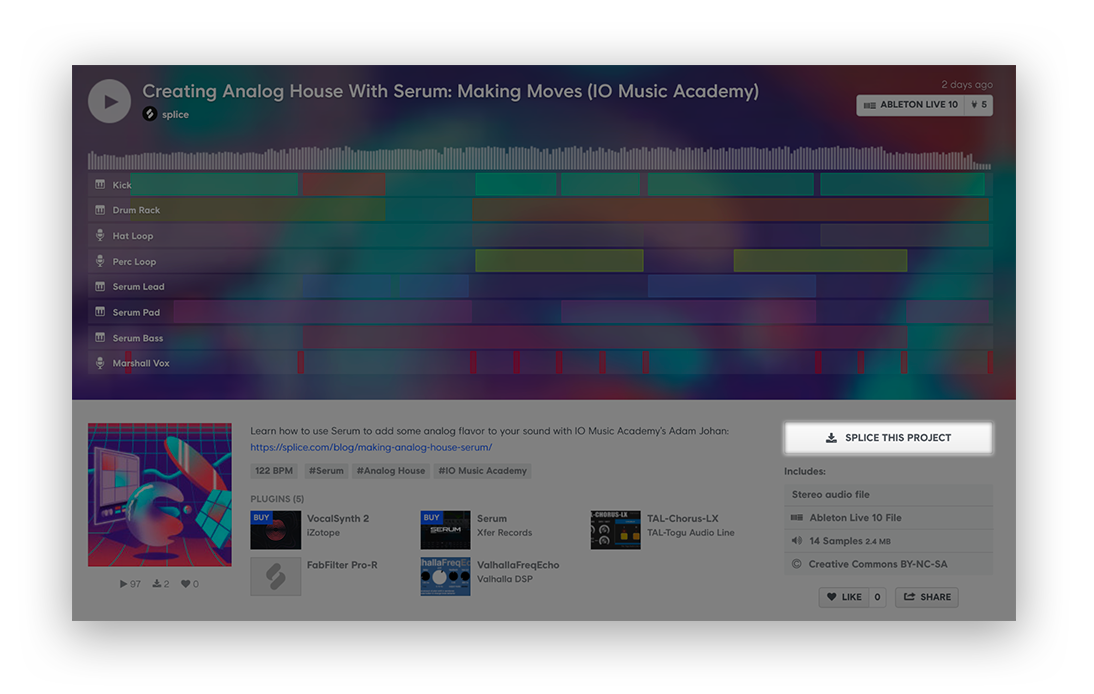
Once you’ve backed up versions of your project, you’ll be able to find them at https://splice.com/studio. Click on a project to see all of its versions on the left via the Project Timeline, and a DNA player to its right that gives an insight into the essence of your production. The DNA player displays all of your individual tracks and the layout of different audio and MIDI regions, allowing you or a collaborator to quickly get a grasp on what a particular version looked like (individual stems, a master track, and comments can be added to provide further detail to a save).

To add a collaborator, simply go to Collaborators and invite collaborators by email or username. If they’re not already on Splice, they’ll be invited to join. Your collaborators will be able to view and open any version on the Project Timeline, and you’ll be able to access their saves as well.
5. Releasing a project to the Splice community
One last thing Studio allows you to do is make a release available to the greater Splice community via the Explore tab. Whether you’re simply looking to share your track or you’re searching for a remixer or some production advice, releasing your project is a great way to have some fresh ears to listen to (and potentially get their hands on) your music.
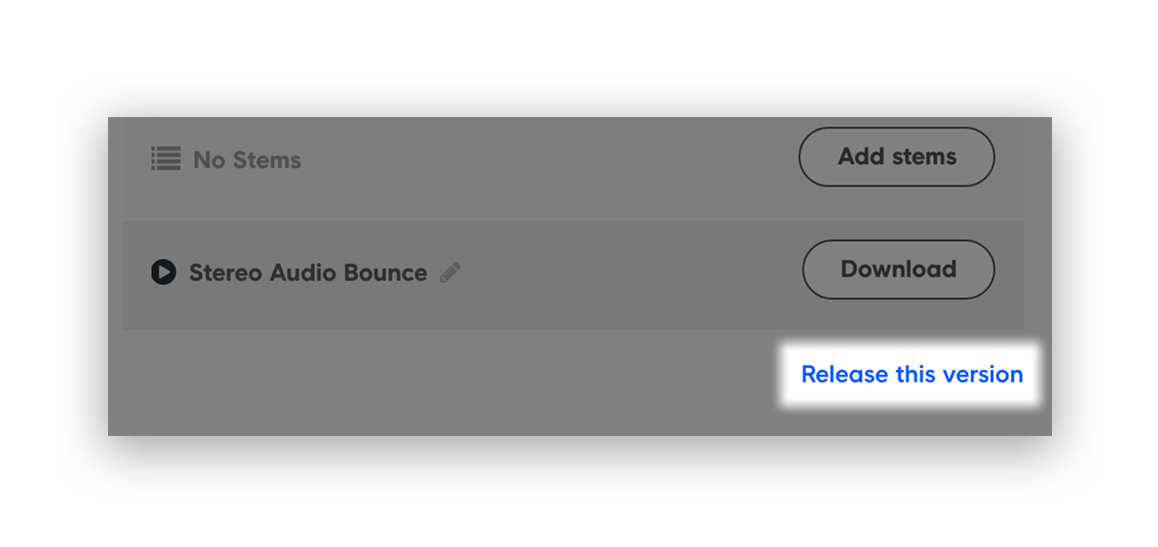
All releases are tagged with the DAWs they were created in, so other Splice users can filter for Studio One projects and splice your project – this allows them to download your project file, remix it, work on it, and learn from it (and of course, you can do the same with other people’s projects). Other DAWs supported on Splice include Ableton Live, Logic Pro X, FL Studio, and GarageBand.
Hopefully this blog post is helpful in getting you started with using Splice with Studio One. If you have any questions, leave them in the comments below.
Get started with Studio One 4 Professional for $16.99/mo.
October 19, 2018


