.svg)
.svg)


Illustration: Sofia Pashaei
Recording piano is one of the most important skills that any recording engineer can obtain.
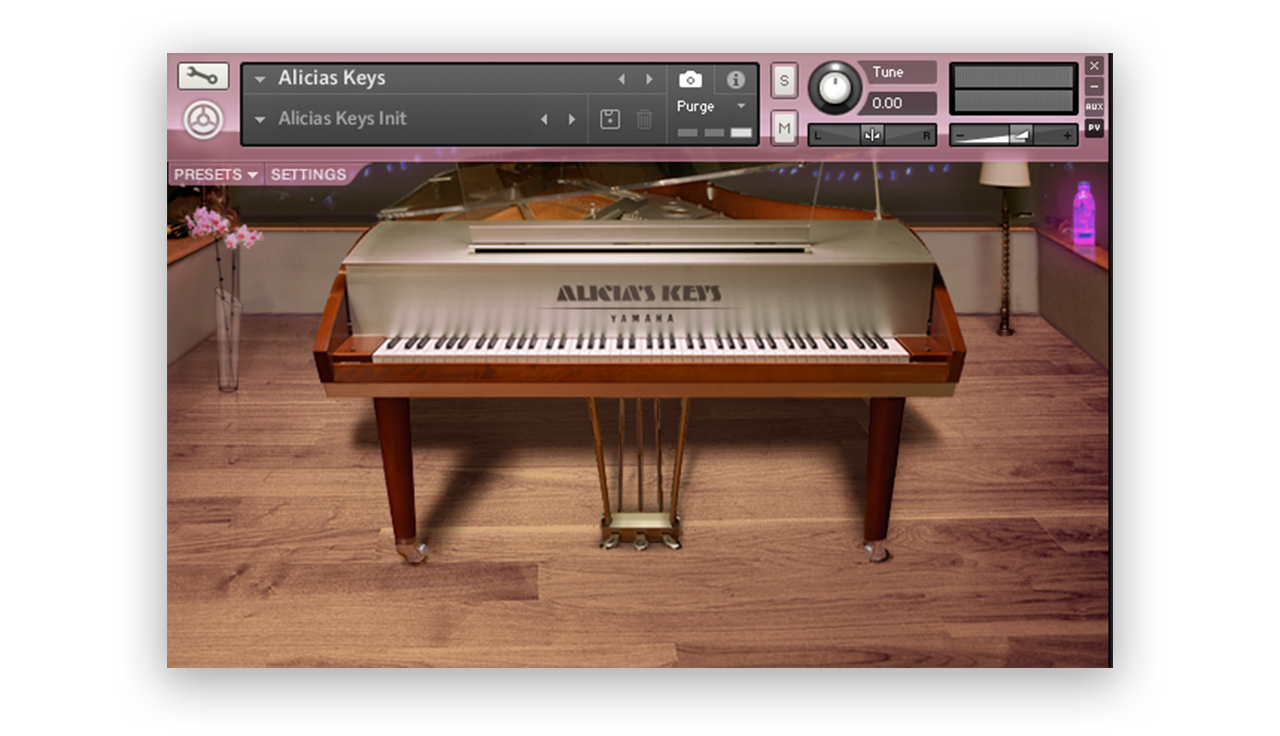
It helps you understand concepts of stereo instrument micing and phase relationships, and provides a good example of instruments that span the audible frequency range. Unfortunately, this also makes them a bit harder to sample than other instruments. No single mic setup is appropriate for every mix. This is one reason why so many different piano libraries exist: they’re tailored for specific feelings, styles, or genres. Today, we’ll be talking about how to get the most out of your piano samples. I’ll be using Kontakt 5 and Native Instruments Alicia’s Keys for demonstration purposes, but most of these tips apply to any virtual piano. The track we’ll be working with is “Wade in the Water,” a jazz standard originally written in 1901.
Before we start, let’s hear the finished product to get a sense of where we’re headed. Keep in mind that MIDI programming and mixing is a cumulative effort – each step adds to the finished whole.
This blog post mentions Splice Studio, which is no longer active. Learn more about the shutdown here.
Humanization
As with all virtual acoustic instruments, performance is crucial. You need to get into the mind of a piano player while programming MIDI piano. First and foremost, you need to be careful with quantization. Over-quantizing leads to robotic and lifeless sounding MIDI, even if the performance is technically “correct.” There are two methods that I use to ensure that my piano playing has some life. The first involves playing the part live and then applying light quantization once I’m finished – something in the range of 25% – 30% strength. Even then, I apply a little bit of swing to give it a little groove.

The second method involves quantizing strictly to the grid (100% strength) and then applying humanization. Using Logic’s MIDI Transform window, I pull up the Humanize preset and tweak some settings. I tend to leave the Velocity at ±Rand 10 but I usually alter the Note Length and Position values. Their default is also ±Rand 10 but I find that ±Rand 25 – 35 tends to provide more realistic results.
Both of these methods work, albeit with subtly different results. You’ll have to experiment with the two to see which works best for you. Even then, it can be beneficial to manually modify the values of certain notes to accentuate phrases. Sometimes, I even like to throw in wrong notes or grace notes at low velocities to simulate the player hitting just in between the keys. Remember that a piano player never hits every note exactly the same. What sounds like relatively uniform volume throughout phrases, chords, and melody lines actually have very subtle velocity, timing, and length variations that give us the sense that the performance is real.
Here’s what the piano sounds like without any humanization:
And here’s what it sounds like once some humanization has been applied:
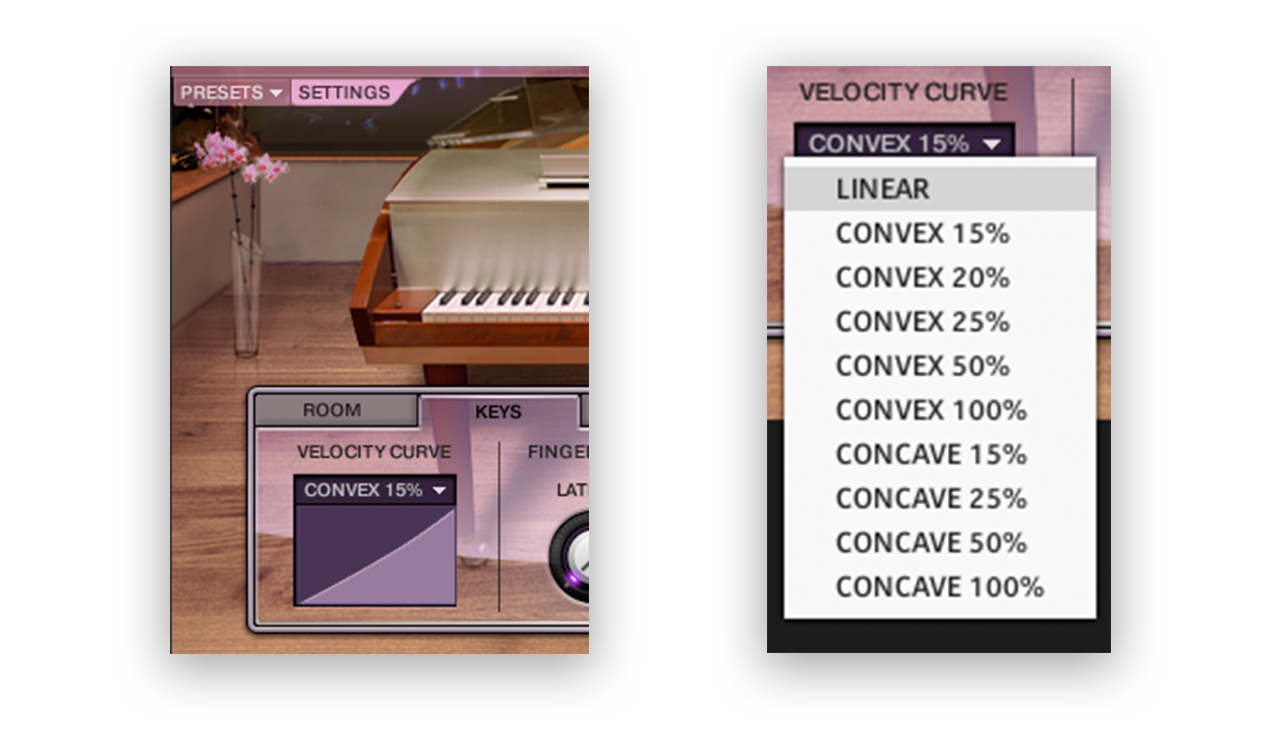
Velocity curves
Velocity curves alter the MIDI information before it’s passed to the sampler. The curves are based around the idea that some keyboards are weighted differently than others, and typically they come in three varieties: linear, convex, and concave. Linear is the default and just maps incoming MIDI velocity 1:1. Convex takes longer for notes to become loud. If you were to play a loud note, it would be passed to Kontakt at a lower velocity. Concave is the opposite of this. The intention with velocity curves is to make playing on a MIDI keyboard more accurate to the velocities you want to play. I tend to use them after the fact. Once I have a part recorded and quantized, I like to experiment with velocity curves to smooth out how notes are played. On softer pieces, such as the one we’re working with here, I tend to apply a convex curve in order to soften the notes that are played in the upper range.
Here’s what the piano sounds like without any velocity curve:
And here’s what it sounds like once a velocity curve has been applied:
EQ
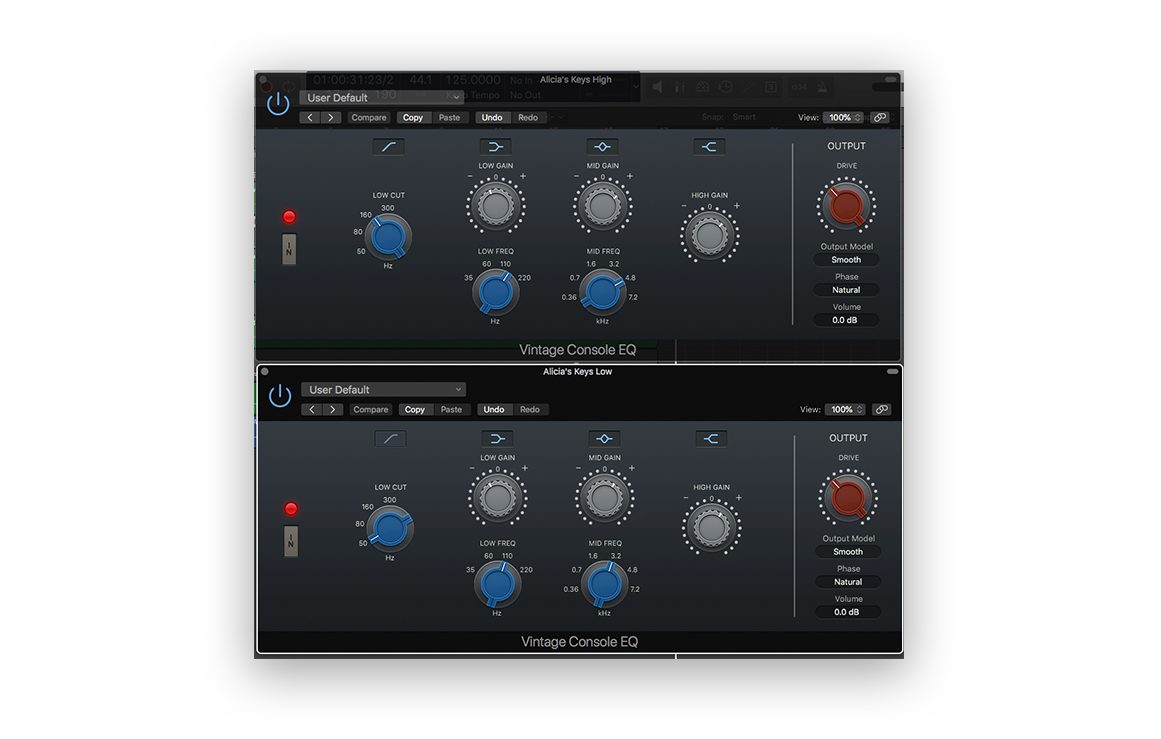
Virtual pianos often need a tad bit of EQ in order to sound realistic. As always, there are a hundred answers to how to EQ a piano, but I have a few default adjustments that I like to make to start. First and foremost, I often apply a peak filter around 150 Hz – 250 Hz, cutting about 2 – 3 dB. This is a range where muddiness typically lies, as it has a lot of competition against other instruments in a mix.
Second, I like to boost some mid frequencies between 2 kHz – 4 kHz. The amount that I boost here is heavily dependent on the piano, as each library has a different amount of amplitude in this range. For Alicia’s Keys, it’s typically a boost of 4db – 5.5 dB.
Lastly, I’ll apply a high shelf. Whether to cut or boost here again depends on the library, but I tend to boost by 3 dB – 5dB above 8 kHz to give the instrument a little sparkle and shine.

These adjustments give the instrument a warm tone without stripping away anything too crucial to the timbre of the instrument.
Here’s what the piano sounds like without any EQ:
And here’s what it sounds like once some EQ has been applied:
Split-band EQ
One challenge with the piano is that it covers almost the entire audible frequency range. This can pose some challenges when trying to EQ it in a mix. When we’ve recorded one live, we can usually EQ the left and right microphones separately, as they essentially equate to bass and treble microphones (when placed in a typical spaced pair). When working with a MIDI piano, it can be beneficial to double your piano tracks and split the MIDI data into different ranges of the instrument. For this project, I’ve created two tracks: a ‘high piano’ and ‘low piano.’
What started as one track:
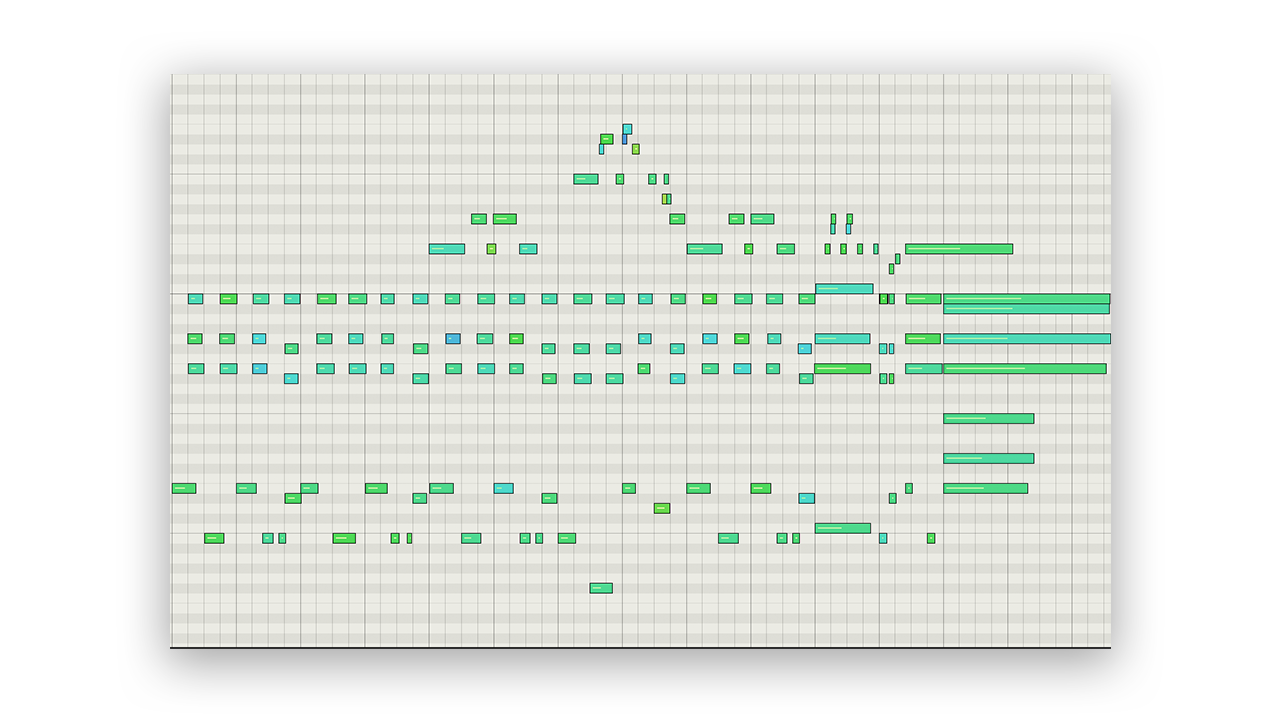
…becomes these: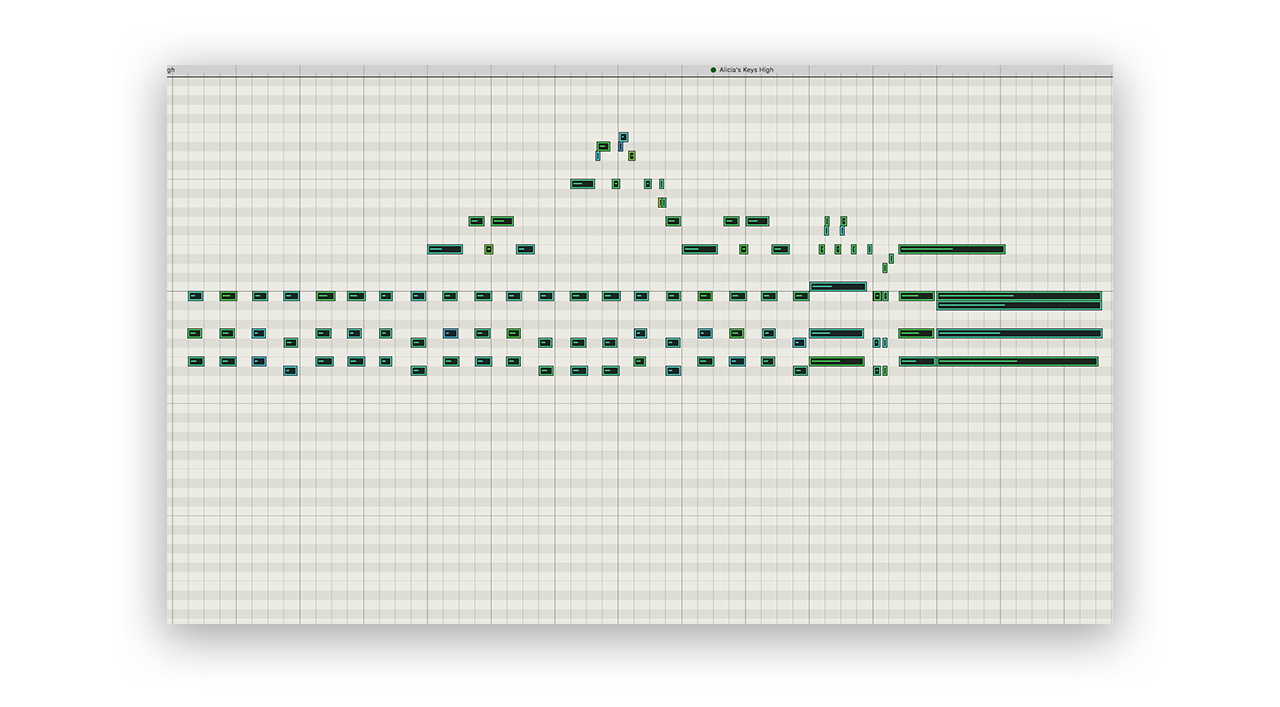
The upper register of the piano

The lower register of the piano

I left the bassline in the ‘low piano’ track while the chords and melody were placed in the ‘high piano’ track. I’m now able to EQ the two tracks separately. This helps prevent introducing phase issues when EQ changes are applied, and allows for more fine tuning of timbre for the different ranges of the keyboard.
Here’s what the piano sounds like with some split-band EQ:
Reverberation
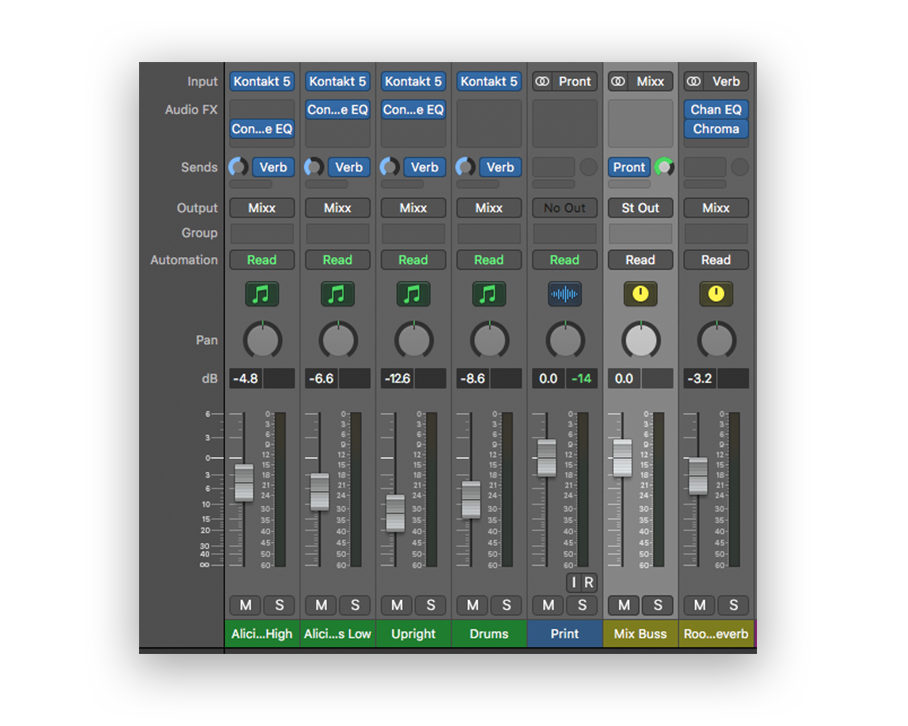
Virtual acoustic instruments often have reverb baked into the samples – this is just the sound of the room they were created in. In most cases, they also have an algorithmic or convolution reverb built into the patch that can be tweaked. I like to disable any added reverbs and just work with the samples themselves.
Pre-fader sending is your friend. I almost never insert a reverb onto a track and instead prefer to use aux sends, for a multitude of reasons. In the case of acoustic instruments, pre-fader sending gives you a great degree of control regarding how the instrument sits in the virtual space. This gives you two dedicated controls: direct sound volume (on the channel fader) and reflection volume (on the send). I’ll typically bring the channel fader all the way down and dial in the amount of reflections I want for any specific instrument. Then, I’ll slowly fade in the channel fader until I strike the right balance between the direct sound and the reflections. With piano, I aim to have the direct sound just pronounced enough to give me detail and clarity with enough reflections to emulate being in an appropriate space.
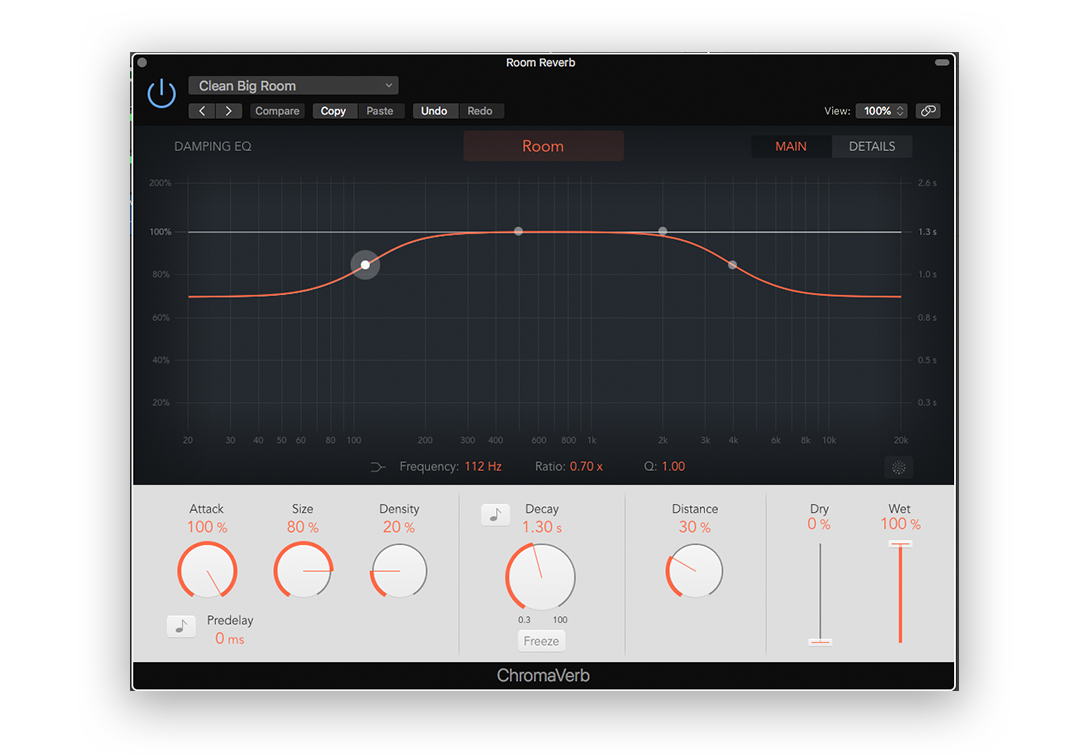
In general, start with a room reverb or ambience before trying halls and other impressive sounding reverbs. In our never-ending quest for realism, it can be tempting to jump straight to the large reverbs because the effect is obvious. The name of the game here is subtlety, dialing in just enough to hint at a real space without drowning the instruments or the mix in a reverberant goodness. In this example, I have used Logic’s ChromaVerb set to the “Clean Big Room” preset.
Here’s what the piano sounds like without any reverb:
And here’s what it like once a modest amount of reverb has been applied:
Masking
The final step for giving some realism to a piano part is to hide the parts that you can’t make work. This may sound like cheating, but it’s actually taking advantage of a natural mixing phenomenon known as masking. As a quick review, masking refers to when an instrument or sound becomes obscured by another sound that shares a frequency range with it. It will either seemingly disappear in the mix or become unintelligible. We don’t want to hide the piano part entirely (otherwise what’s the point of having it), but we can take advantage of the arrangement of our track to imply realism and force the listener to focus on the best parts of the sound.
In my version of this piece, I have added an upright bass and drums to finish up the track. My piano sounds relatively decent on its own, but once it’s played in the context of a full track, it gels into the greater whole. As with any mix, what’s most important is that the instrument sounds good in the context of the overall track, regardless of how it sounds in isolation.
Pro tip: In general, always consider working with reference tracks. When I was working on this project, I kept referencing Dave Brubeck records to try and emulate his piano sound. If you’re shooting for realism, you need to compare your tracks to something real.
At this point you should have a solid foundation to begin working with virtual pianos. Go forth and tickle those ivories.
Explore royalty-free sounds from leading artists, producers, and sound designers:
December 17, 2018