Many professional producers are able to get a plugin to sound the way they want because they are familiar with the physical hardware that many effects plugins emulate. In this article, we take a look at one of the most used plugins in the Splice community; Decapitator by SoundToys. This is a great tool to add distortion, color and warmth to your tracks. We will provide an overview of Decapitator’s powerful parameters and show you some ways that you can use it in your own projects.
Distortion Styles

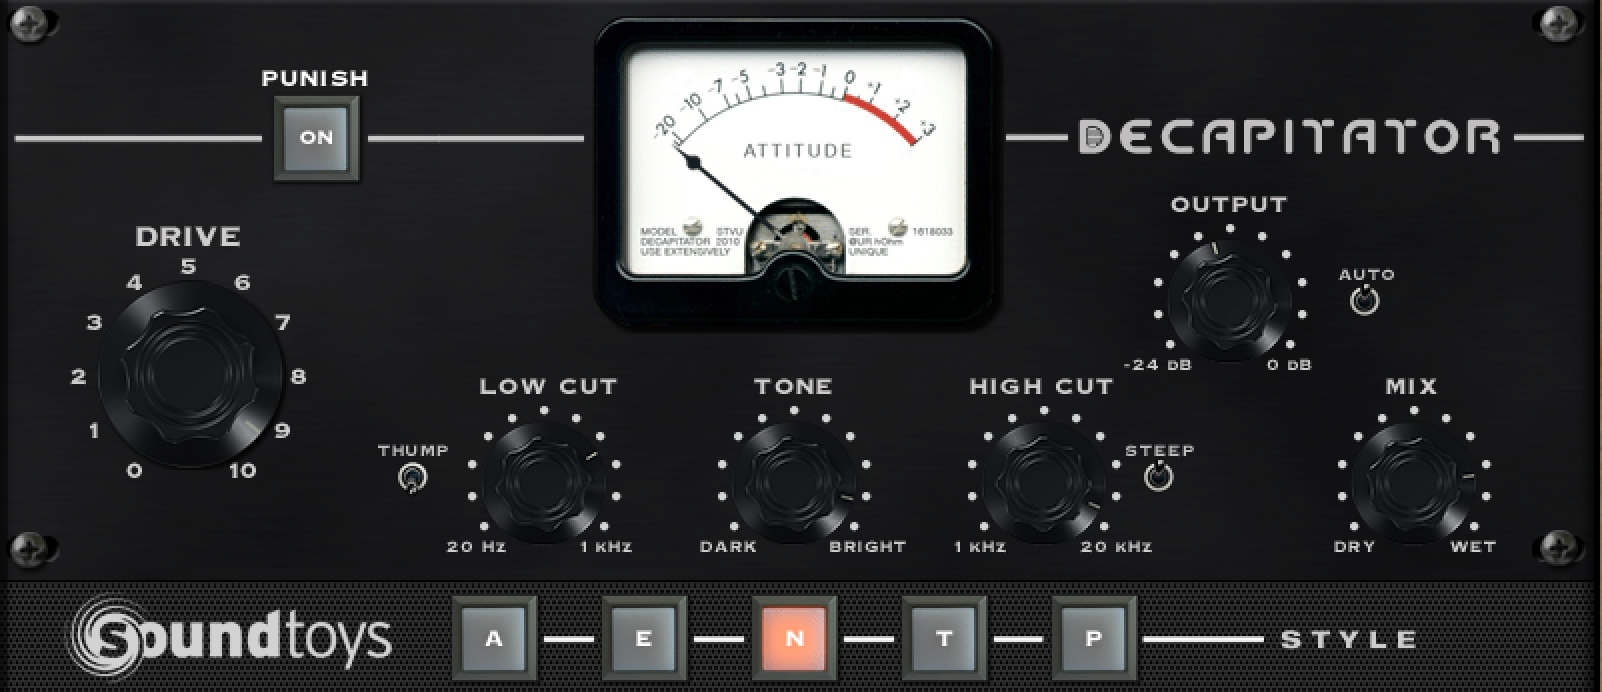
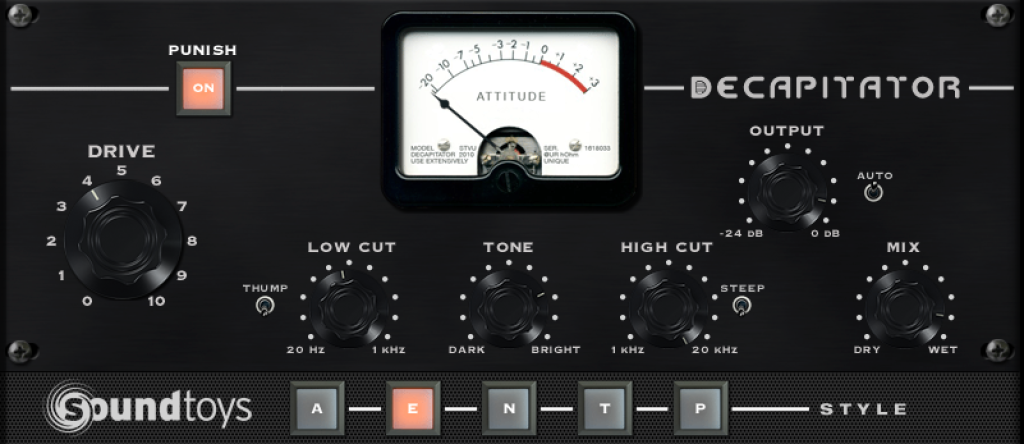
Ever wondered what those letters represent? Having some knowledge about the different distortion models that Decapitator offers may help you narrow down which one works best for your current application.
1. Style A: Style A is modeled after the Ampex 350 tape drive preamp. The Ampex 350 recorder was widely used in many studios during the the 1950s and is responsible for the sonic character of records by Muddy Waters, Bo Diddley, Elvis Presley and many more. The Ampex 35x series of recorders had preamps that were known for working well with ribbon microphones and had a smooth tube distortion character.
2. Style E: Style E is modeled after the Chandler/EMI TG Channel. The TG Channel was first used in EMI’s transitorised consoles (the TG Series) which recorded well-known acts such as The Beatles and Pink Floyd in the 1960s and 70s at the famed Abbey Road Studios in London. The TG Channel is known for its full, rich and airy vintage sound as well as “musical” distortion.
3. Style N: Style N is modeled after the Neve 1057 input channel. The Neve is known to have nice warm midrange and works well on guitars.
4. Style T & P: Style T&P are modeled after Thermionic Culture’s ‘Culture Vulture‘ triode and pentode setting respectively. The Culture Vulture is a valve processor that is known to work well on almost anything from drums, bass, vocals to keyboards. In triode mode, the Culture Vulture generates even-order harmonics and odd-order harmonics in pentode mode.
The Knobs
1. Drive: The drive knob is used to increase the amount of gain and distortion on the current channel.
2. Punish: Punish mode, when activated, adds an extra 20dB of gain to make things really loud and distorted – use if you want things to get real dirty!
3. Output / Auto: The output knob turns down the output level. With the auto switch flipped on, the output would automatically be turned down when the Drive knob is tweaked with.
4. Mix: The mix knob allows you to blend the original signal with the affected signal. This works similar to a technique called Parallel Compression, which is commonly used among many audio engineers.
5. Low Cut: Use the Low Cut knob to remove low frequencies before they reach the saturation circuit. This is useful if you don’t want your distorted signal to sound too muddy.
6. Thump: The thump switch adds a few dB of LF boost at the low cut frequency before hitting the saturation circuit.
7. Tone: The tone knob works as a gentle equalizer. Moving it towards the dark side will boost lower frequencies and attenuate high frequencies. Moving it towards the high side will boost the high frequencies and attenuate the lower frequencies.
8. High Cut: The high cut removes high frequencies after the saturation section. This is useful if you want to tame the “fizzyness” of a certain instrument or sound after going through the distortion circuit.
9. Steep: The steep switch changes the slope of the high cut filter. When on, a 30dB per octave filter is keyed in. When Off, the high cut filter works at a 6dB per octave rolloff.
Music Application
To put what we know into perspective, lets look at how Decapitator can bring life and energy to an otherwise ordinary sounding drums, bass and guitar track. Splice the project to follow along!
1. Drum Settings

Here, we have a fairly standard drum recording that is bussed to a drum group with the Decapitator on it. You can hear that without any processing, the drums sound dull and lack punch. Going with Style P, with a drive of slightly over 6, we managed to push the drums hard enough so that it sounds a little crunchy but without squashing it. Take a listen closely to how the style setting gives the snare drum that extra crack!
2. Bass Settings
The bass needed some work. Without Decapitator, the bass sounded flat and without much high end. Our first instinct was to turn on PUNISH mode. This allowed us to drive the saturation circuit to give that musical distortion flavor. The Low Cut filter was engaged at about midway so that the distorted signal doesn’t become too flabby.
3. Electric Guitar Settings

Here we have an electric guitar DI signal that we want to distort. Using Decapitator, on style N, we pushed the drive till about 9 to get the level of distortion that we wanted. The tone knob was set closer towards bright to give a sound that’s clearer and more resonant. The high cut setting was turned up slightly to take the extra “fizzy” high end that made the guitar distortion sound cheap and digital.
You would be able to hear all three instruments play together with Decapitator on at the end of the project. It gives the music more character and edge that was initially missing with just one plugin. Now that you should be familiar with Decapitator and its functions, feel free to sign up for Splice and check out fellow user projects who use Decapitator below or simply start working on one!
Explore industry-leading plugins, bundles, DAWs, and more:
May 1, 2015